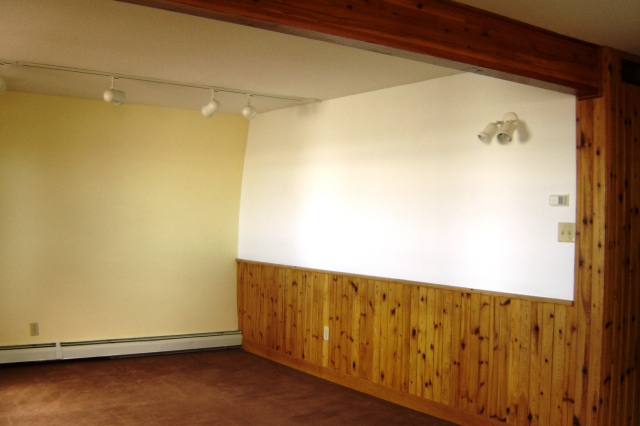
 After having been away for work over the last couple weeks, J has been diligently working on the kitchen and living room renovation to get the walls up and plastered. If you remember the living room earlier there was a half wood-panelled wainscotting wall that I really wanted to get rid of.
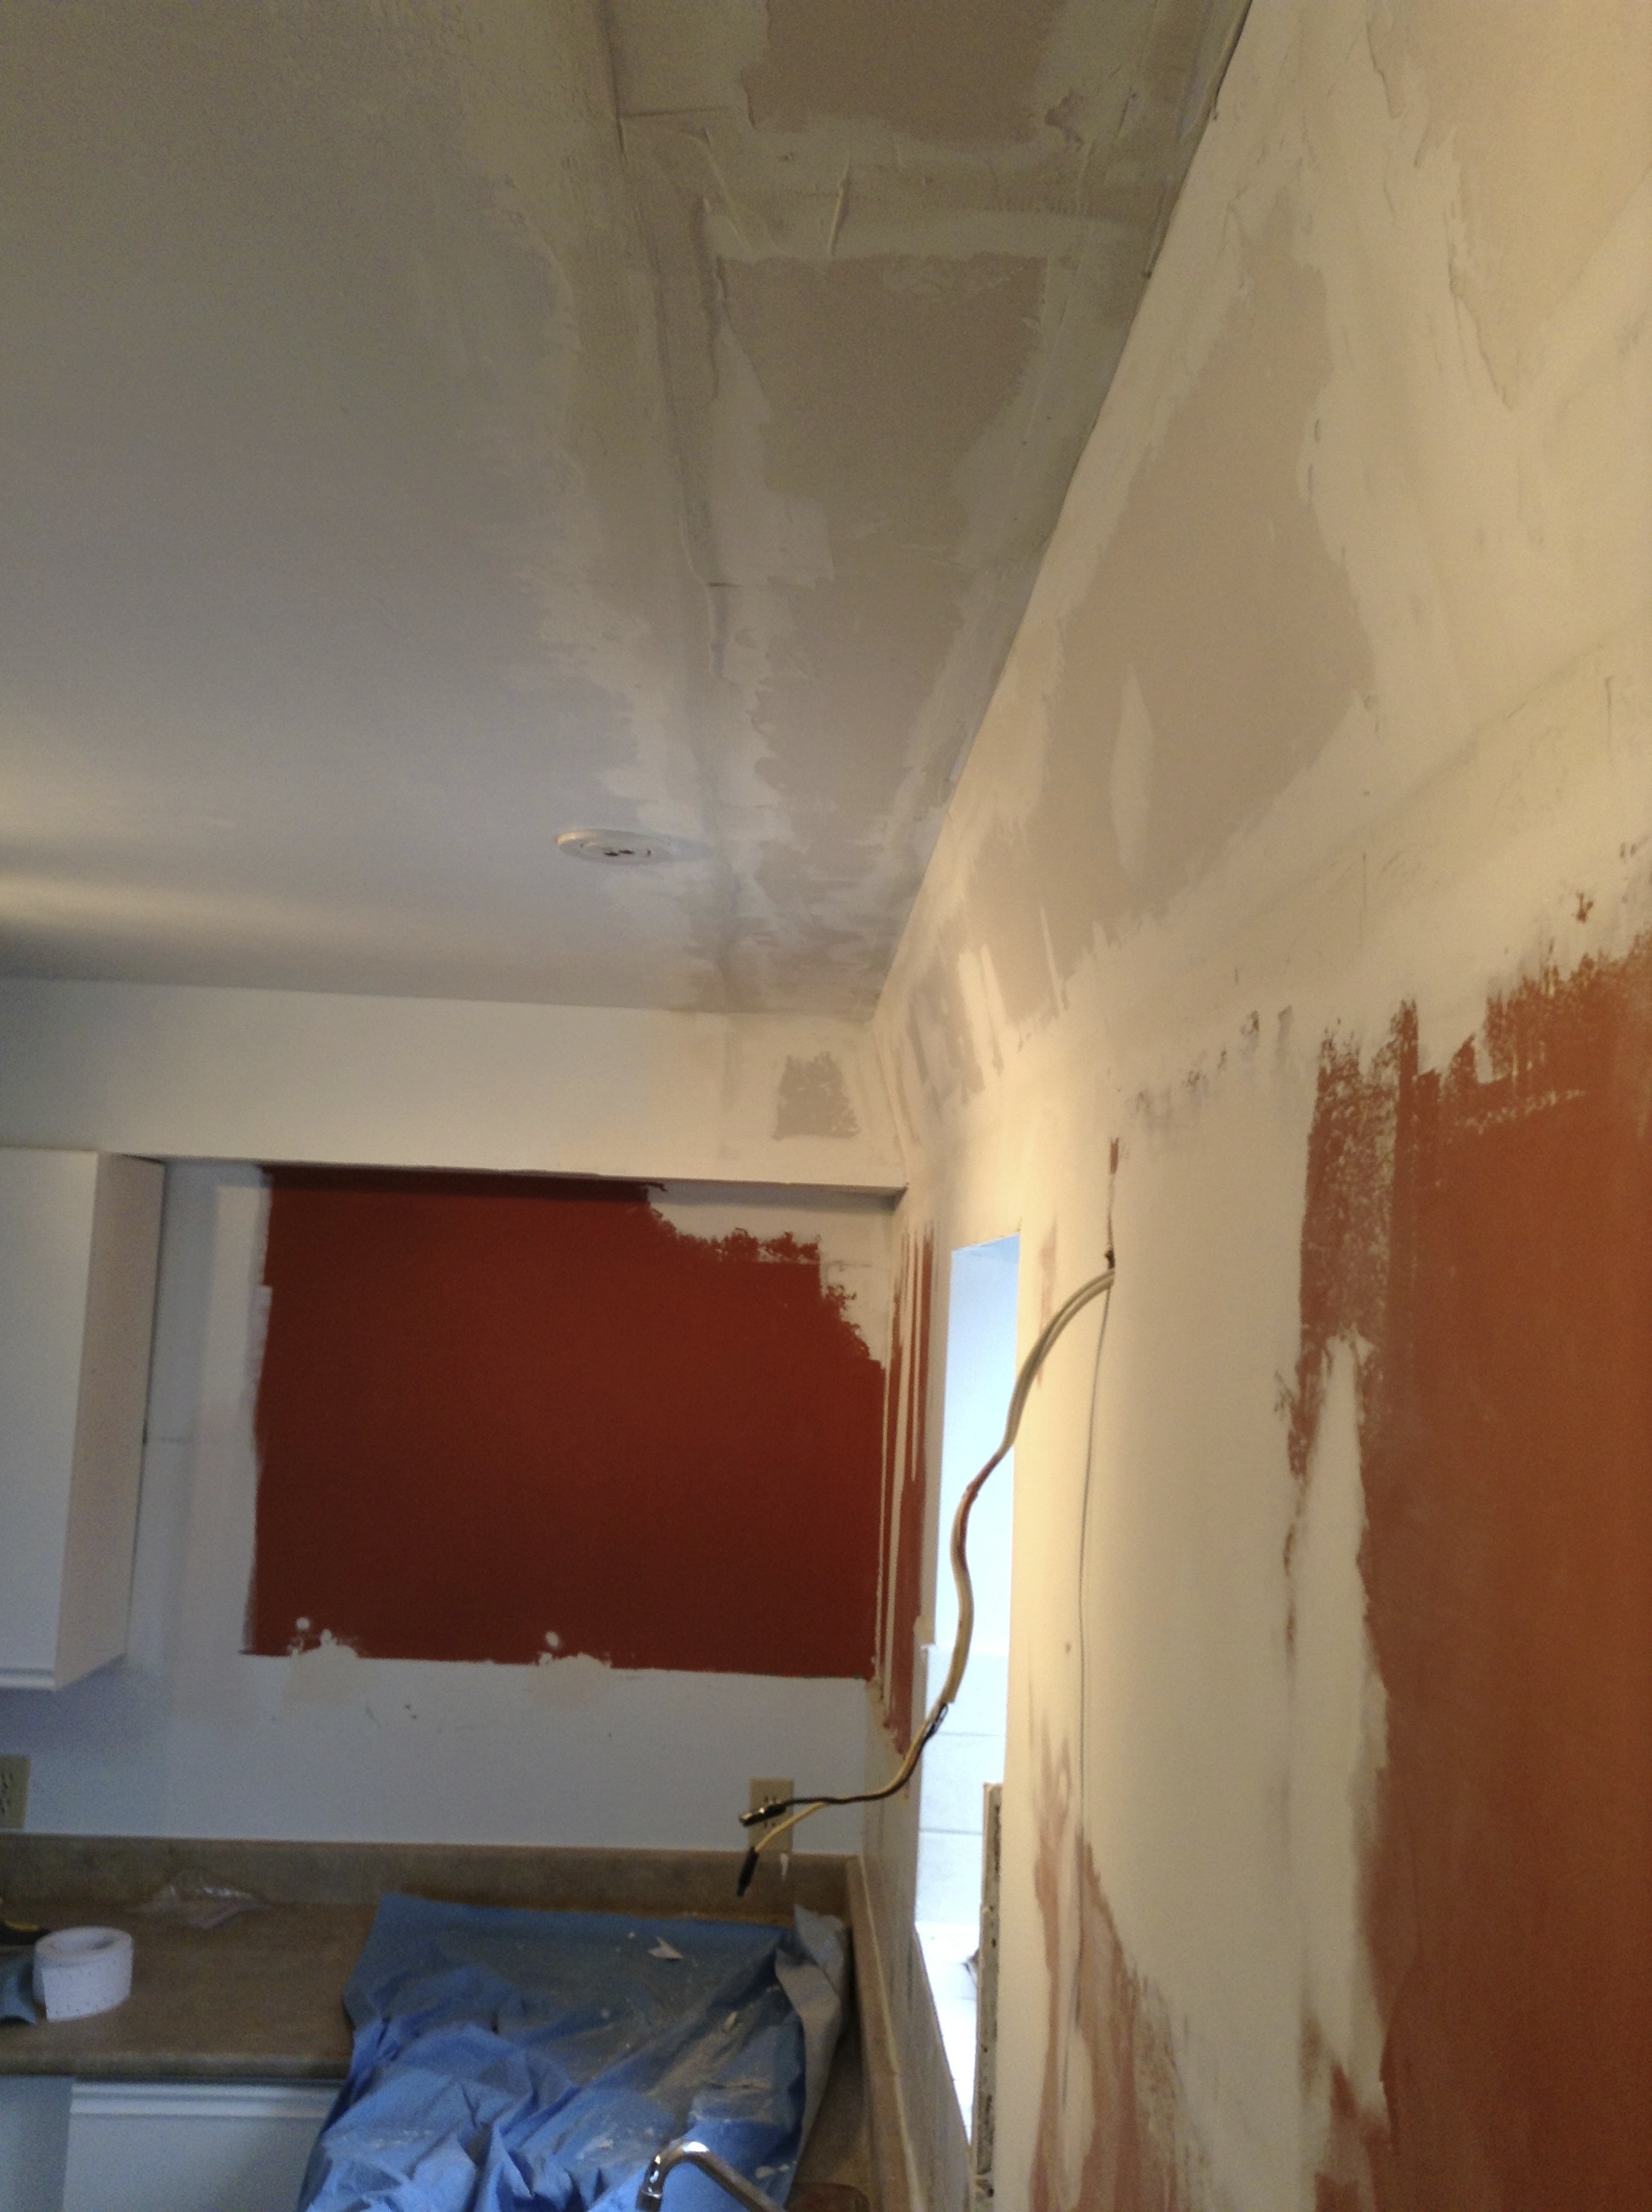
After pulling off several of the panels, however, we realized that they weren’t just nailed into place, but also reinforced with industrial glue – so that when pulled off the wall they took half of the drywall with it. Once it was started it was too late to stop (though we’ll be thinking twice before tackling the hallways). We removed it all and then stared at the mess of a wall that was left over. We then had a choice of either trying to plaster over it and take a LOT of time trying to make the wall look smooth again, or tear it out and re-drywall. After having some contractors come and take a look, they strongly recommended we re-drywall, and so it began.
 Initially we were looking at having someone come in and do the drywalling in the living room and kitchen for us, especially as I was most concerned about the curved wall in the kitchen and making sure it was done right the first time. Unfortunately, at the time (late August) the sealift ships had already started to arrive in town, which meant that not only did our supplies come in, but all of the builders’ supplies as well, and so there wasn’t a contractor to be found that was willing to take on a small job like ours – at least not for another 2 months – as their priorities were to get to building all of the houses in town that have been waiting for supplies to arrive before the snow comes. Another perk of living in the north.
So there we were with a pile of drywall, plaster, and me with two dud arms. I have to admit, at first I was still determined to wait for a contractor to be available – especially since neither J nor I have ever dry-walled, and I was the only one with experience plastering, but was incapable of holding a spatula much less finishing two rooms. So, J slowly wore me down and eventually ended up doing the whole thing himself, and I’m so glad that he did – because it looks amazing! He probably even did a better job than the rushed contractors would have, and it saved us over $1500 easily. Phewf!
This is how it looked before I left town 2 weeks ago…

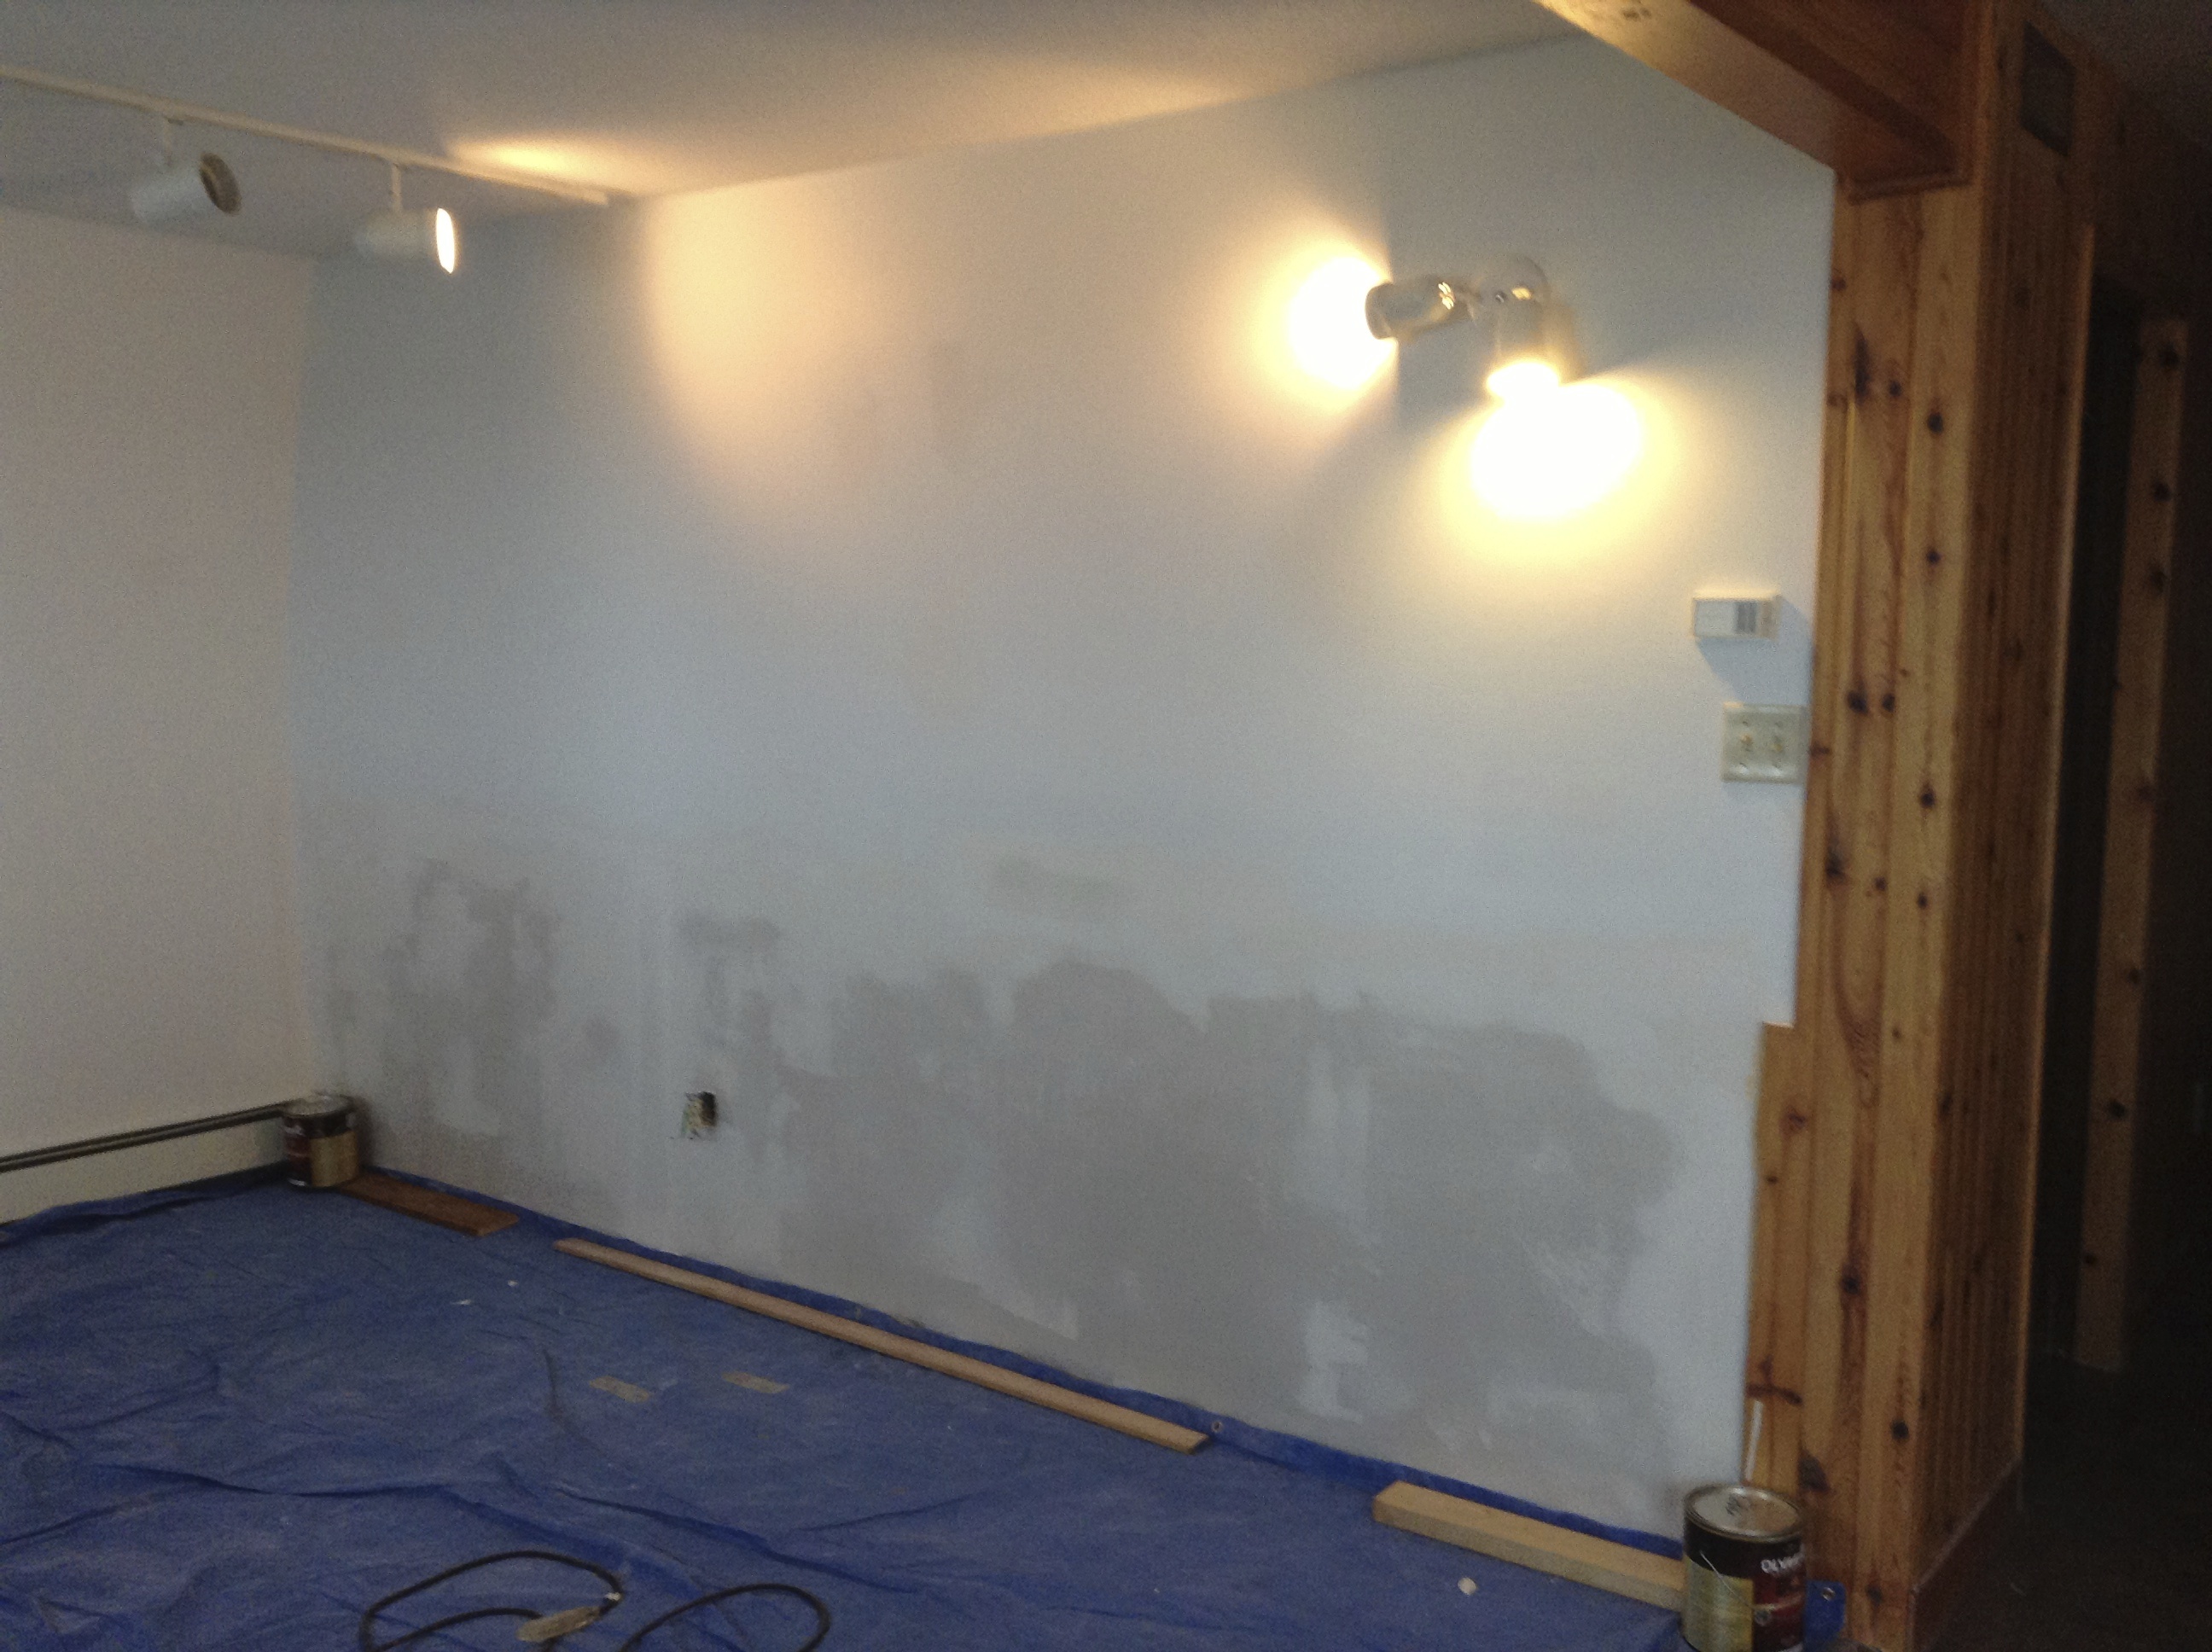
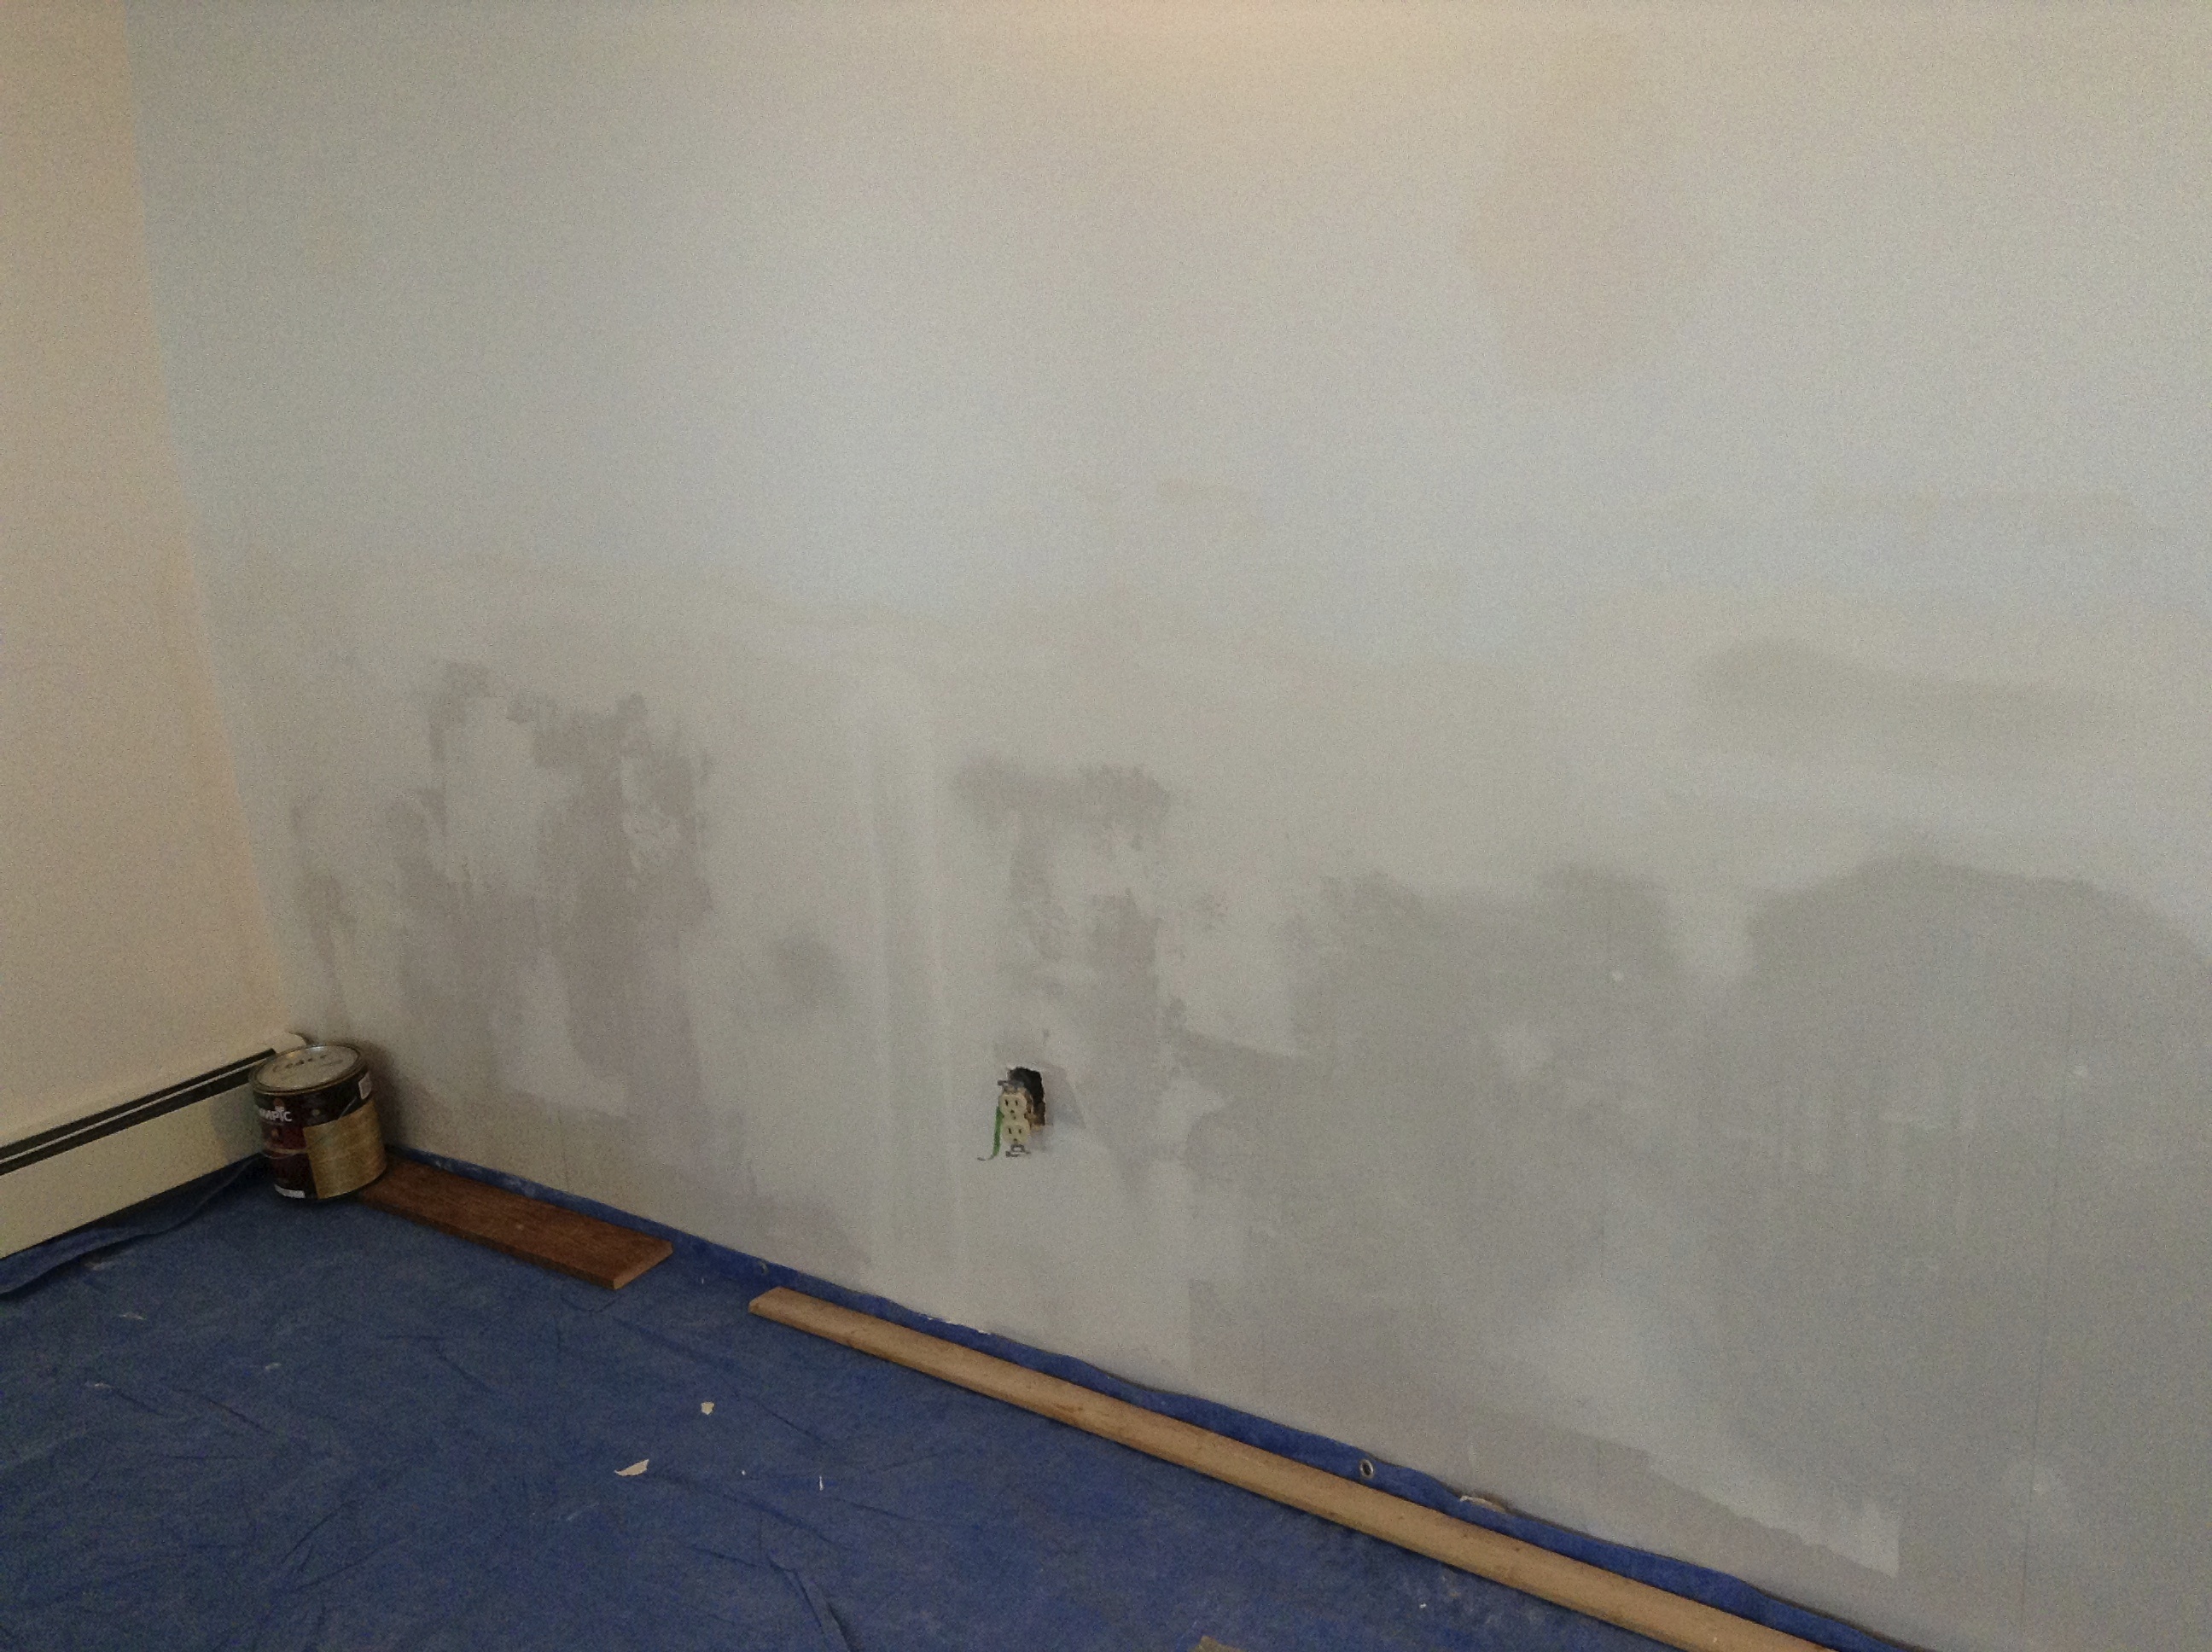
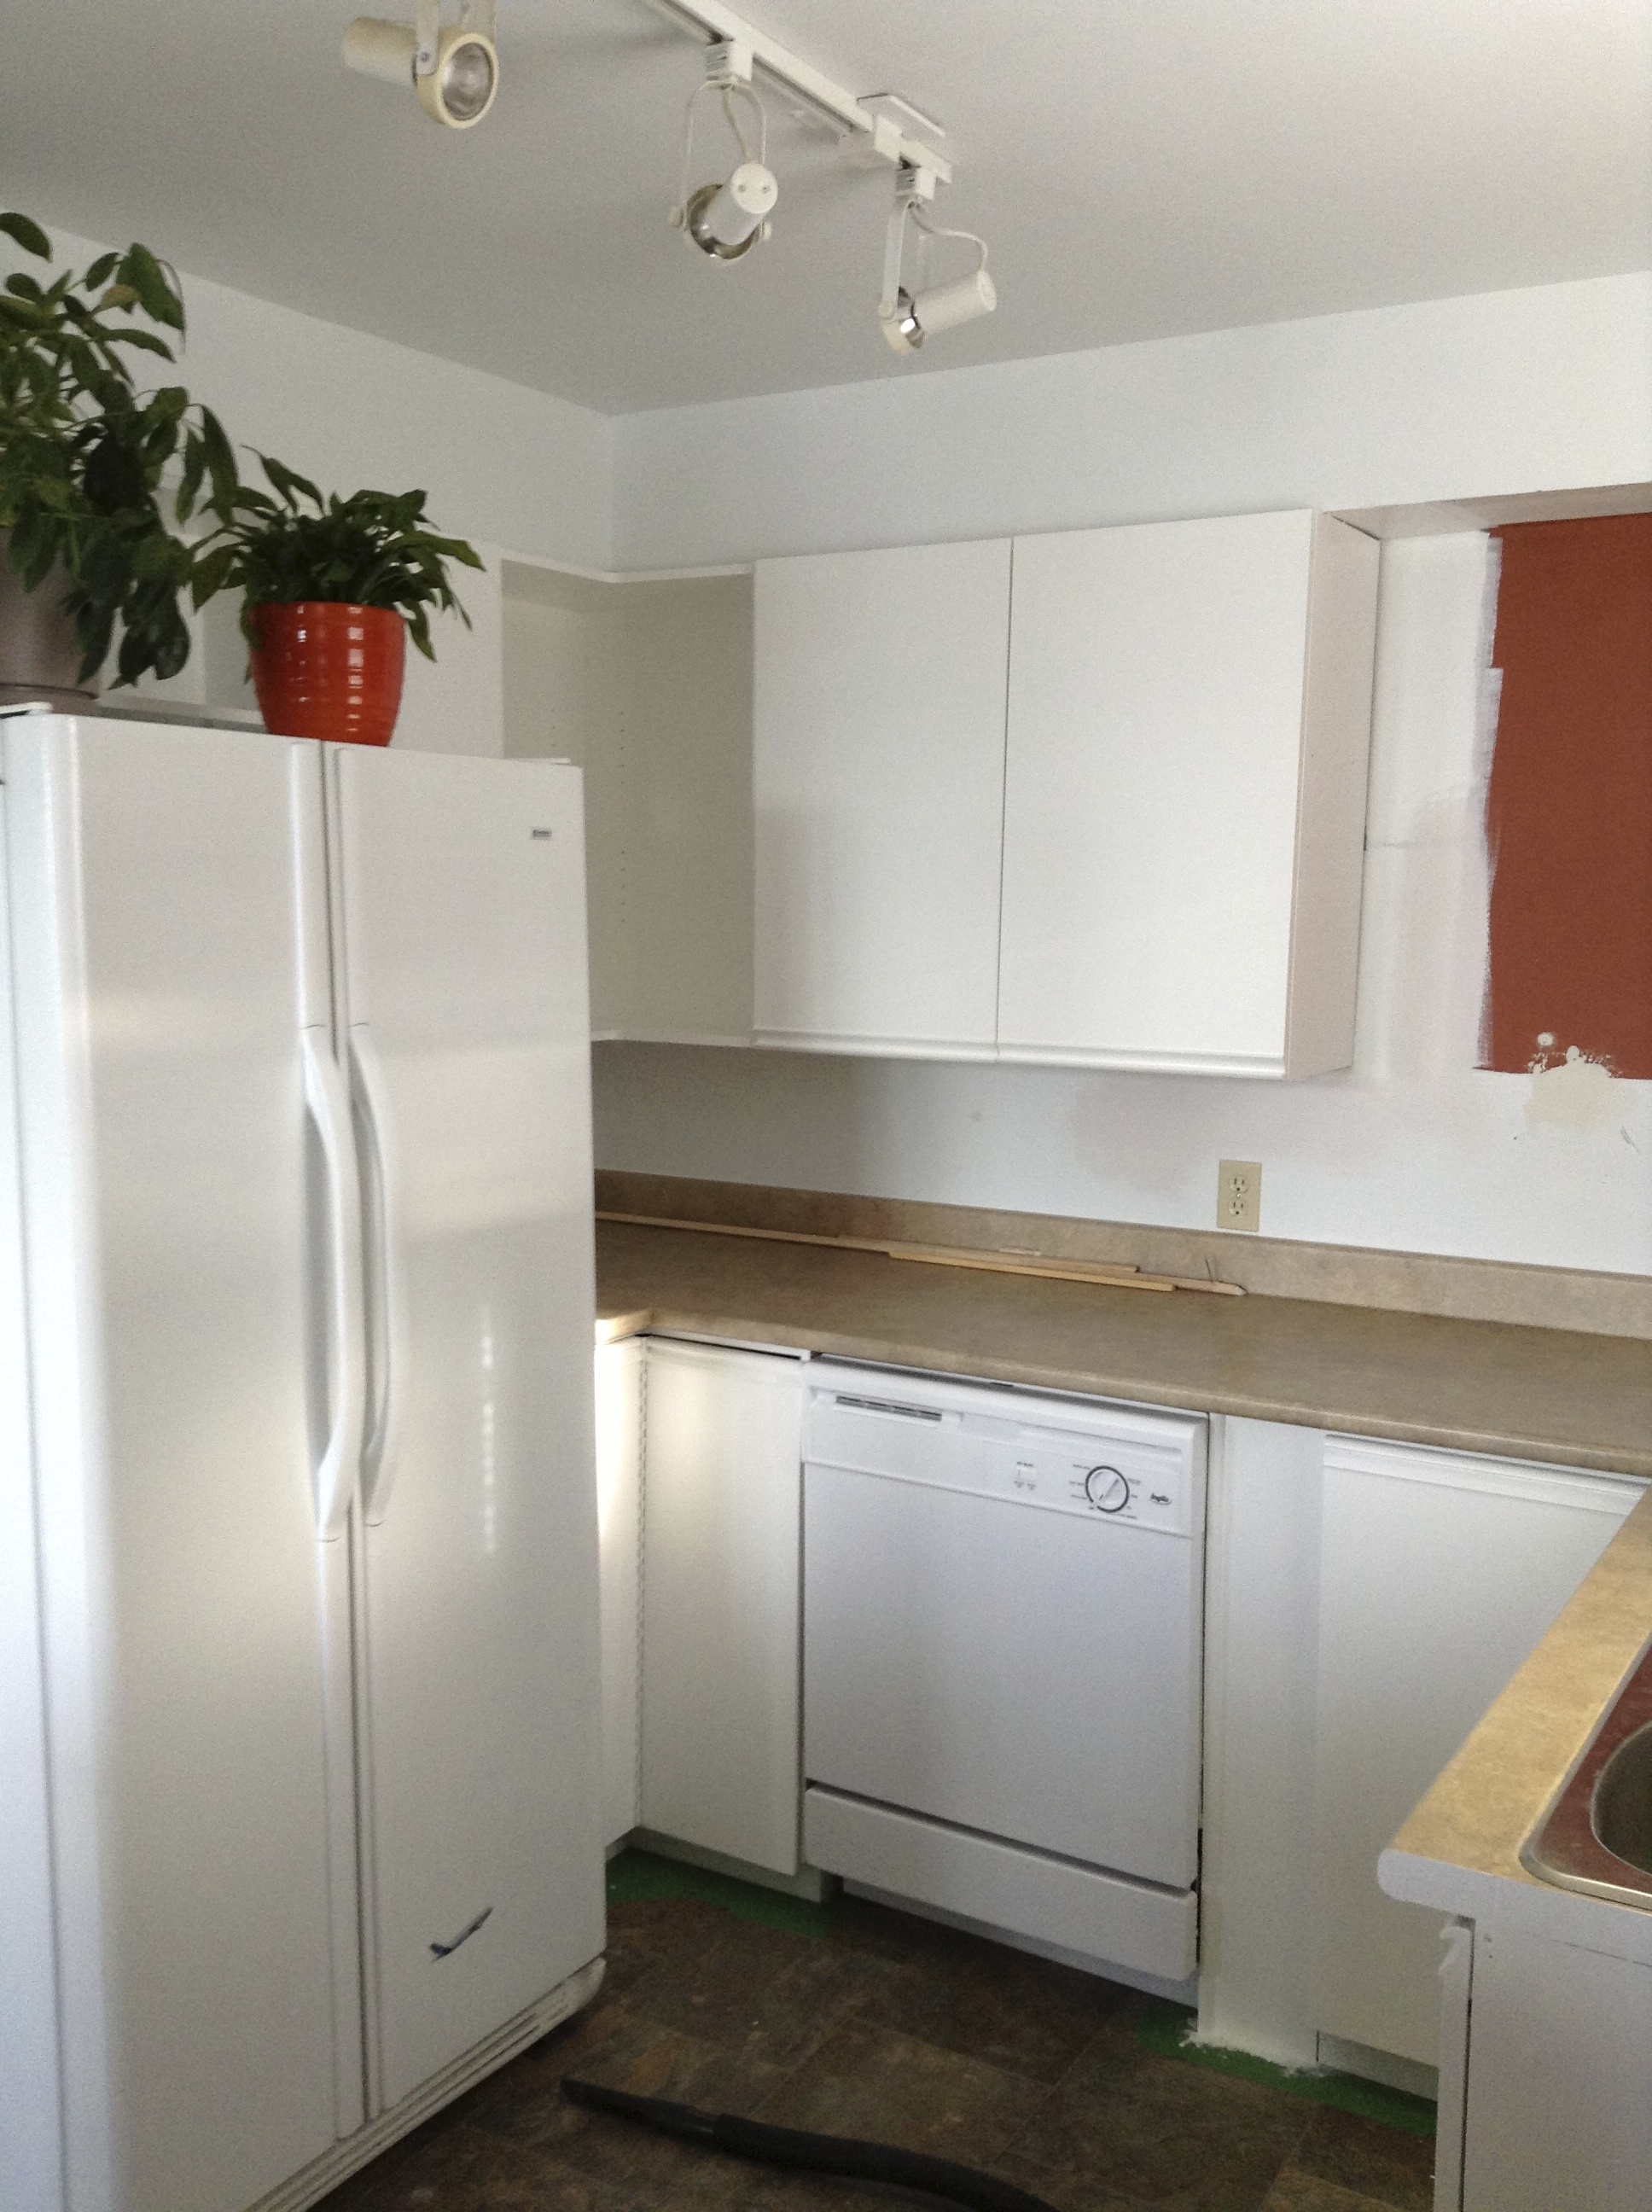
No bad, huh? It was so nice to have a full ceiling and walls at that point – I would have almost been happy to leave it as is….well, almost. It had been so long since the kitchen looked like a kitchen, I could start to see the end, and felt so relieved. Nonetheless, there has been a significant amount of plastering and priming since these were taken and it is now very nearly perfect. I’m about to run downstairs to put the second coat of paint on – so you’ll see even more progress soon. In the meantime, here’s a final ‘AFTER’ of the kitchen cabinets (after all the blood sweat and torn ligaments) to keep you going until my next post.
What do you think?!?
Looks good Colleen
Thanks Caroline! 🙂