 It’s been a very busy week. We’ve managed to nearly finish the powder room downstairs, but have yet to install the final light fixture – hence I’m holding out on posting any of the after shots. Nonetheless, we’ve made great headway on the kitchen and the upstairs bathroom renovations – which are also missing a few last fixtures before the final shots are posted. I’ll follow up with a post on the kitchen progress soon.
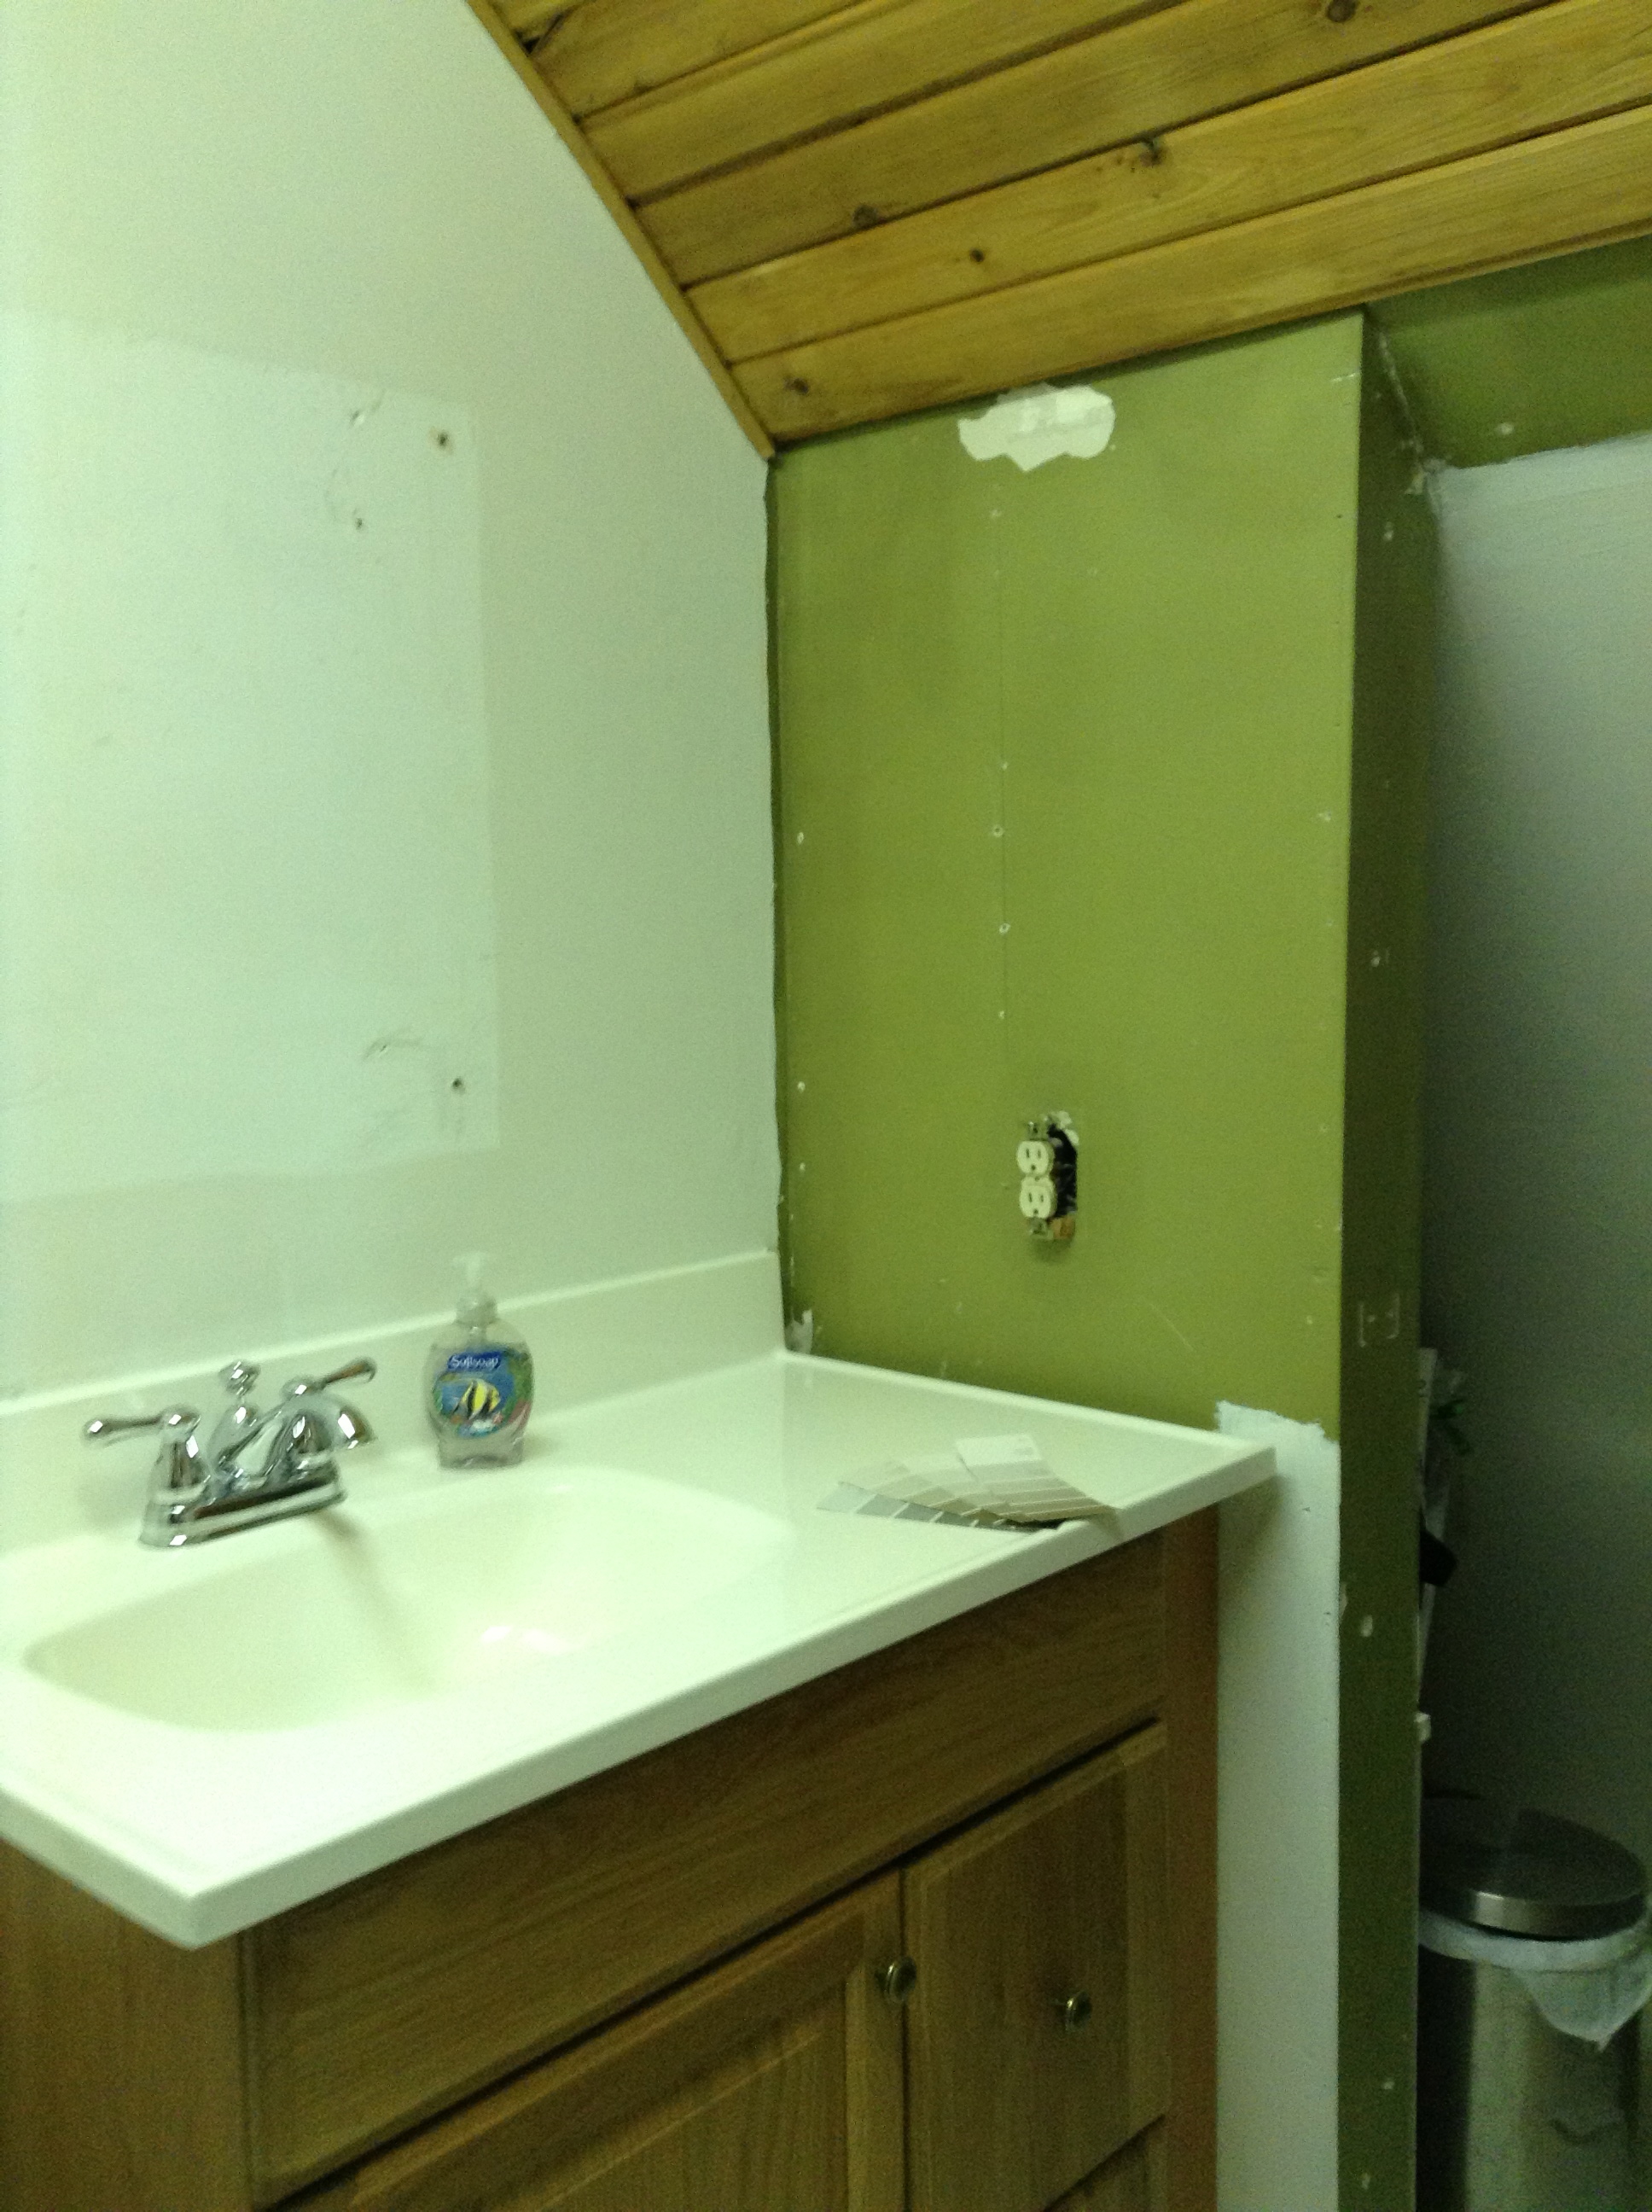
Back to the bathroom renovation. Here is what is looked like before…

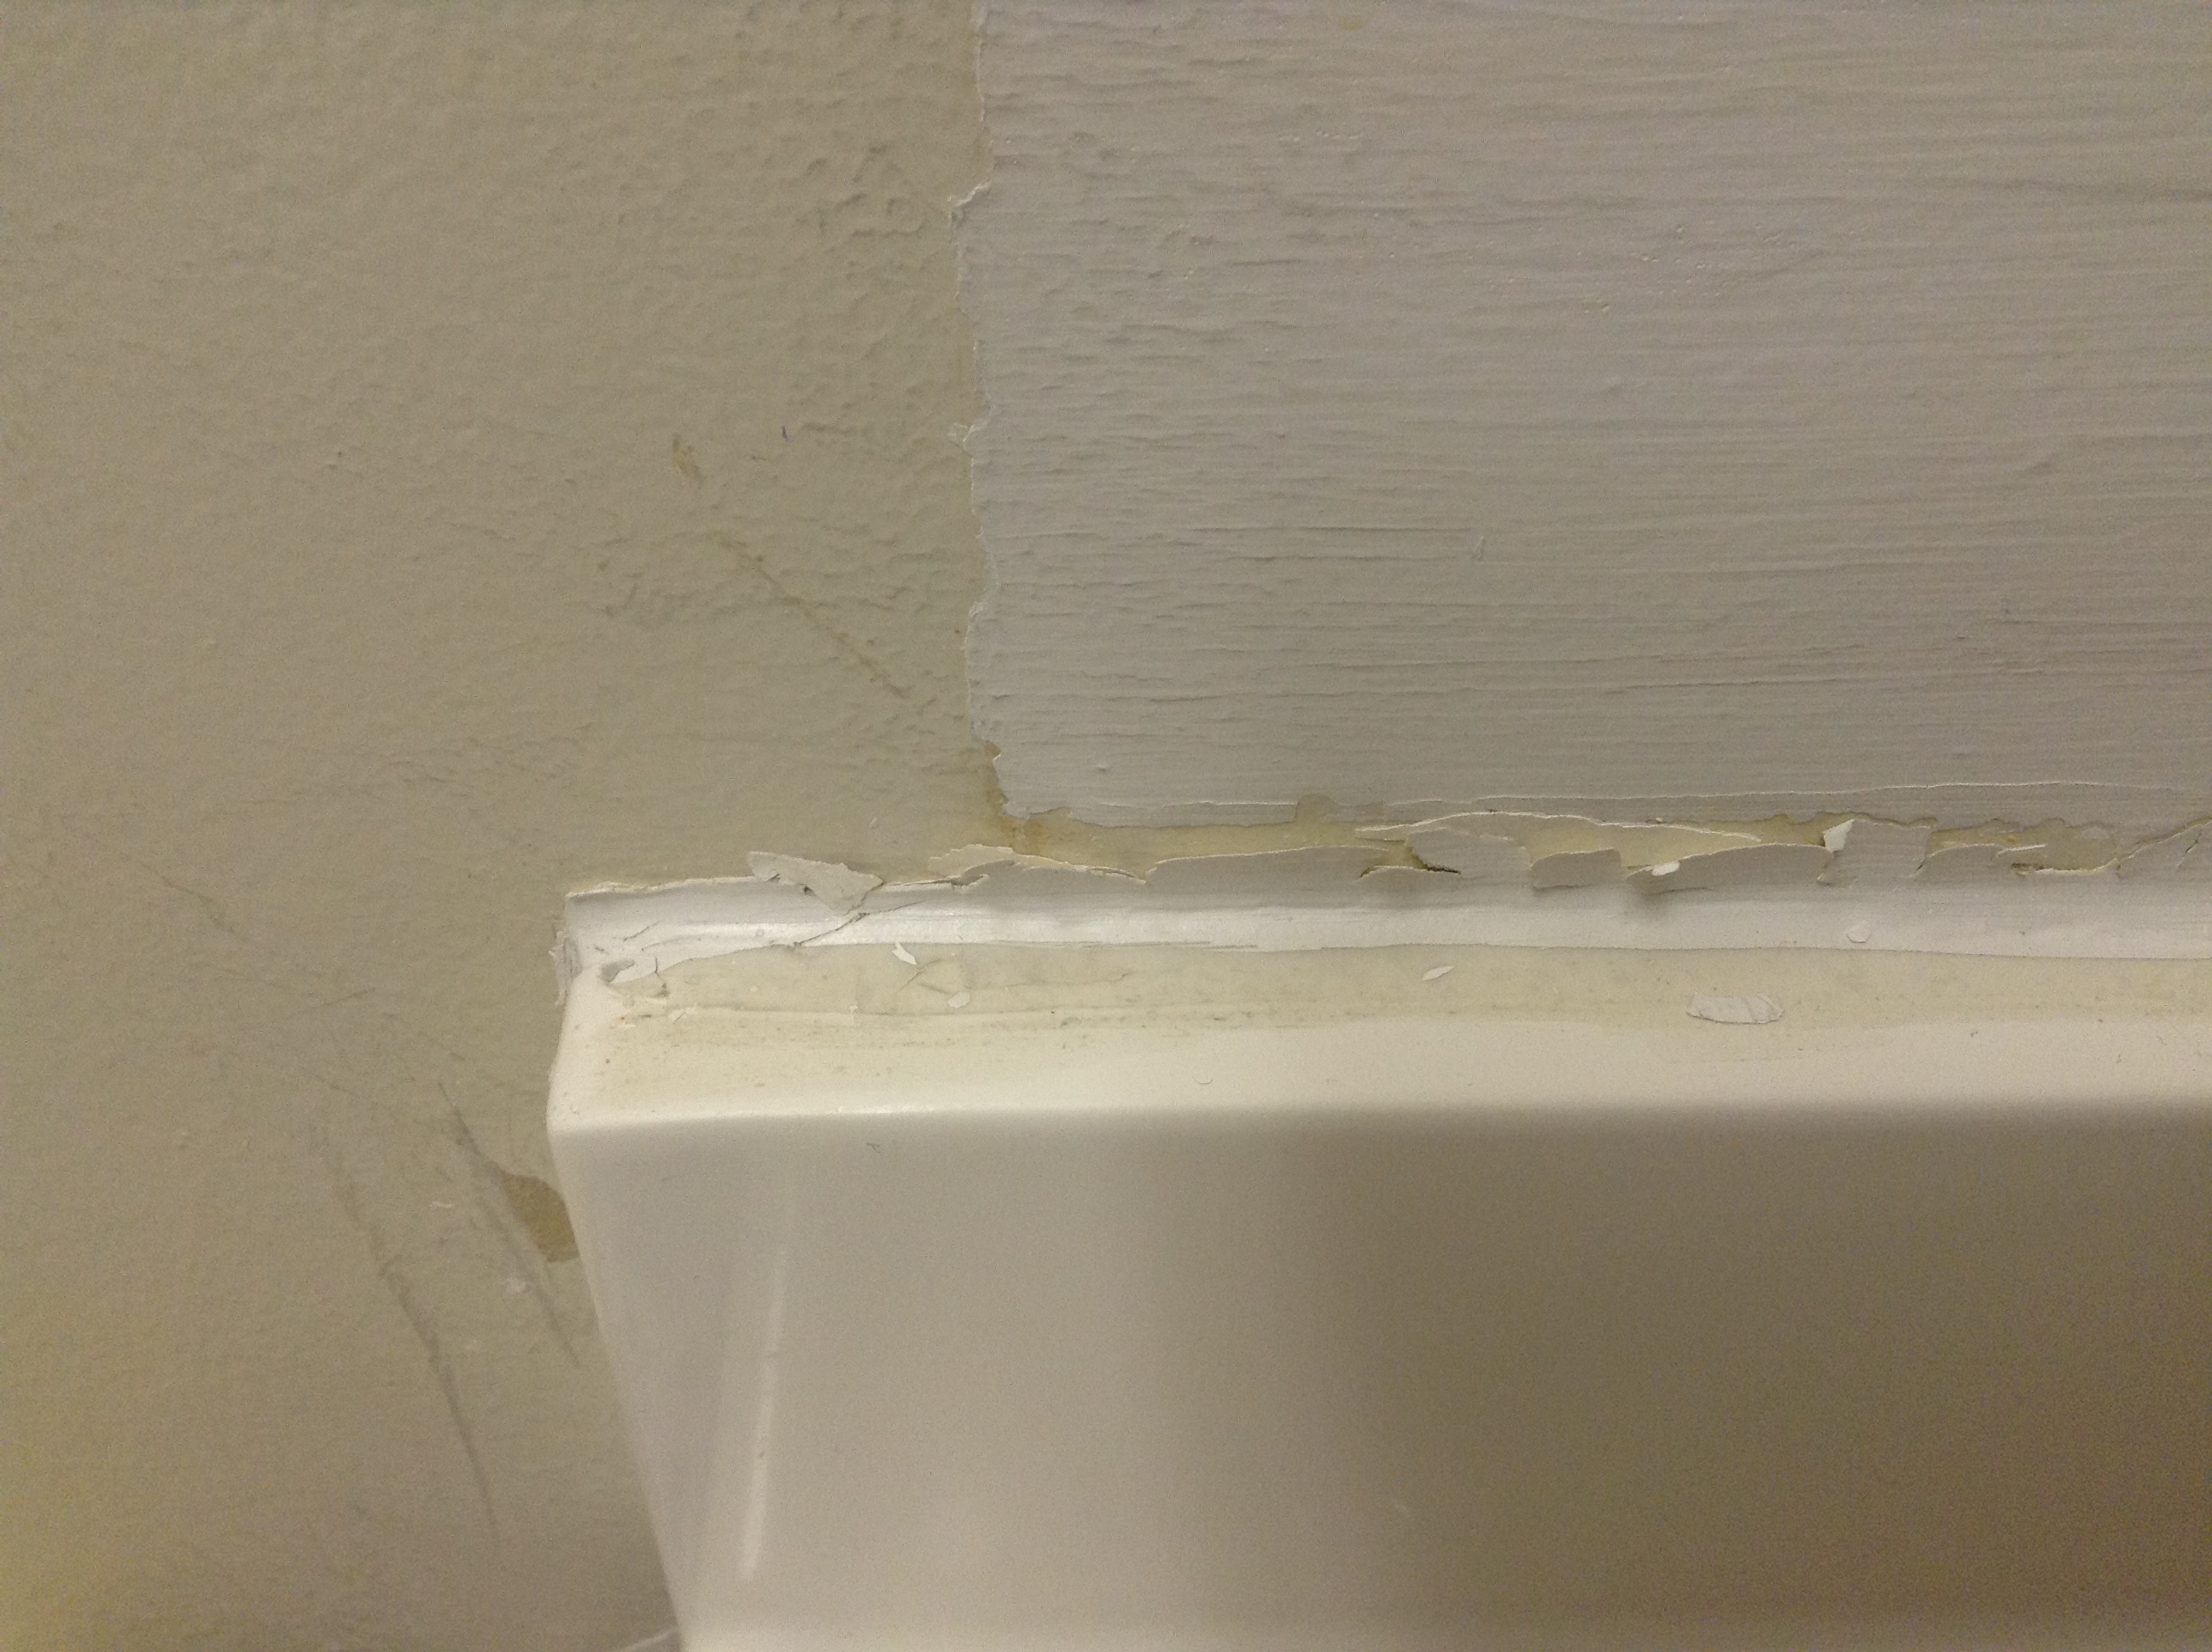
We hadn’t intended on fixing up the bathroom right away, but as you can see, there were a number of hideous fixtures that needed switching out. In the process of removing the stunning white toilet-roll holder from the wall, I inadvertently removed half of the wall with it. This was a result of years of paint buildup over an oil-type paint (the original) which easily peeled off the wall with a slight tug, much like we saw in the powder room I last posted about.
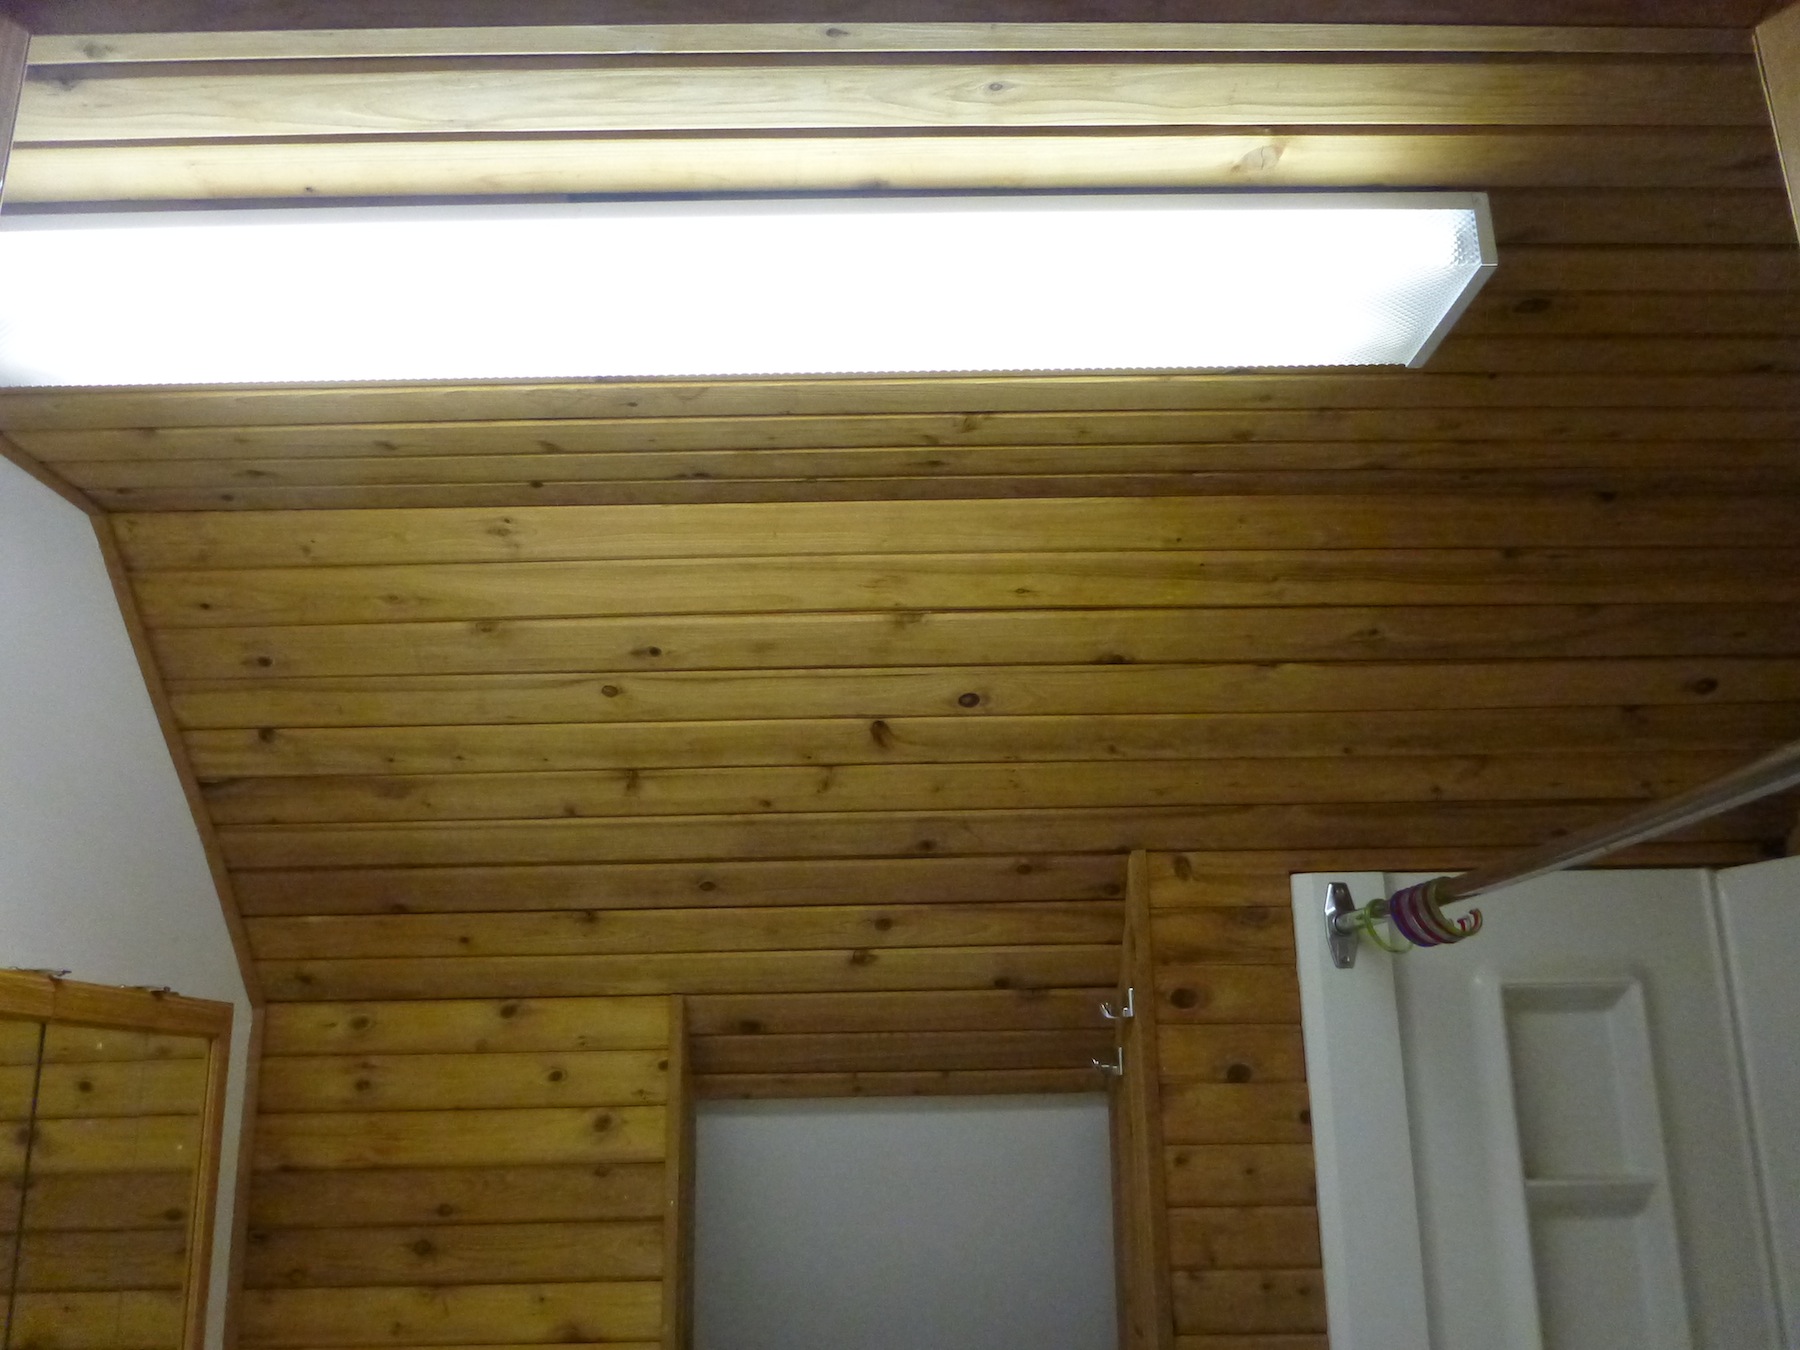
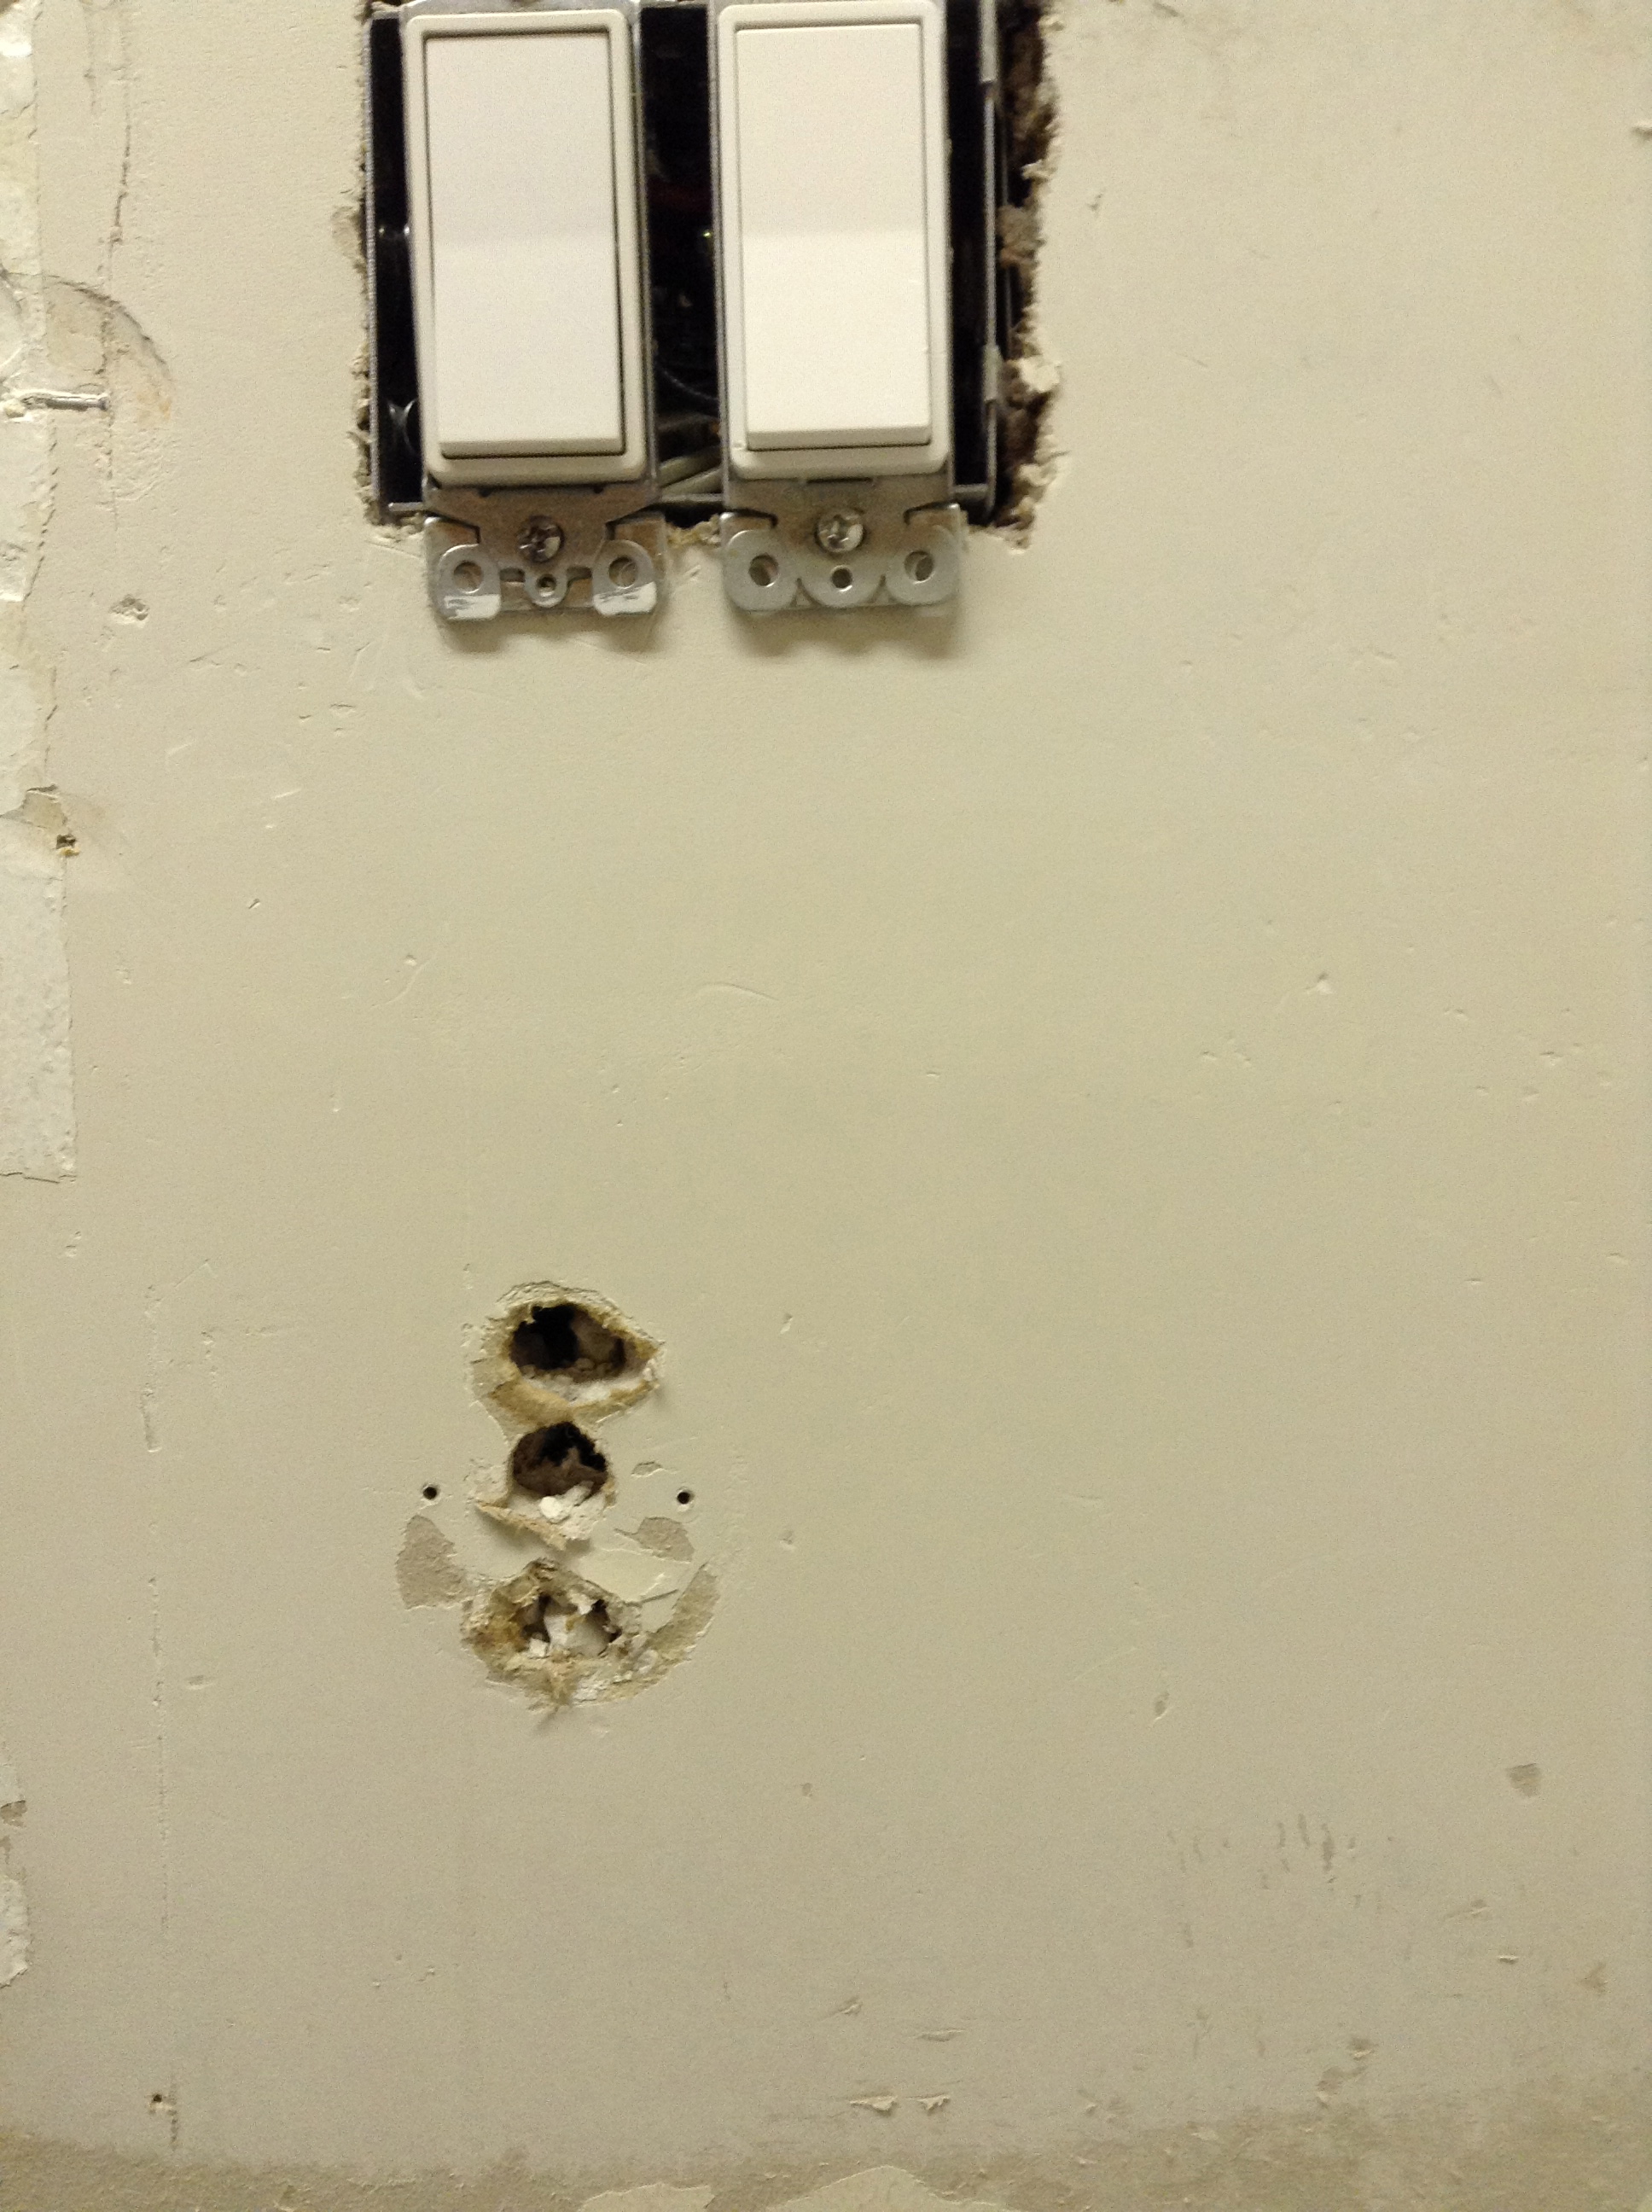
And here is what it looked like after a few tugs and scrapes on the paint and some removal of old caulking and wood panelling (not all but some)…
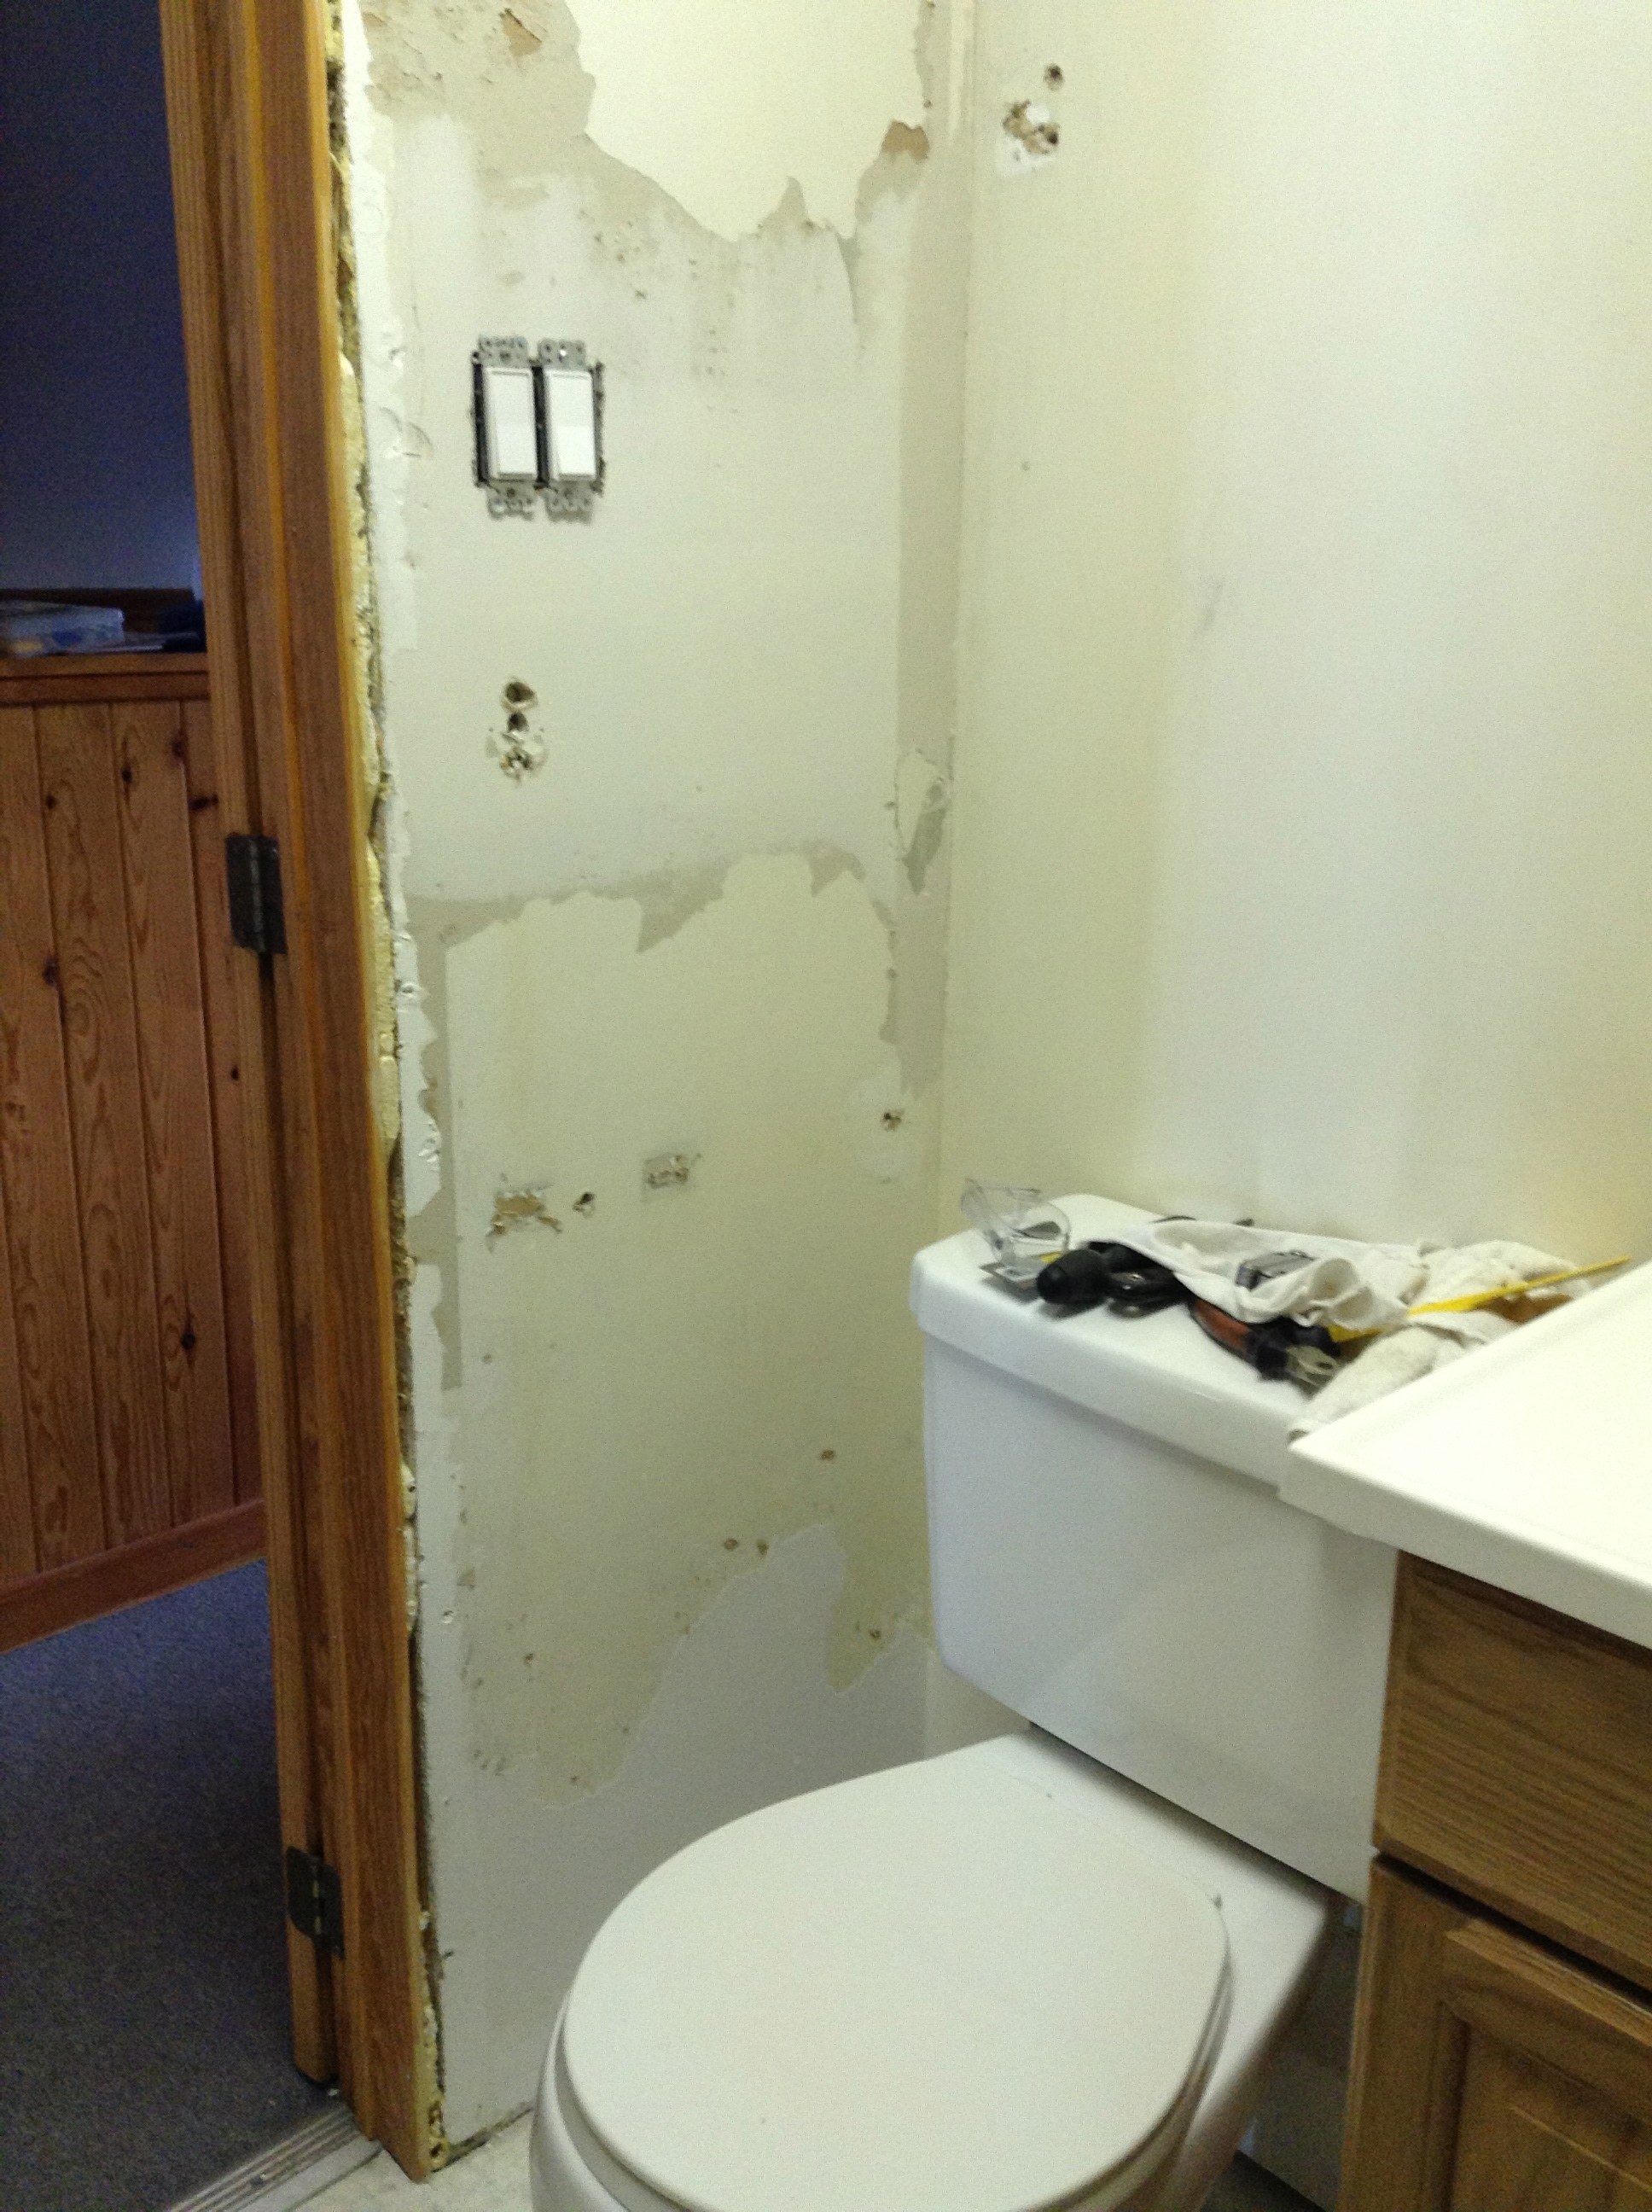
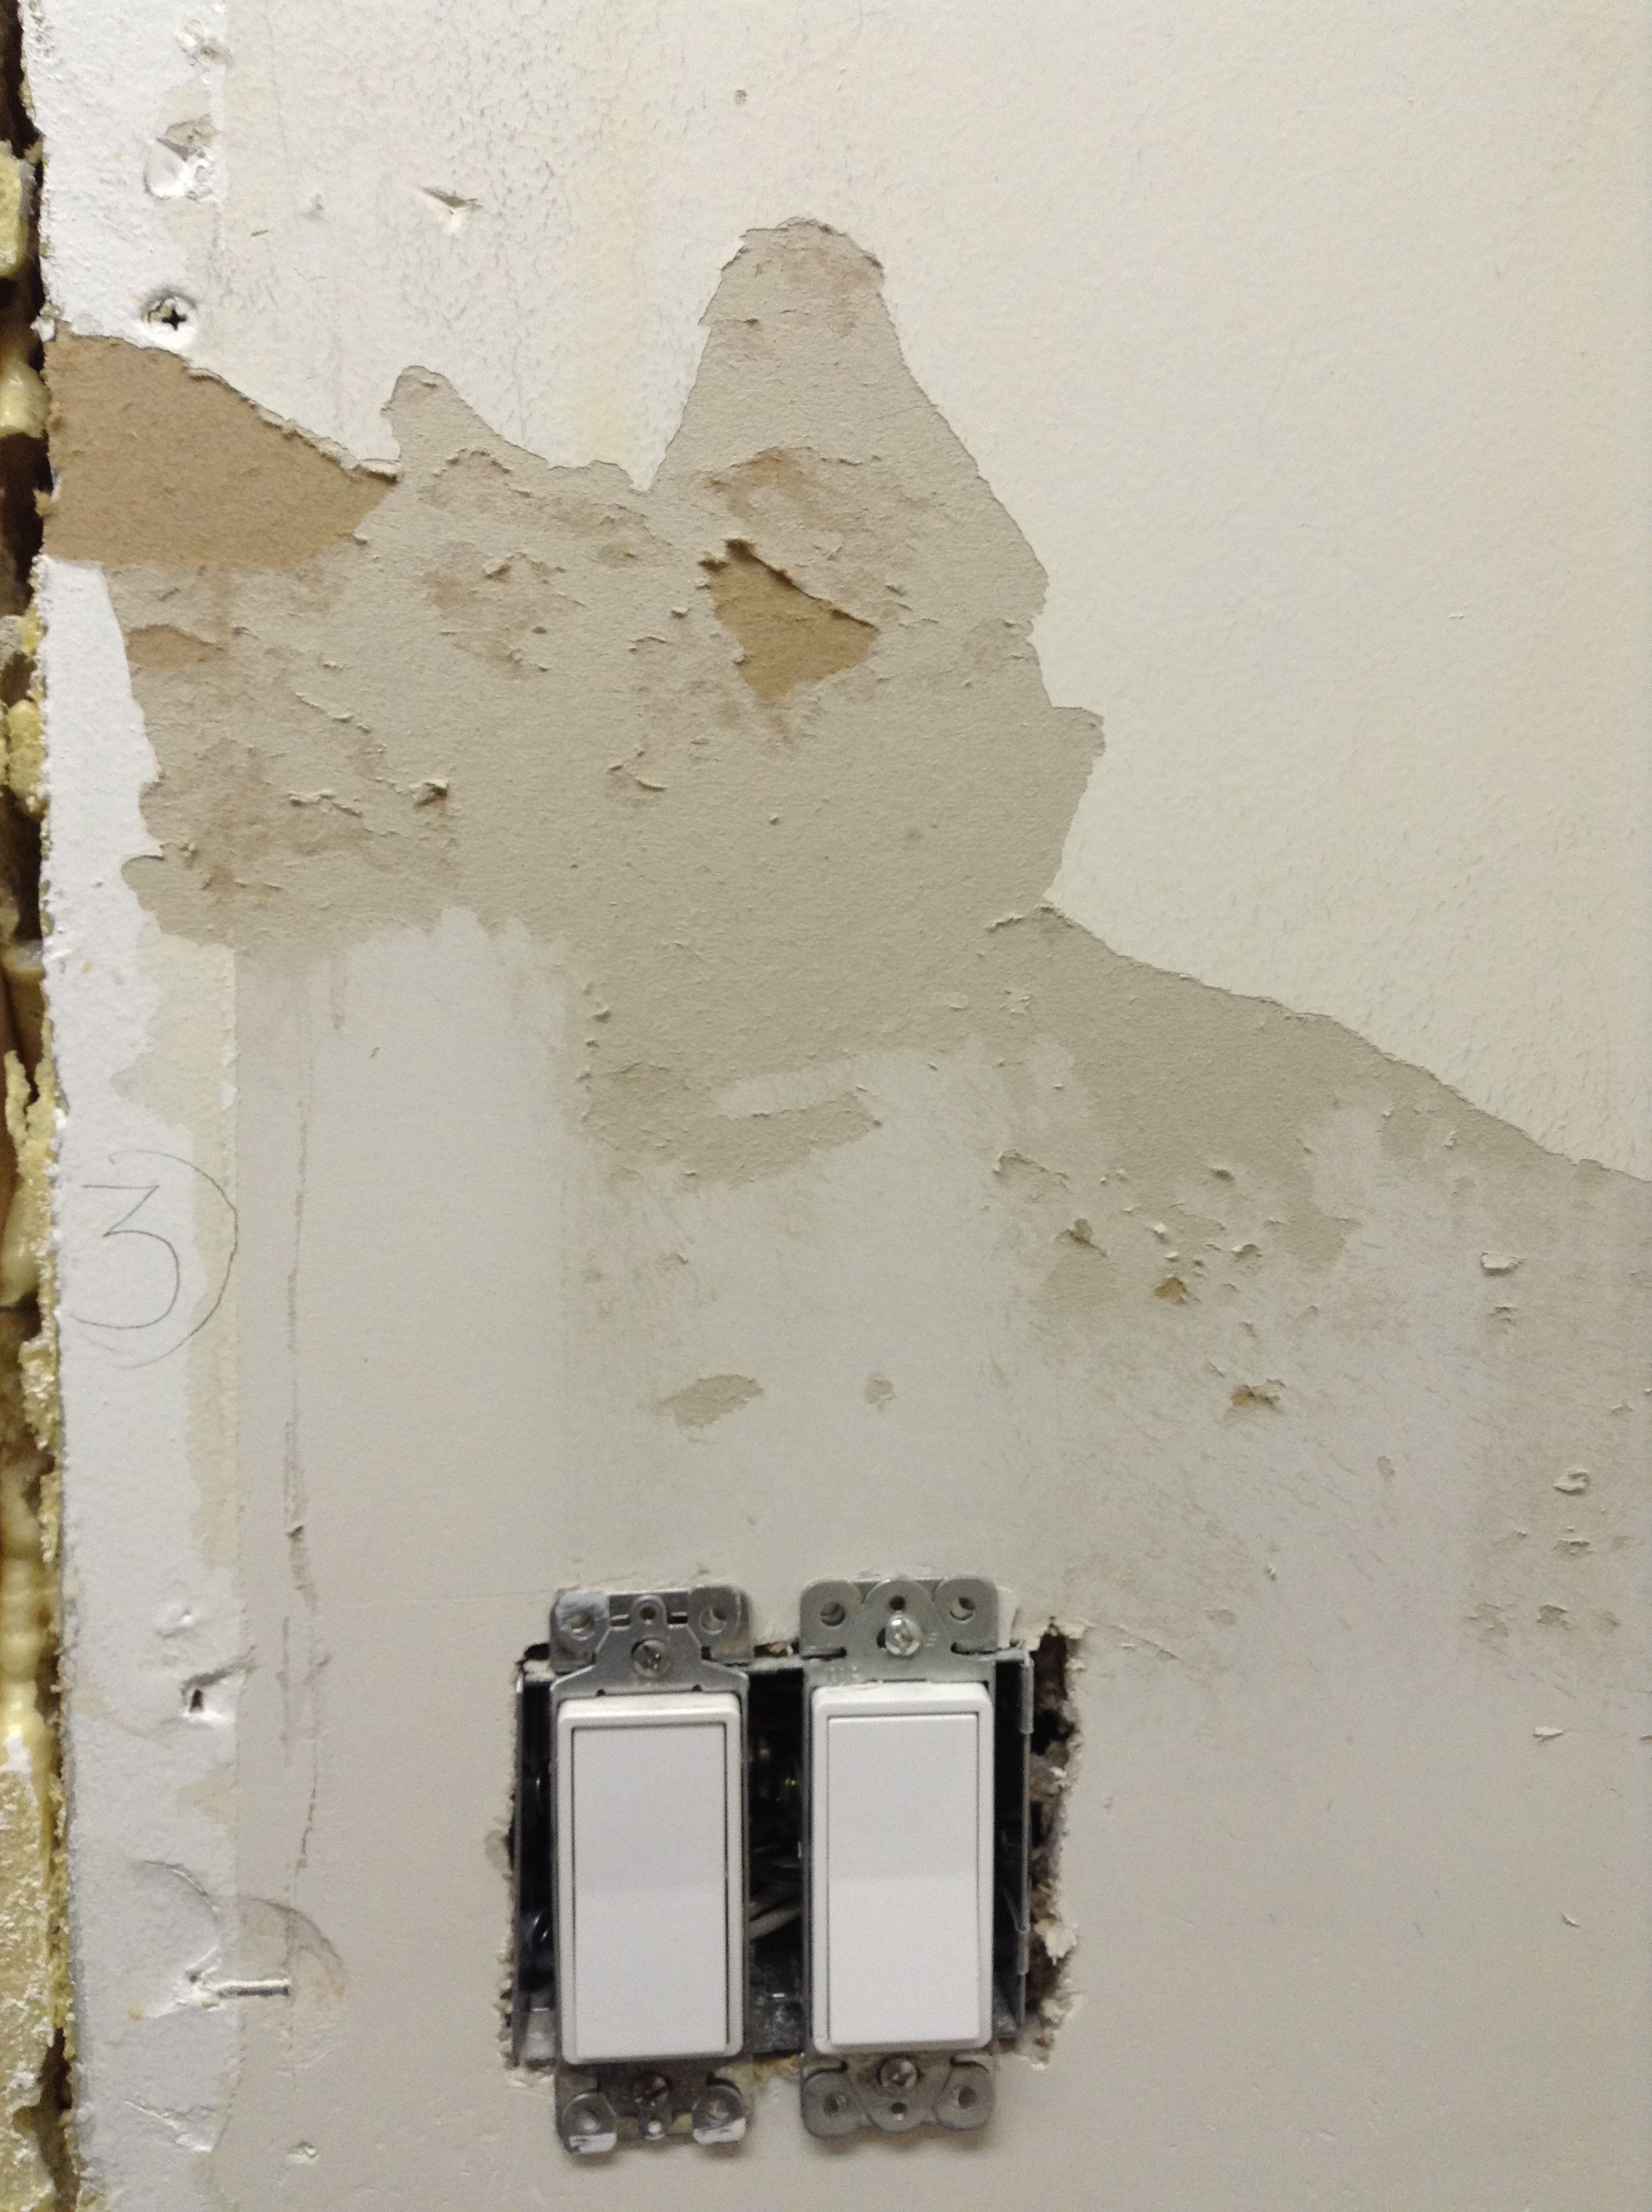
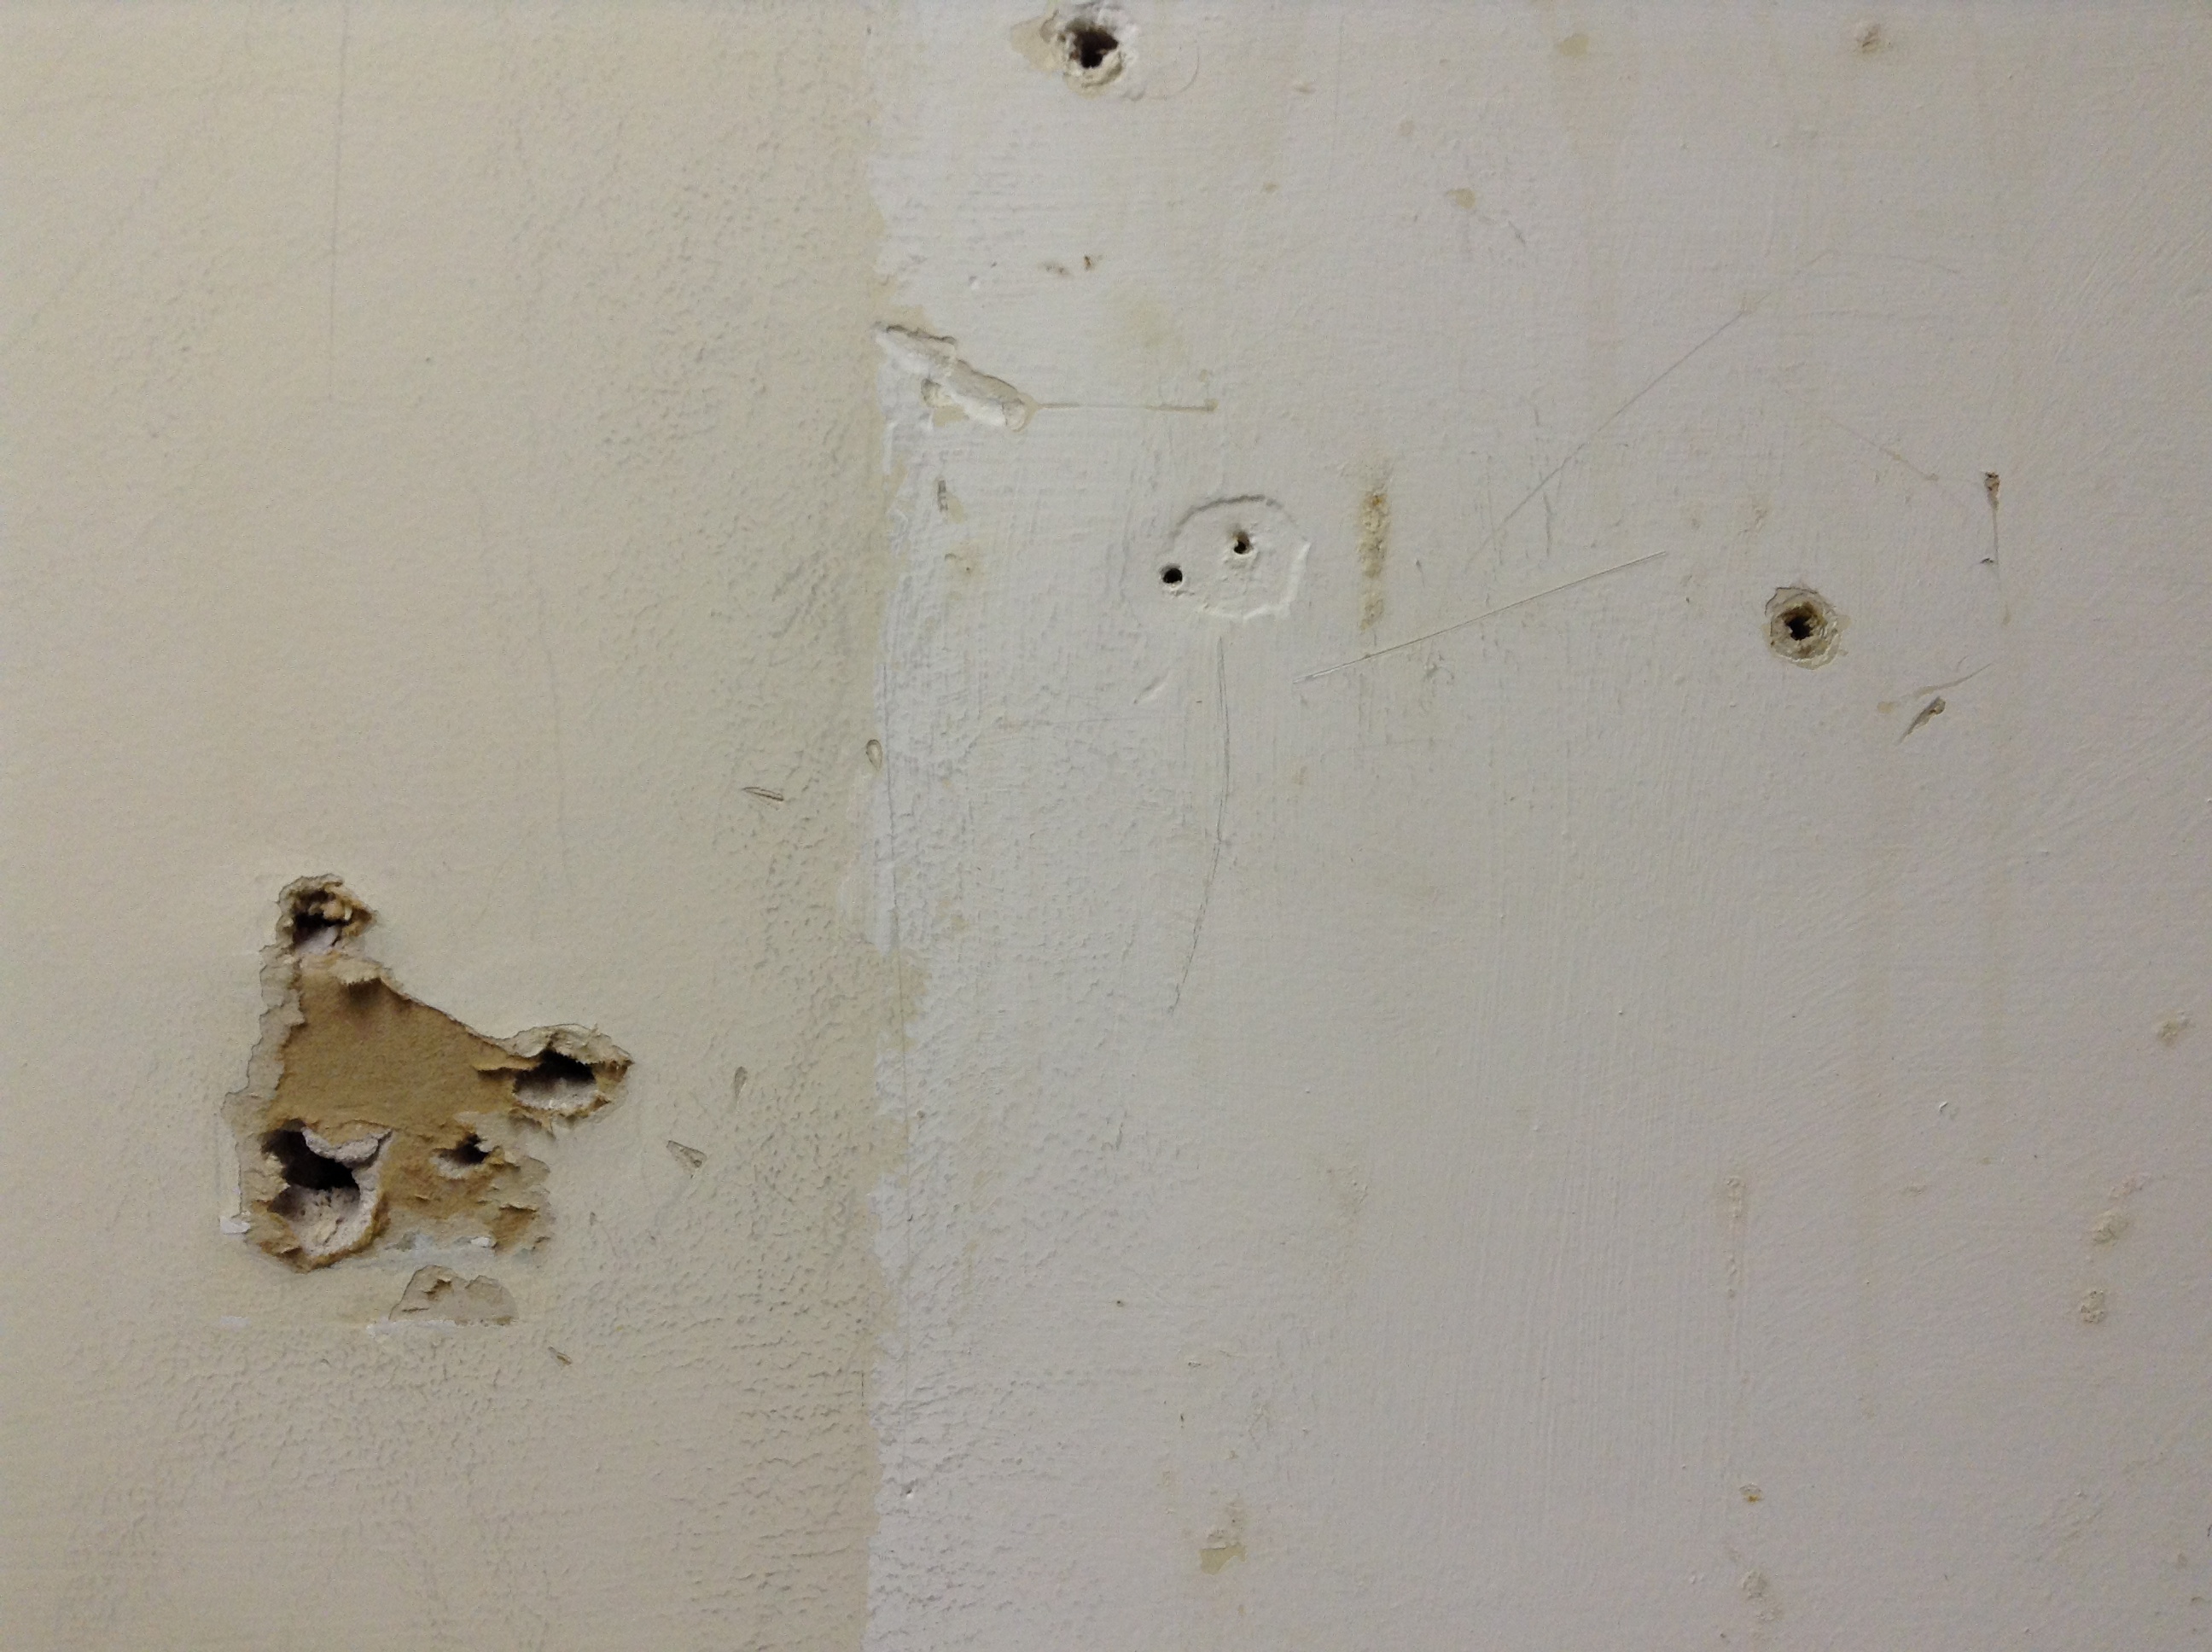
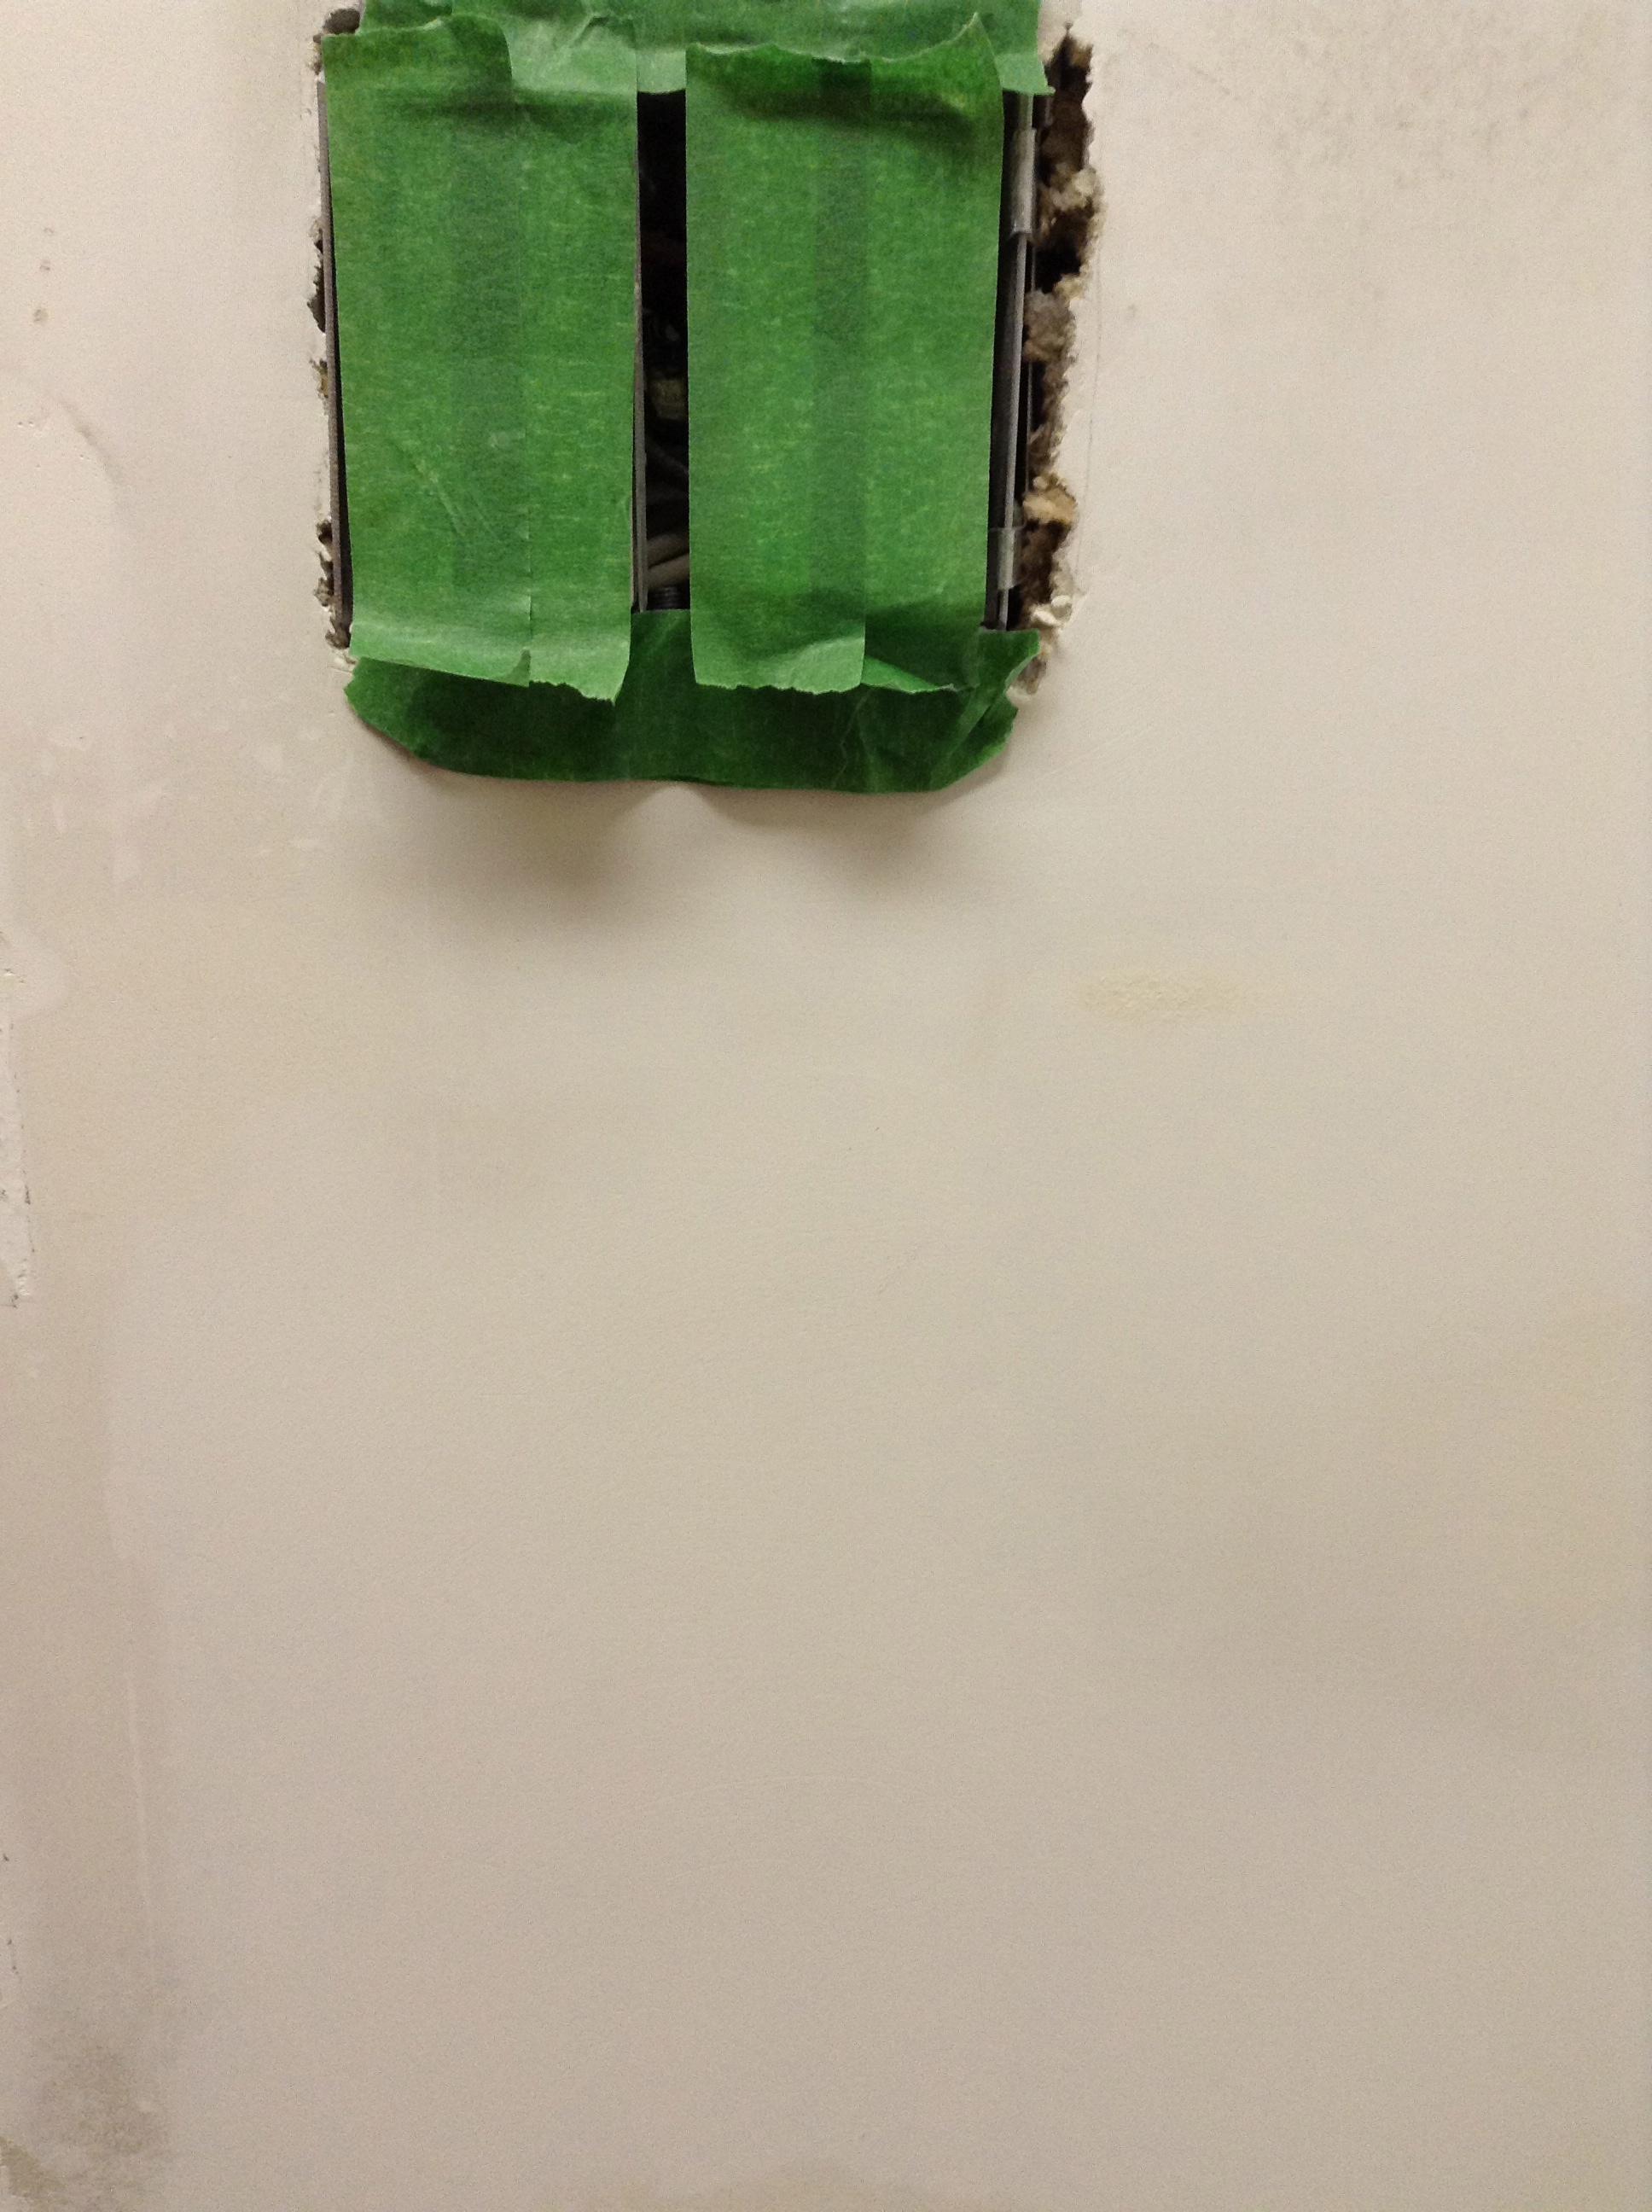
There were endless old holes, dents, and scratches in the walls that needed some TLC.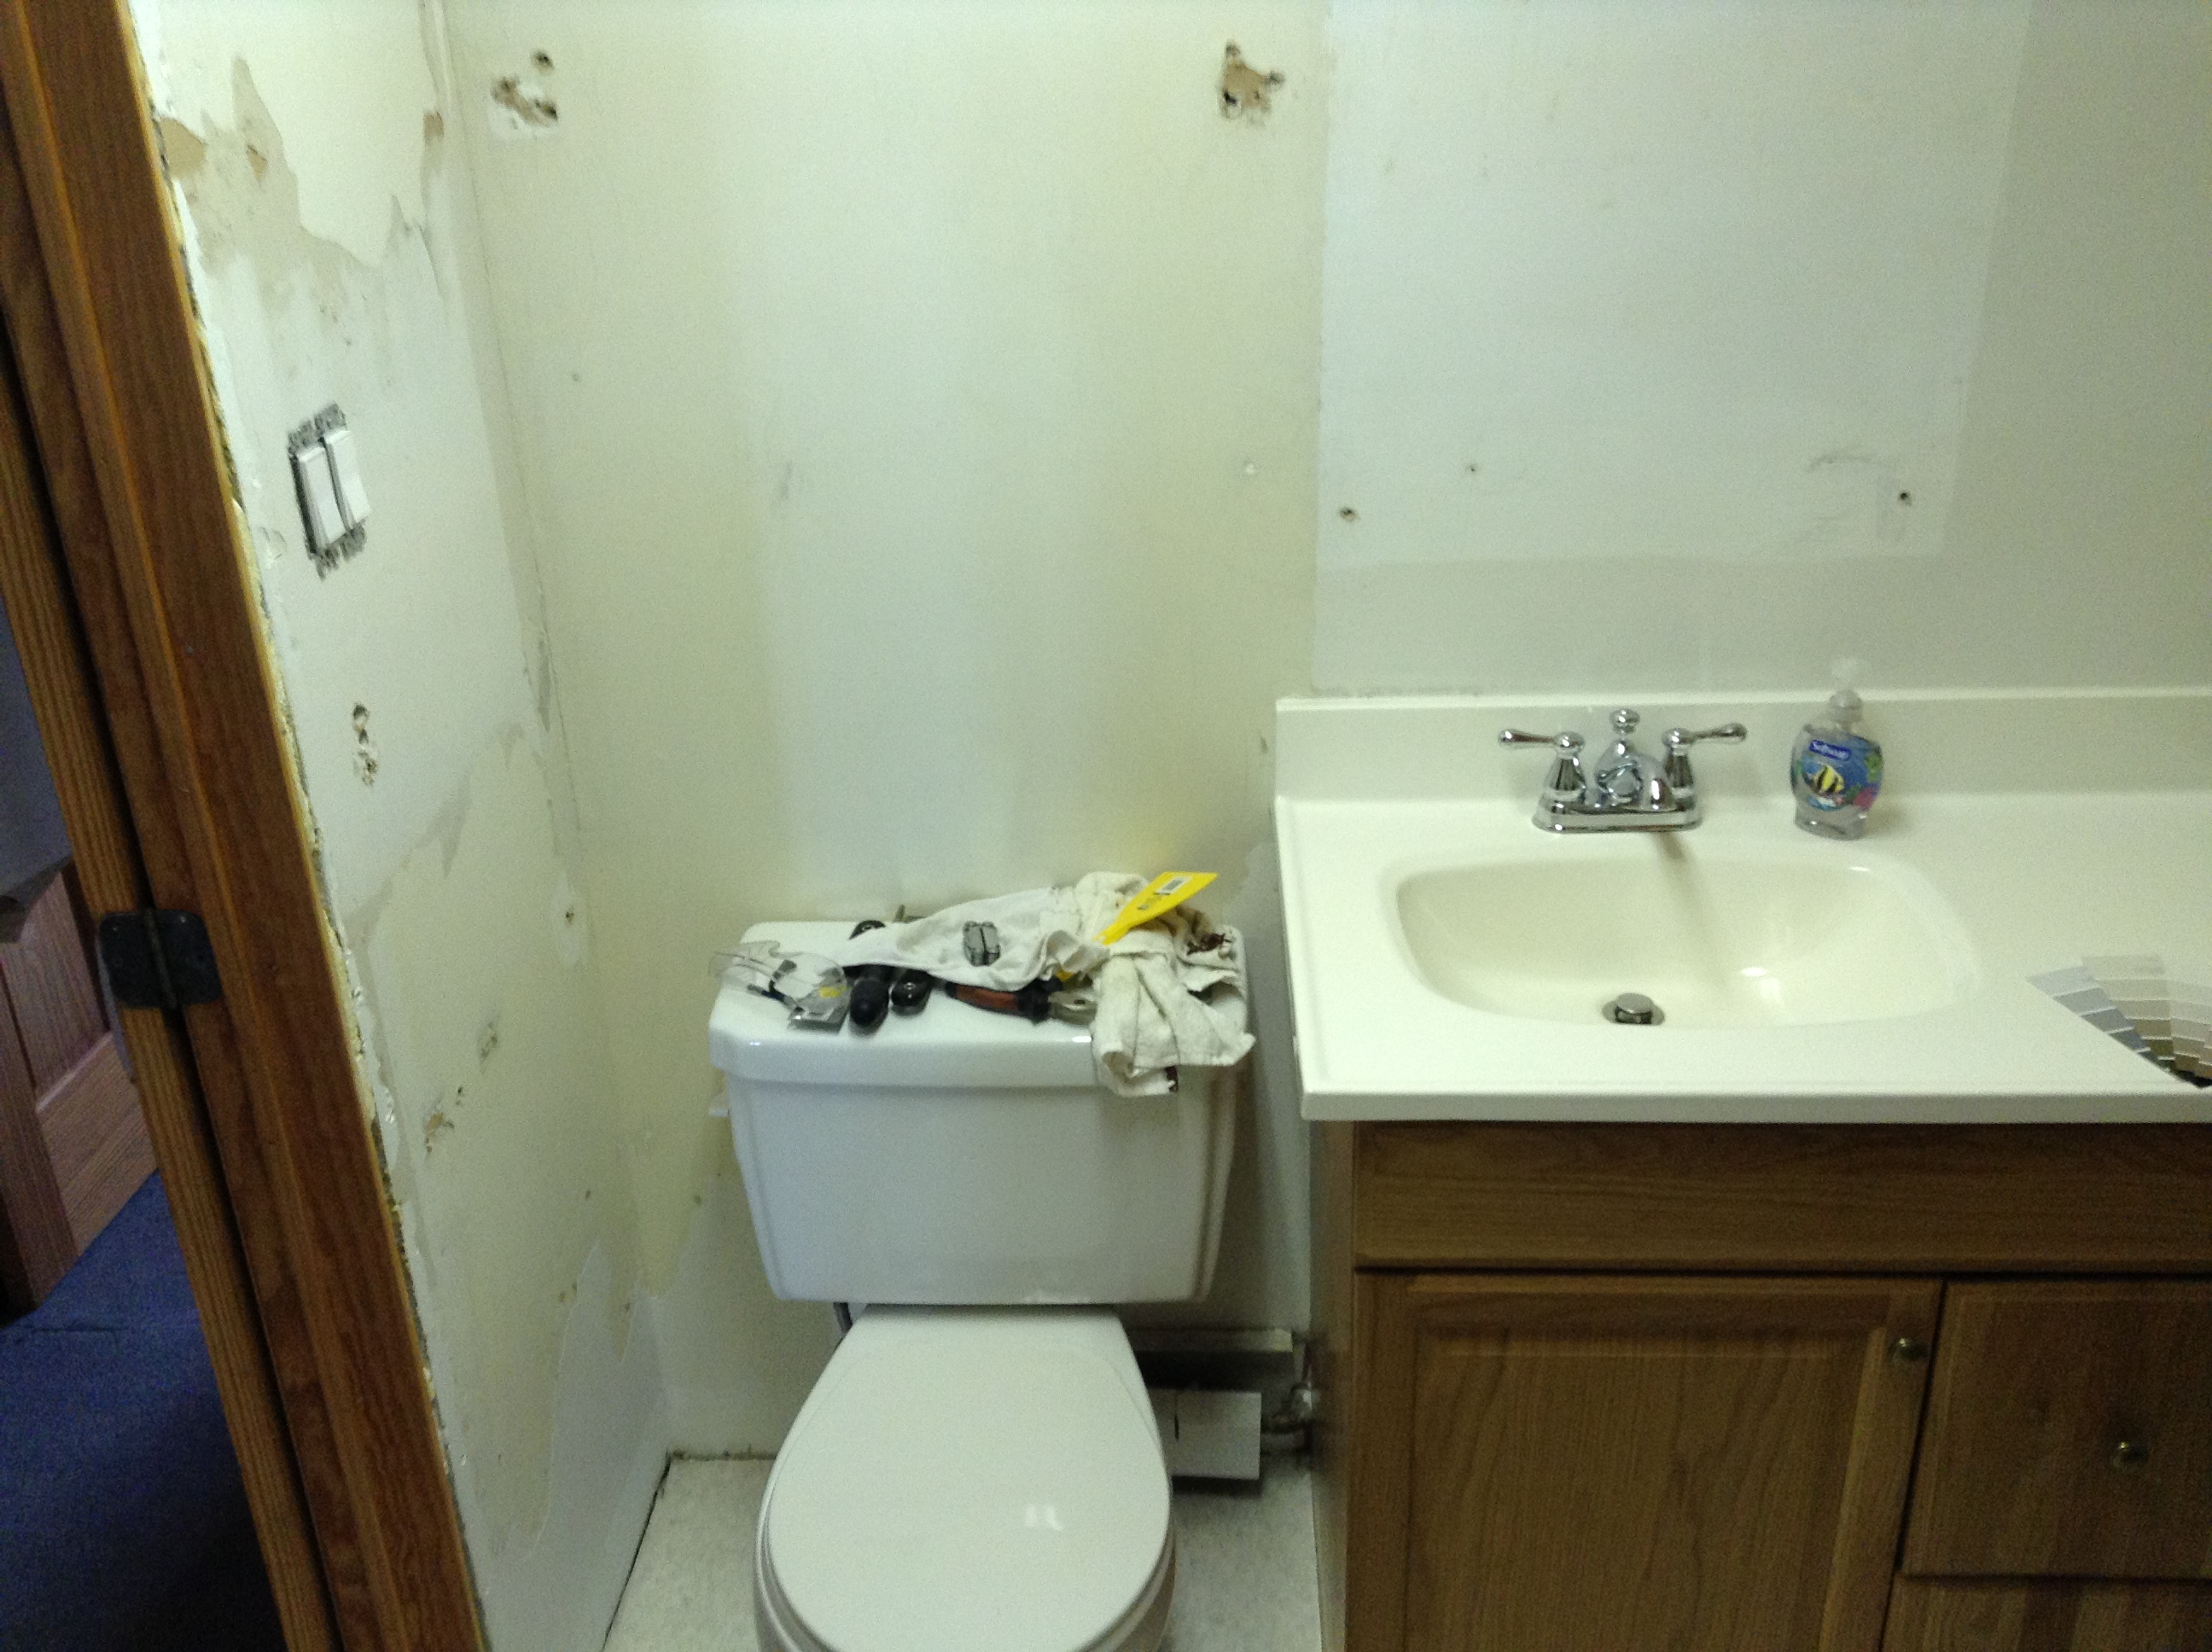
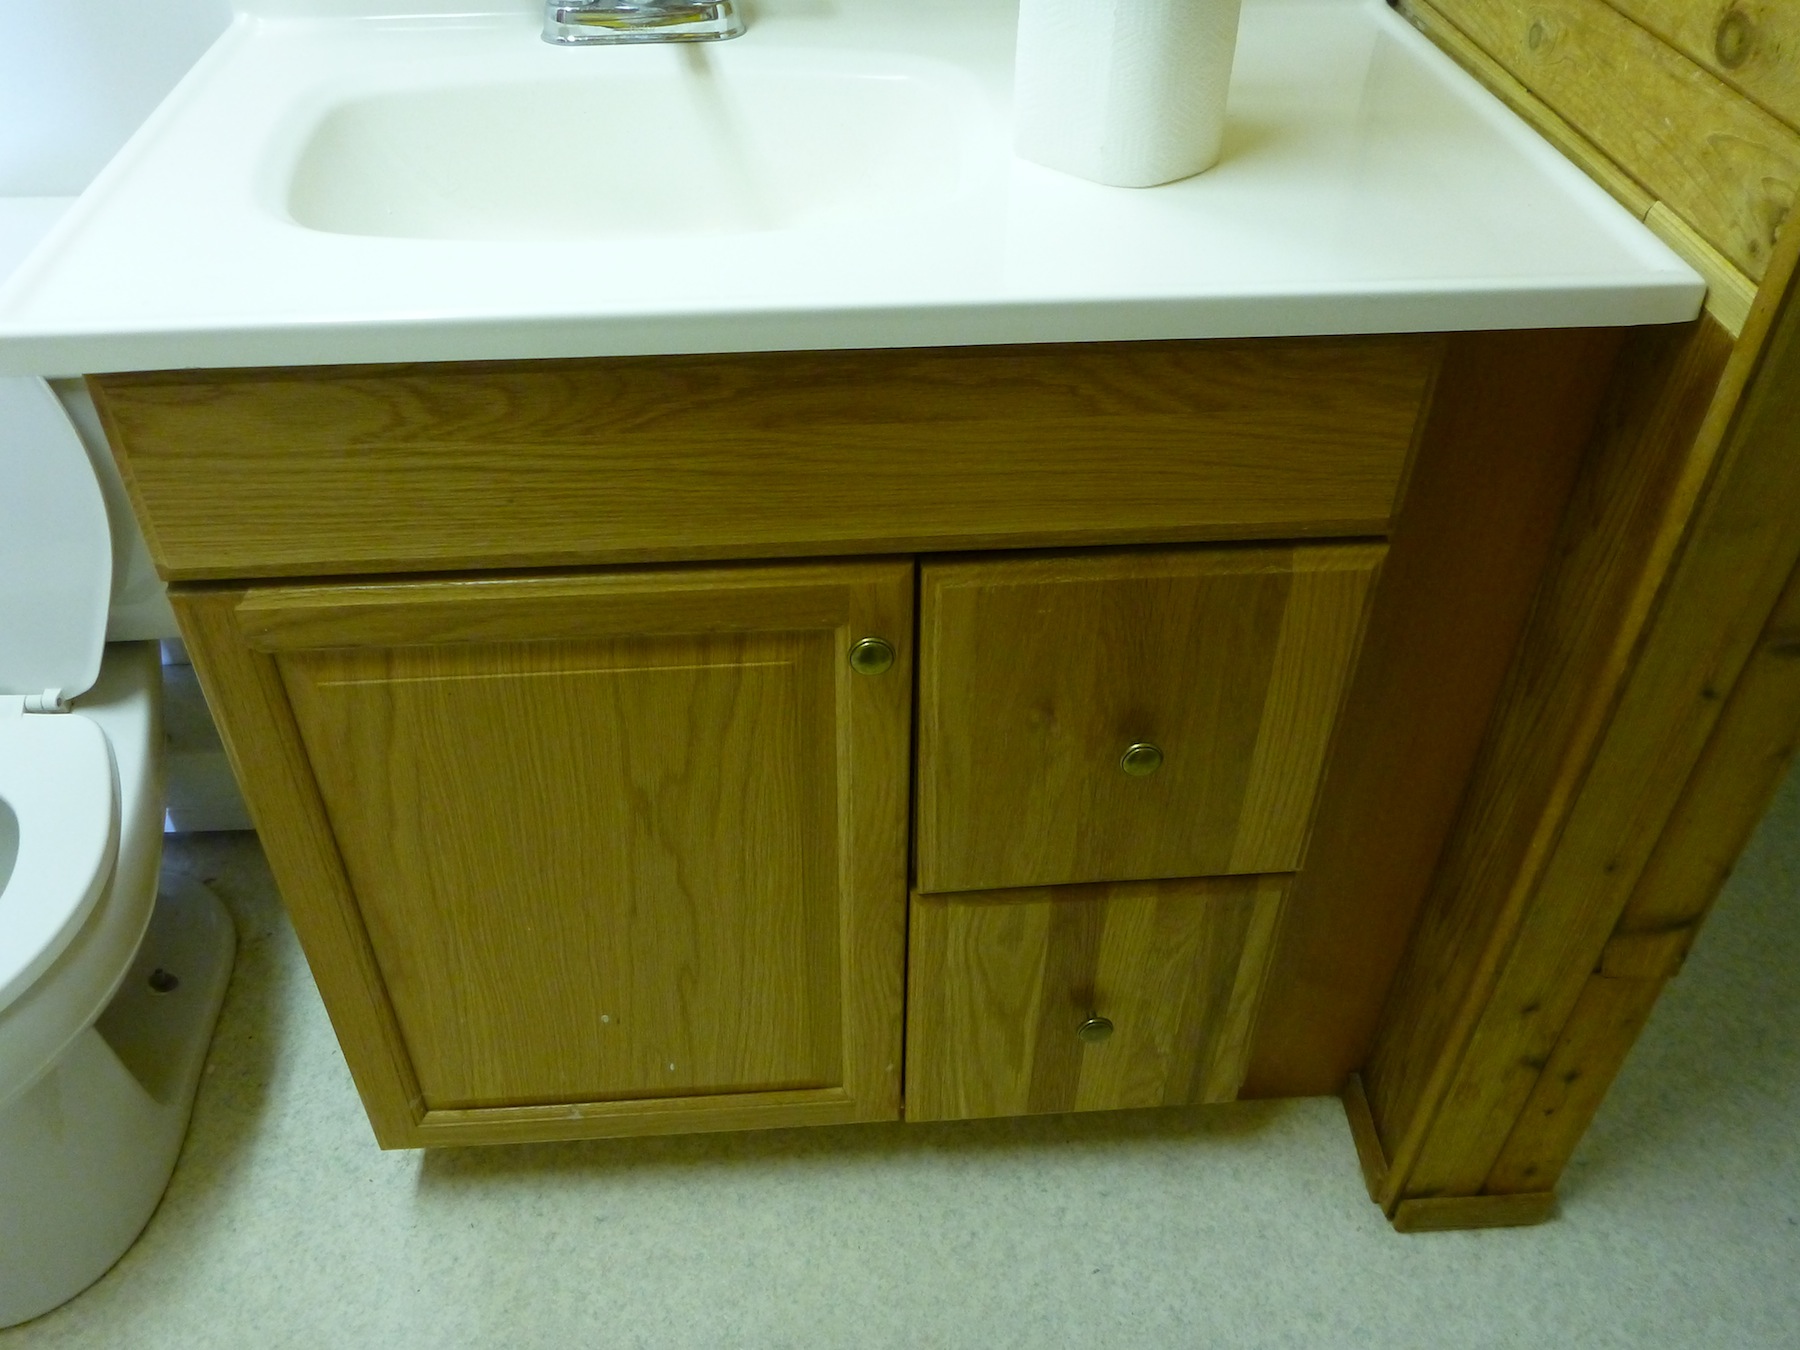
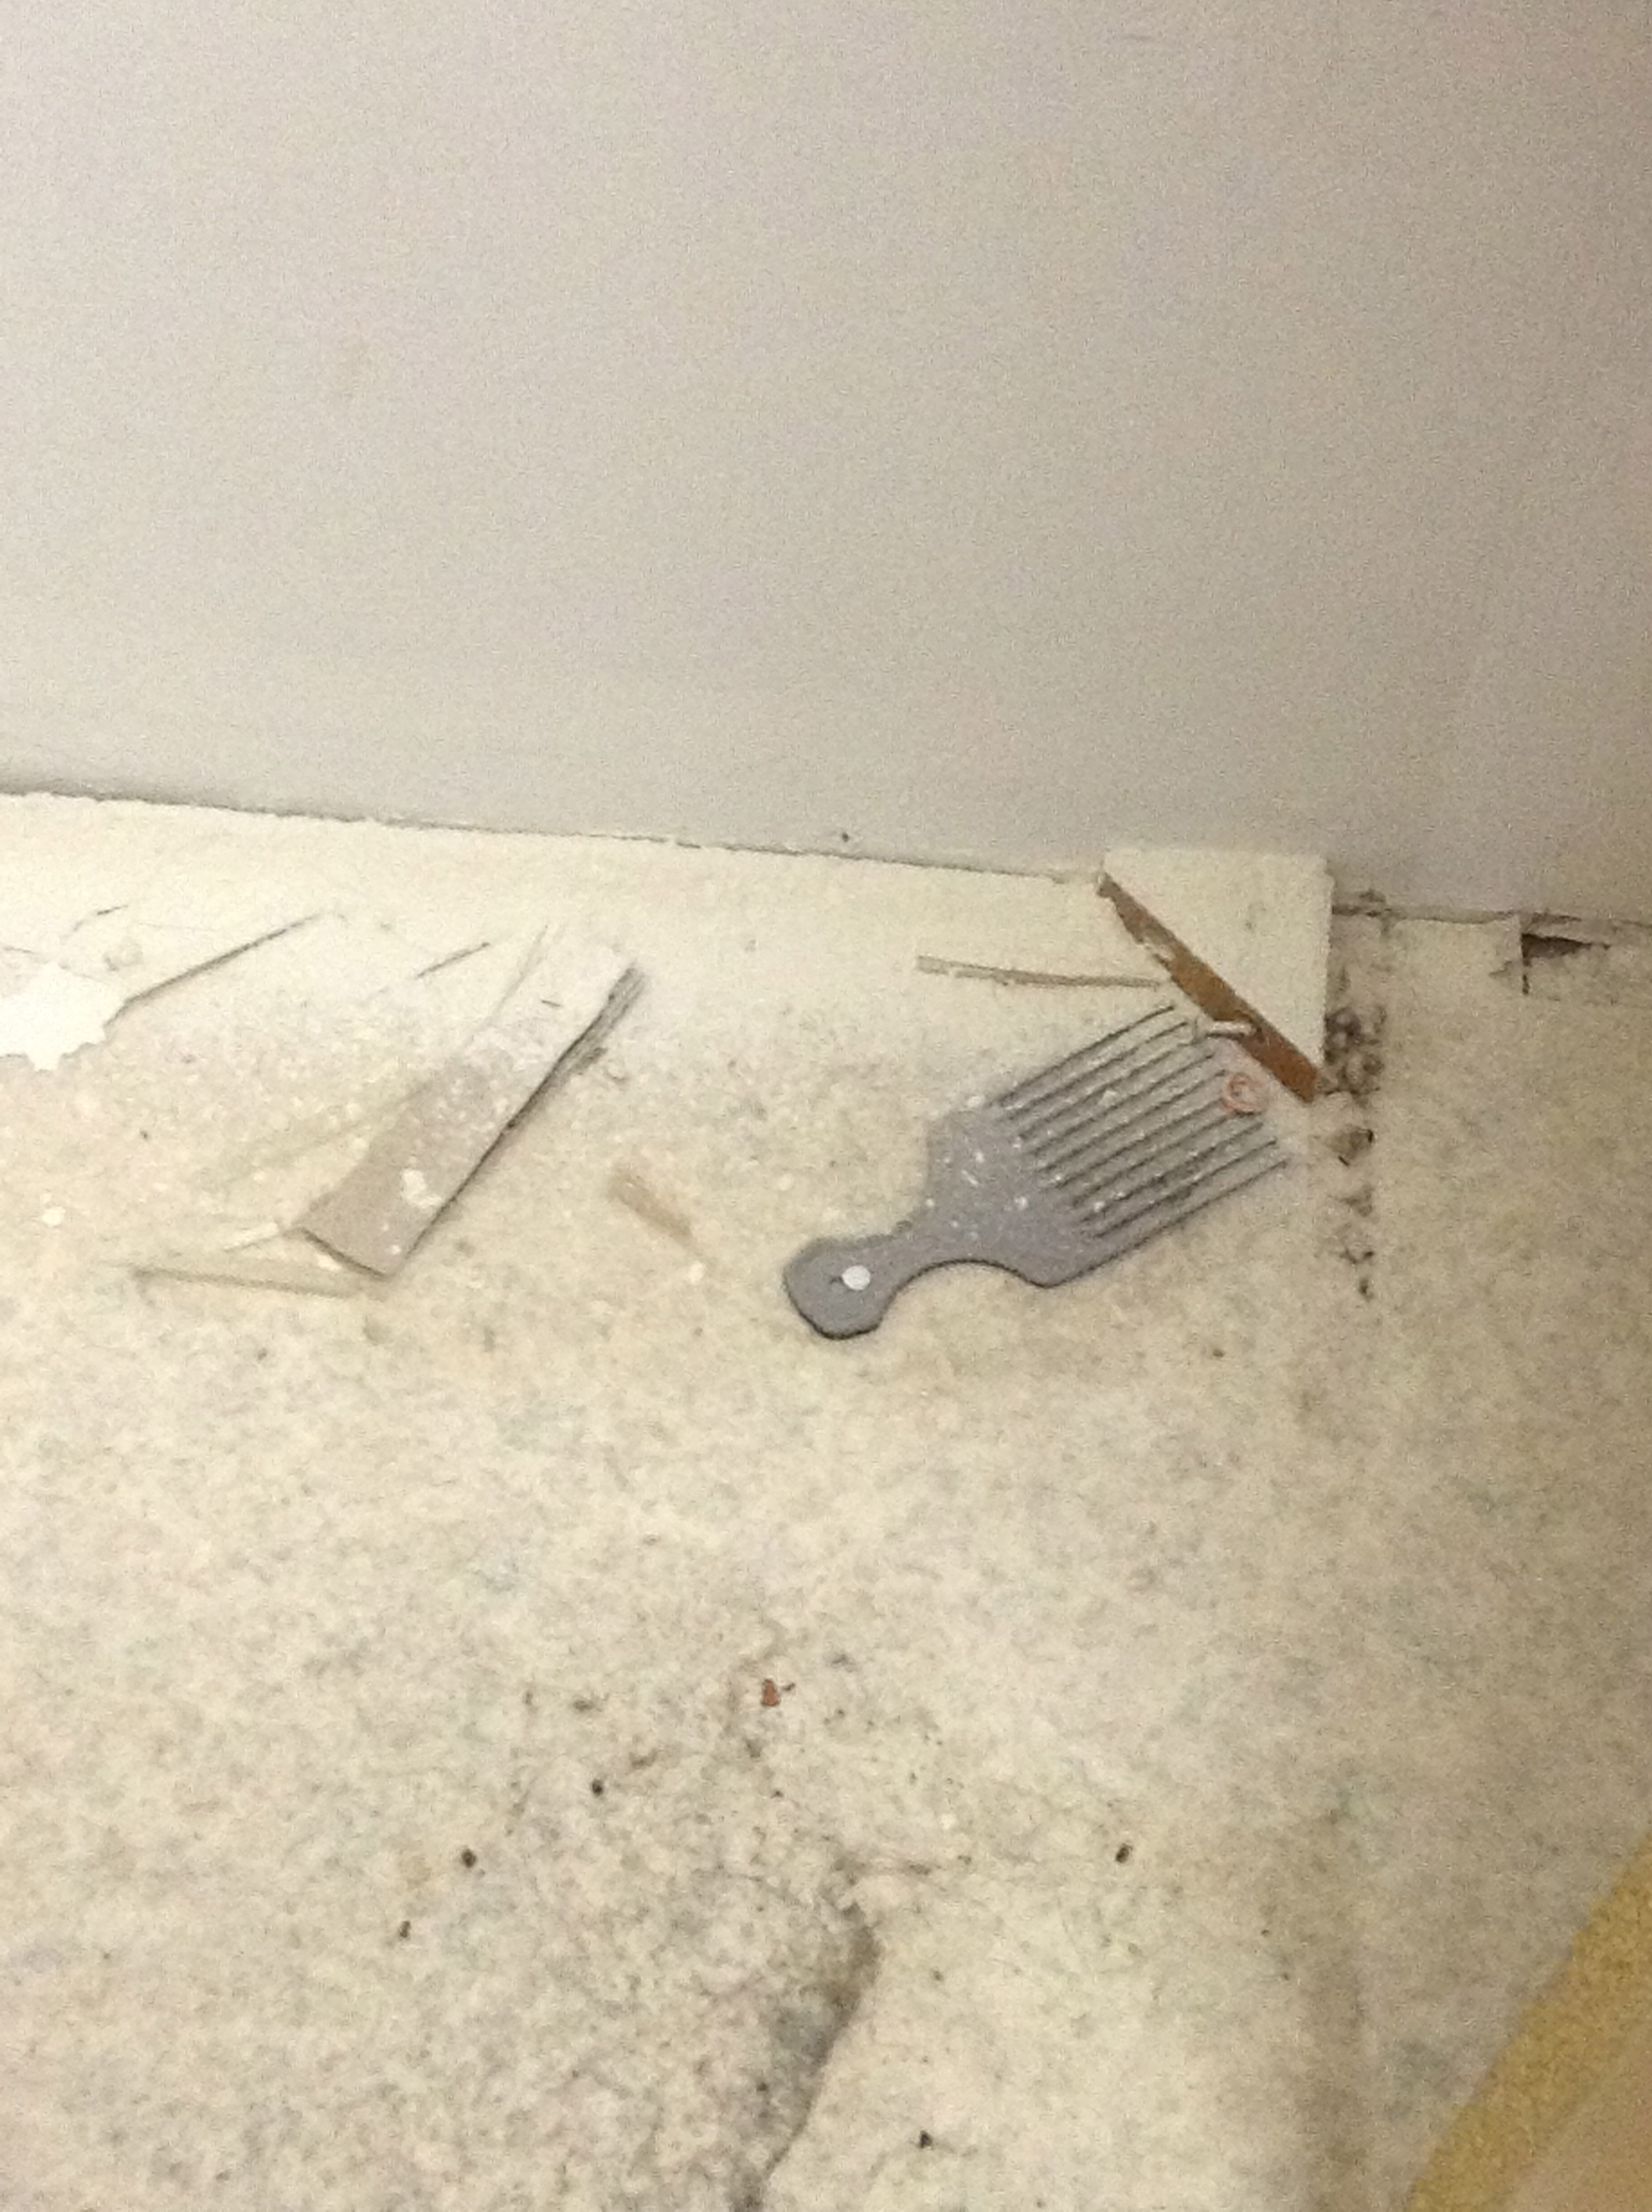 Ooooh, a perm comb under the counter! Now there’s a find!
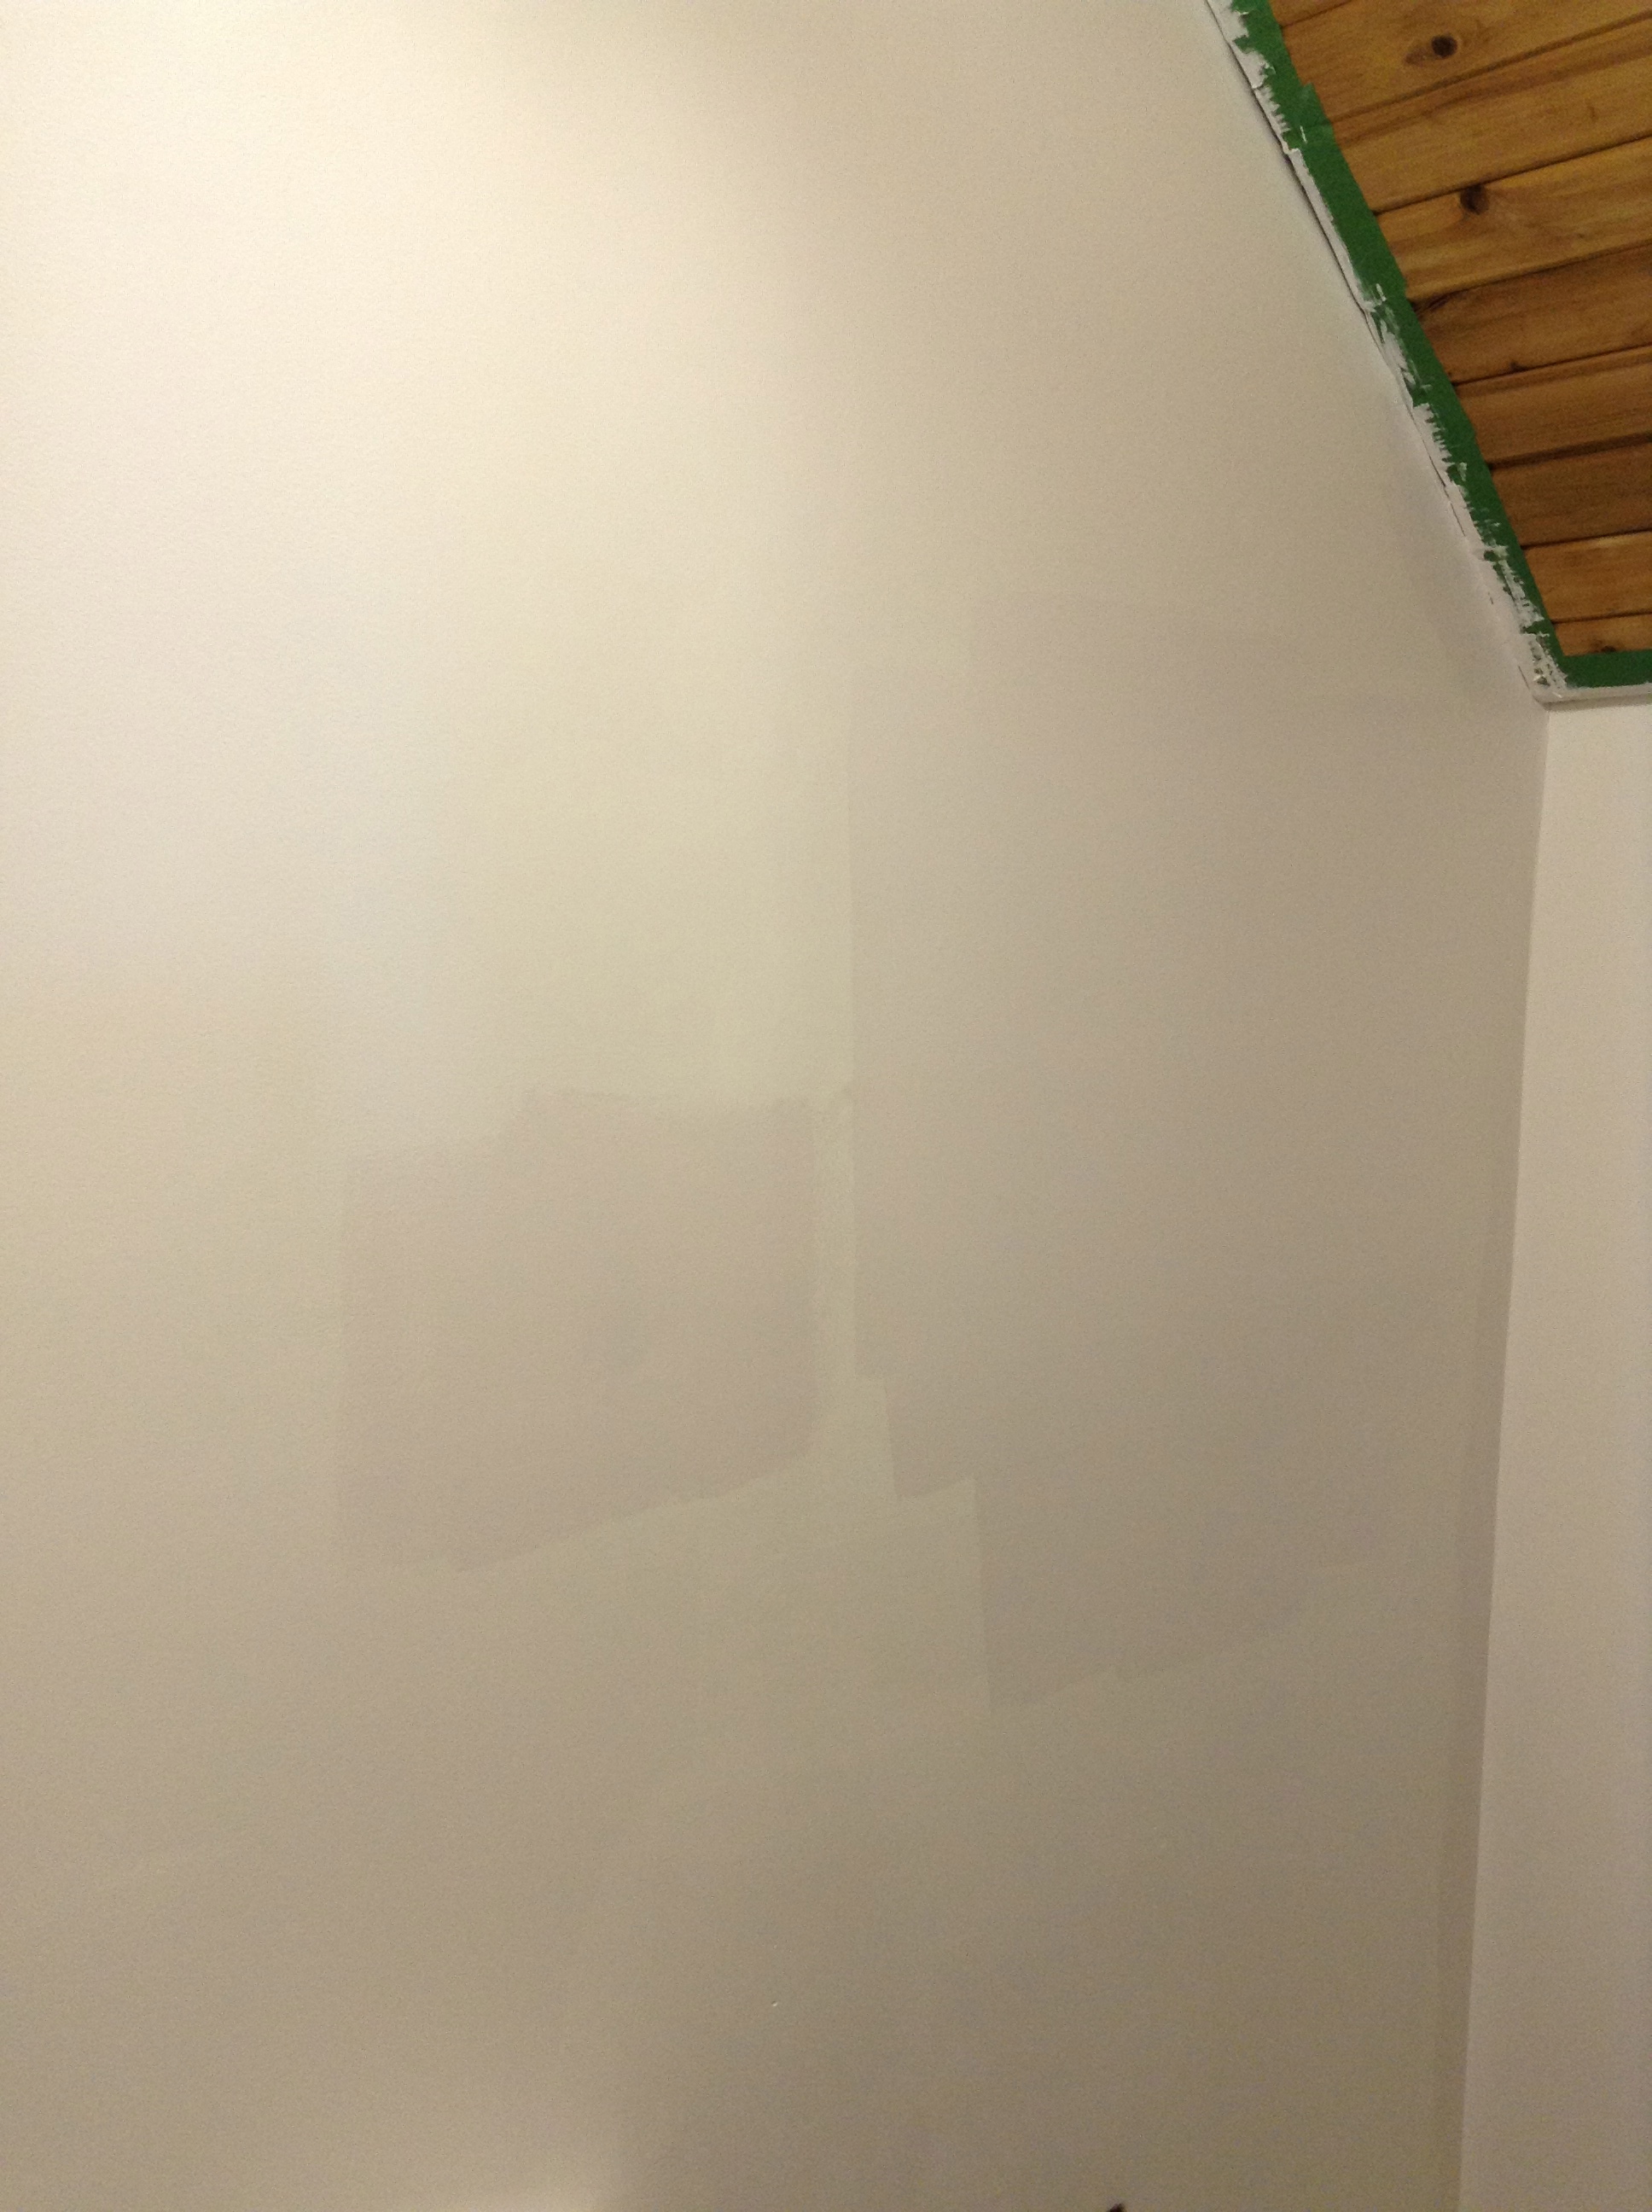
Then came the repairs. I started with sanding everything, then mudding, sanding, mudding, sanding, and another mudding followed by sanding with drywall plaster until everything was as smooth as a baby’s buttocks.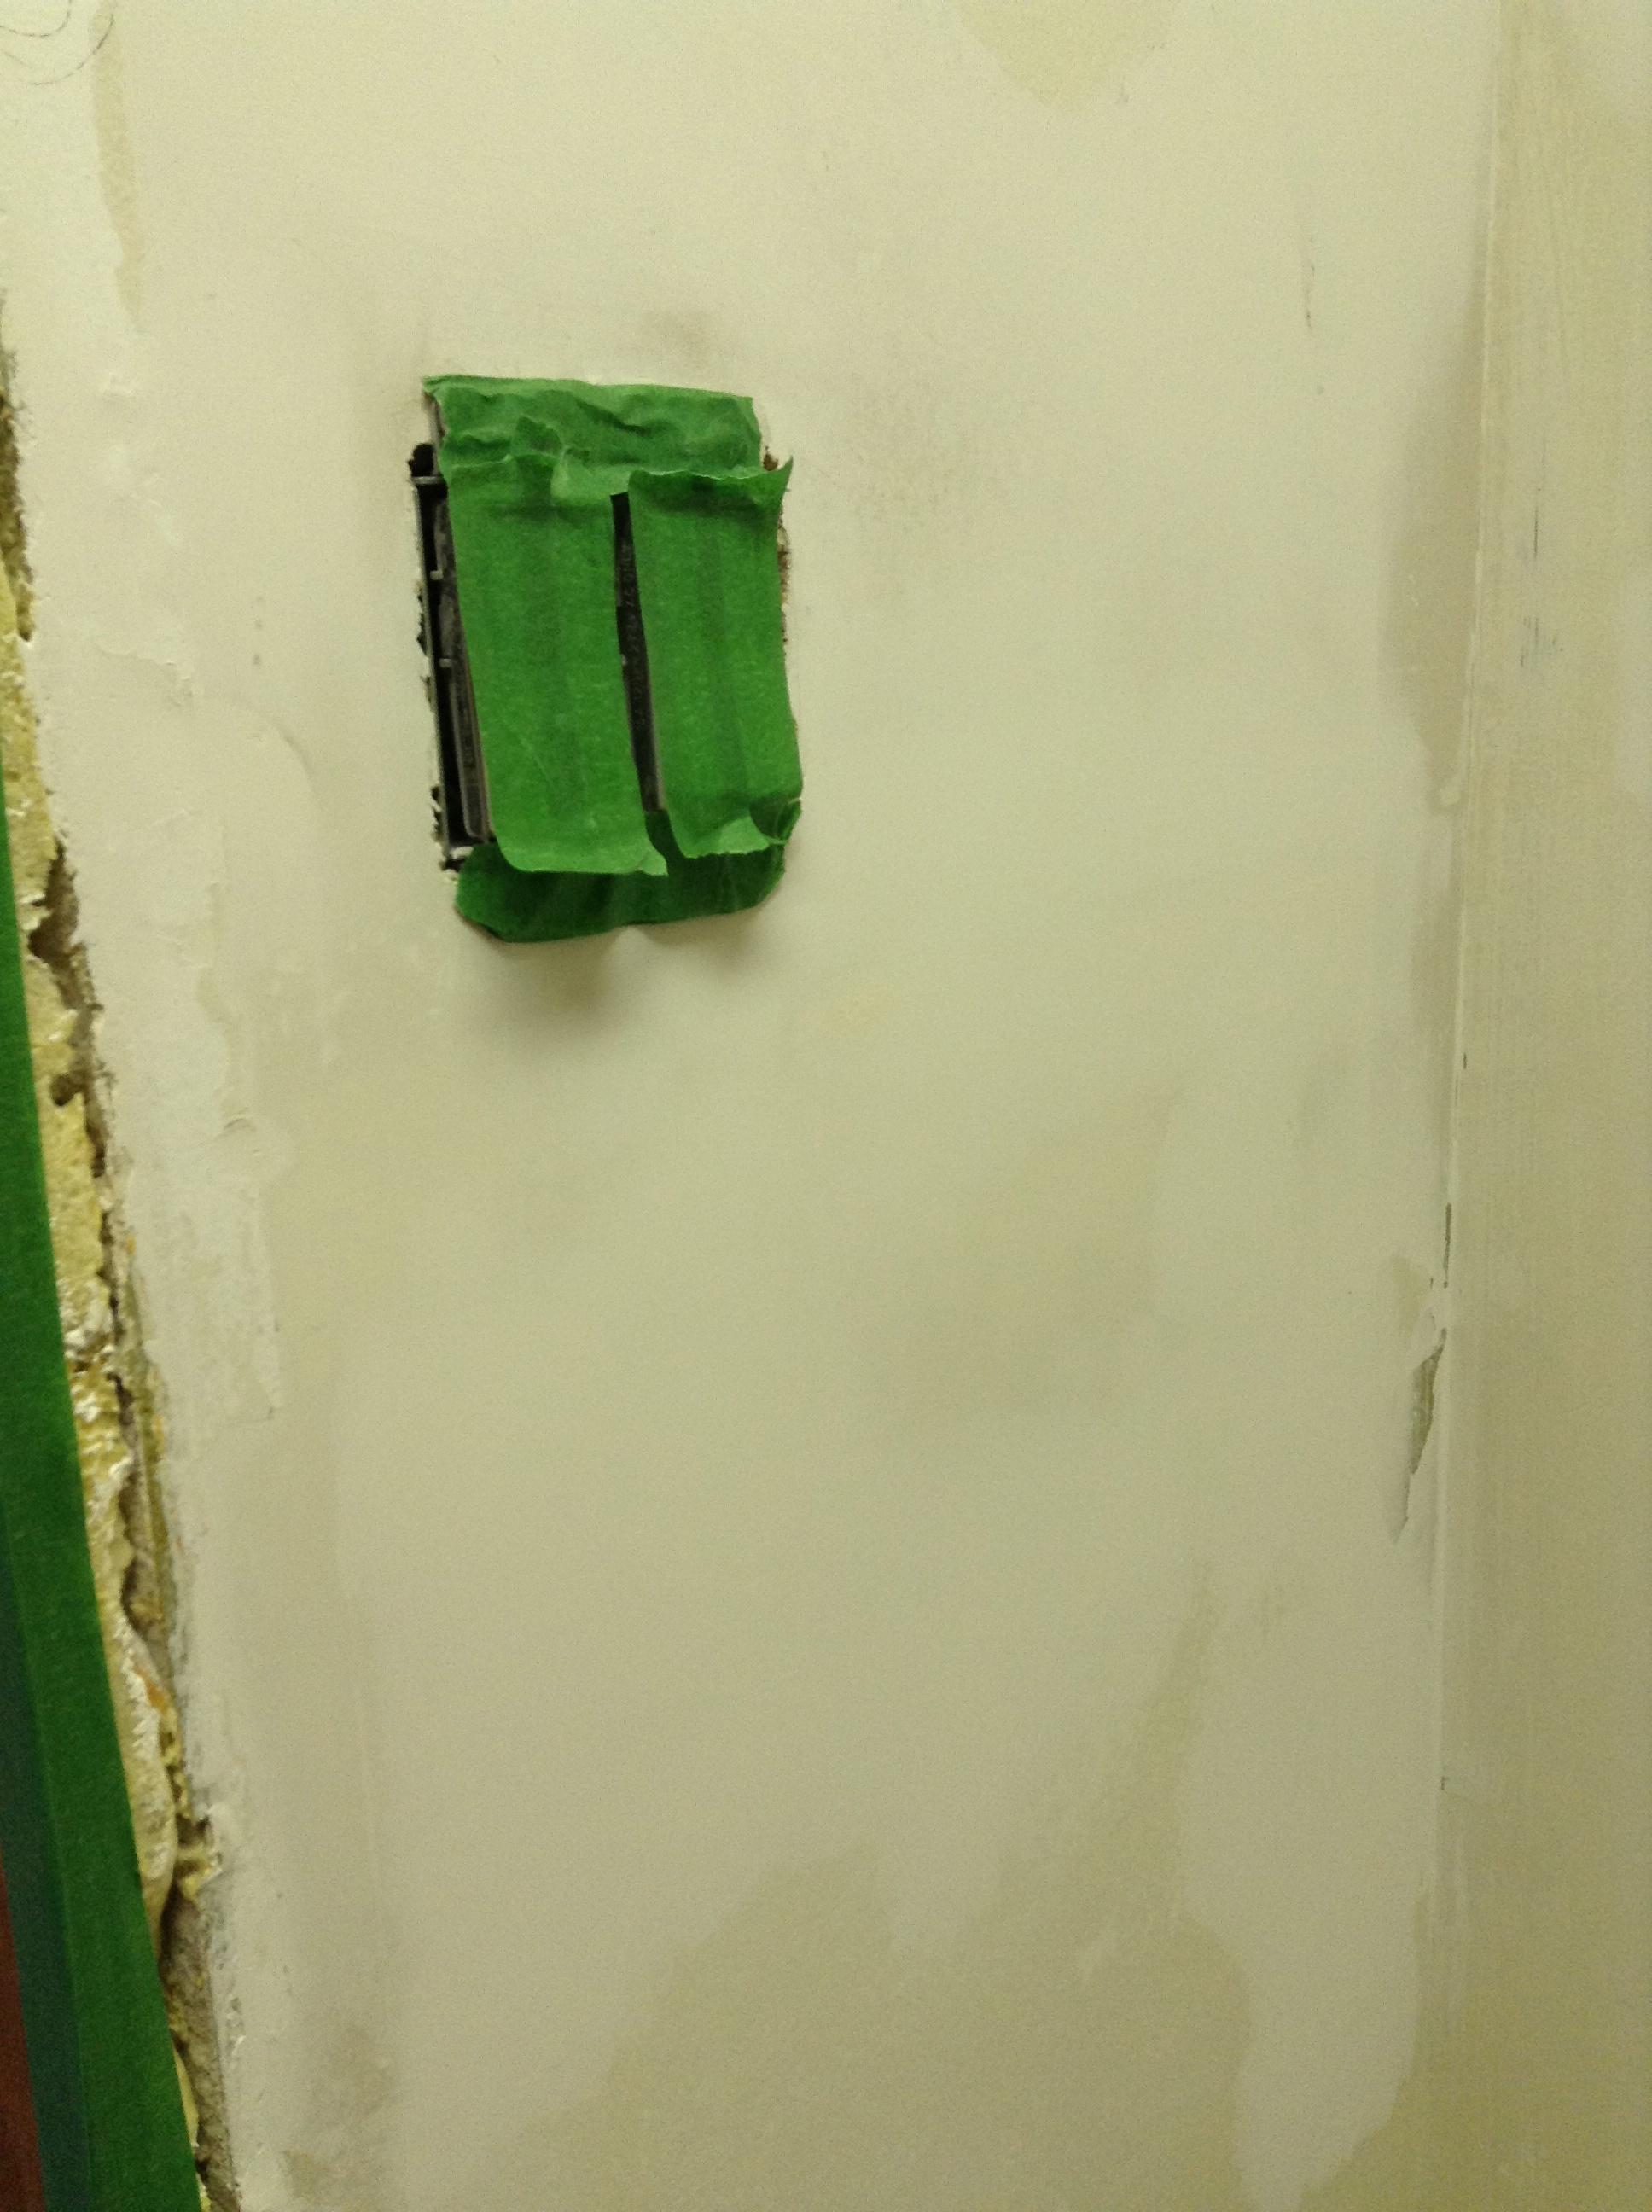 Here’s one wall mid-mudding.
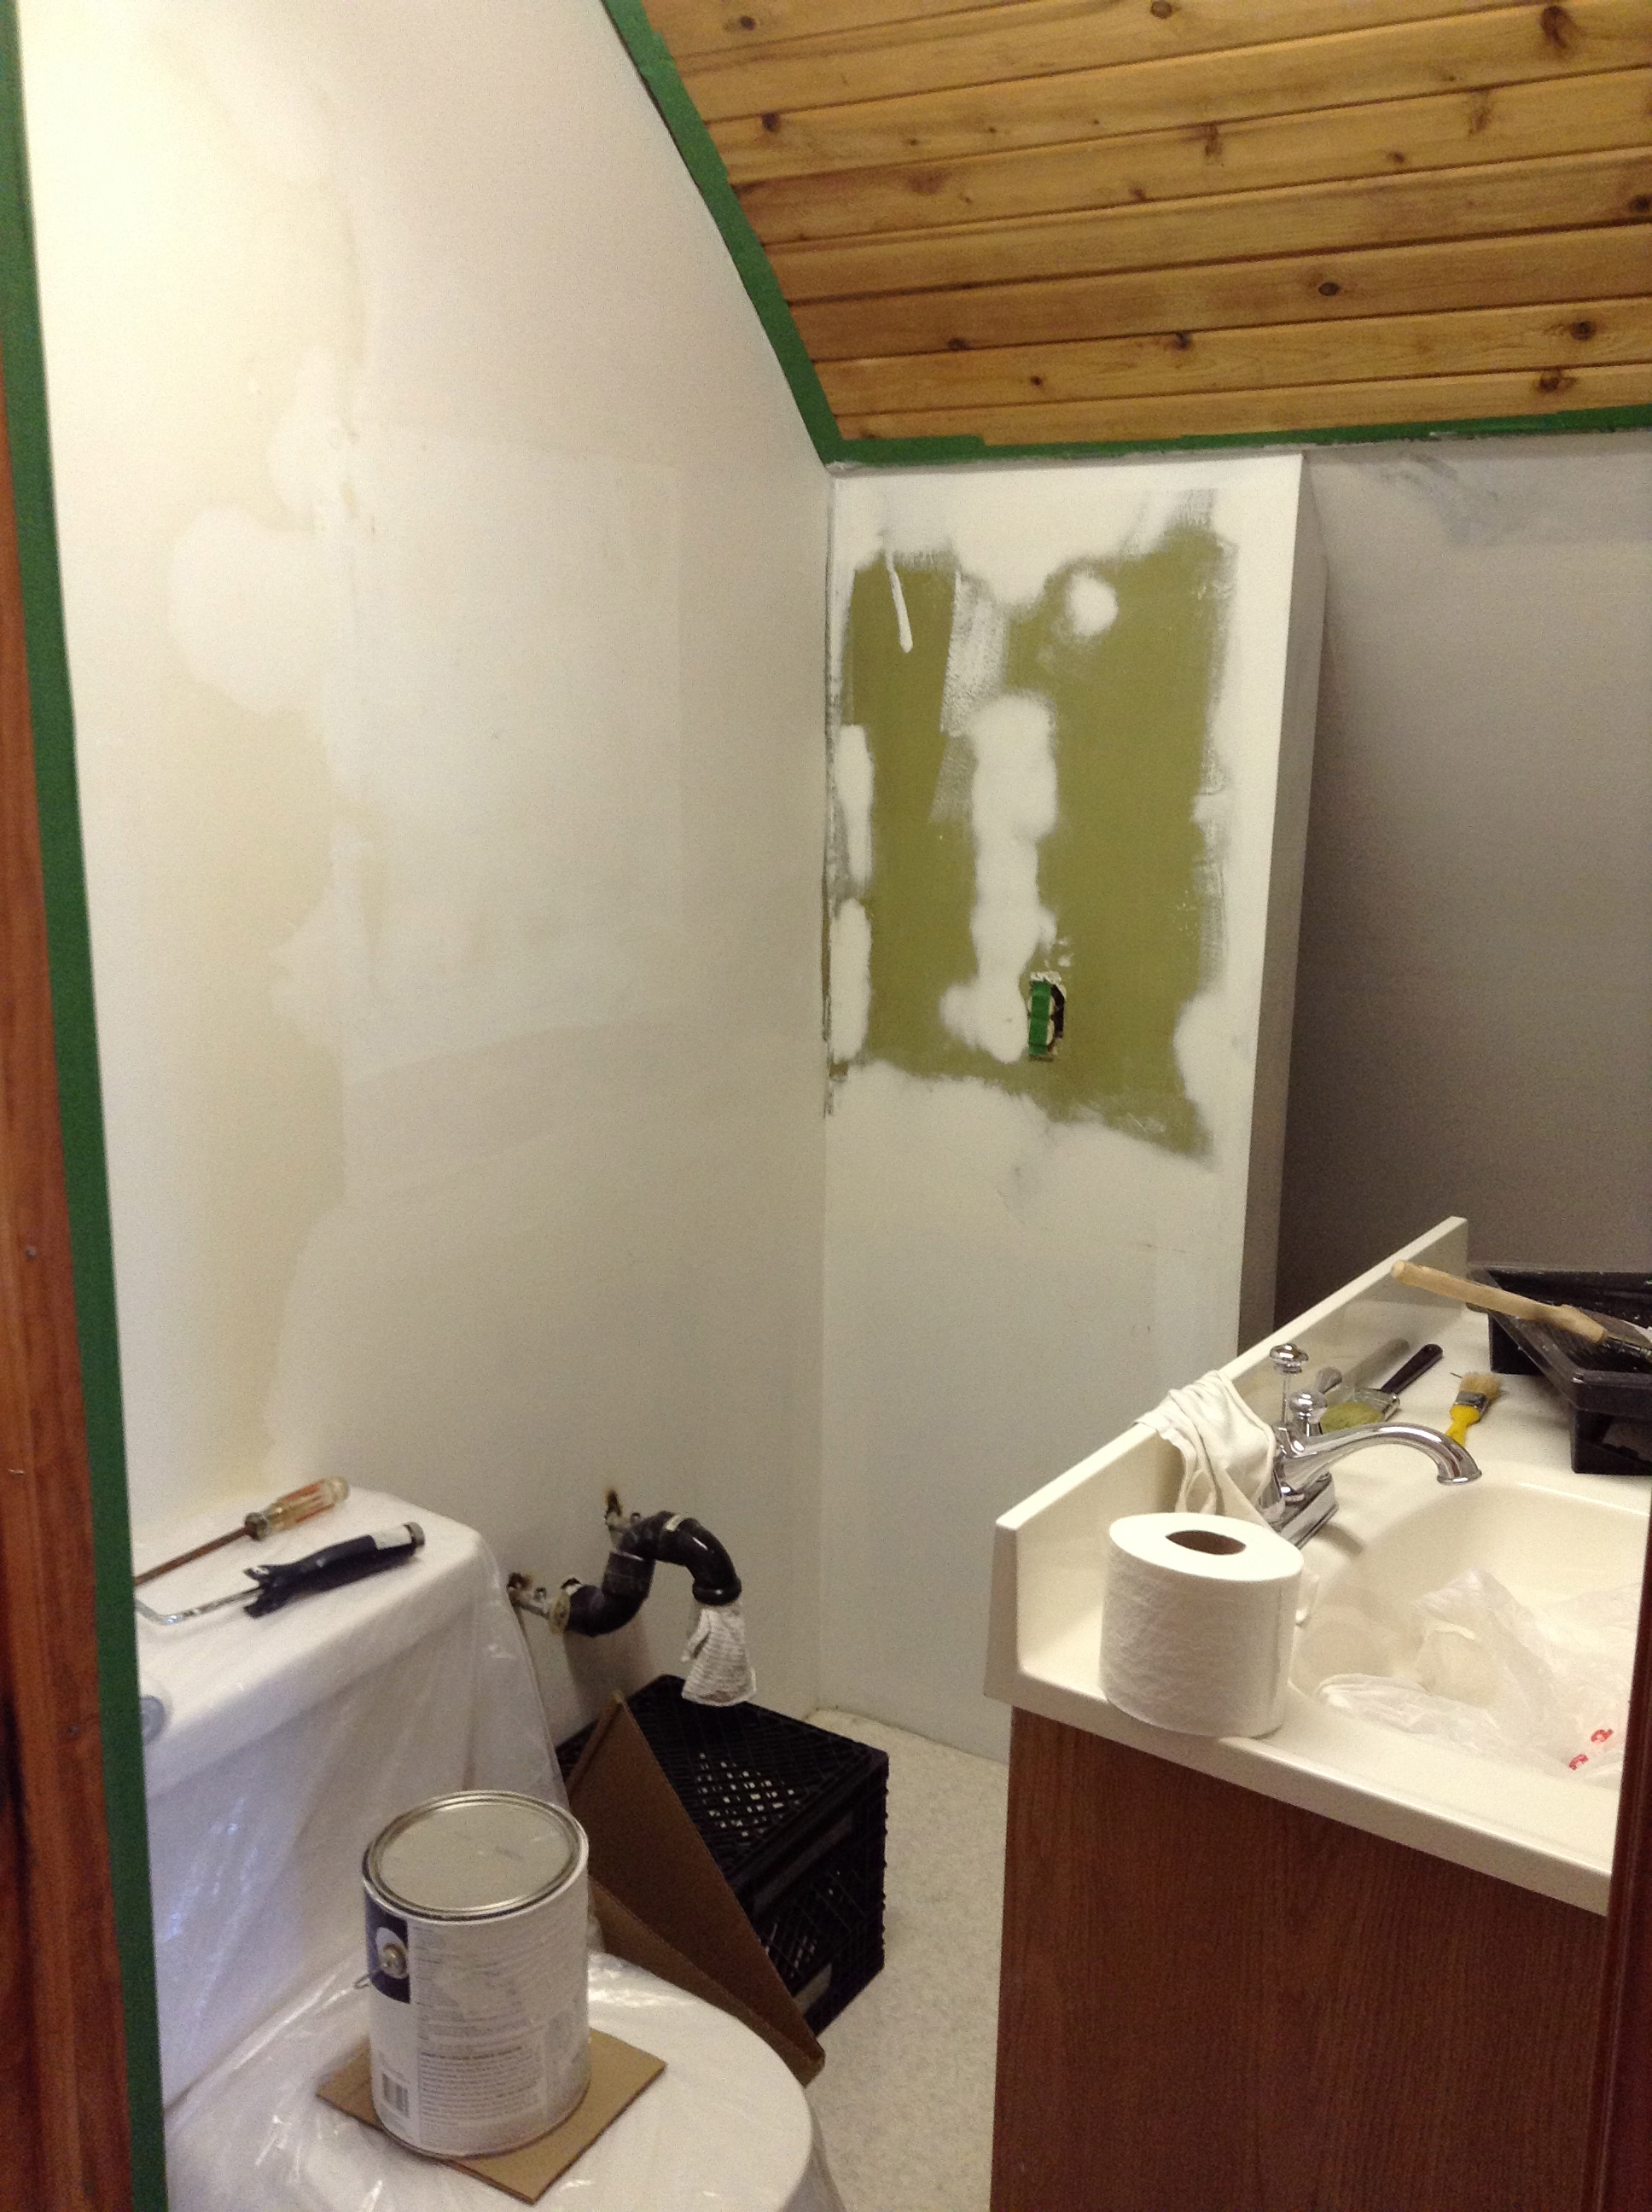
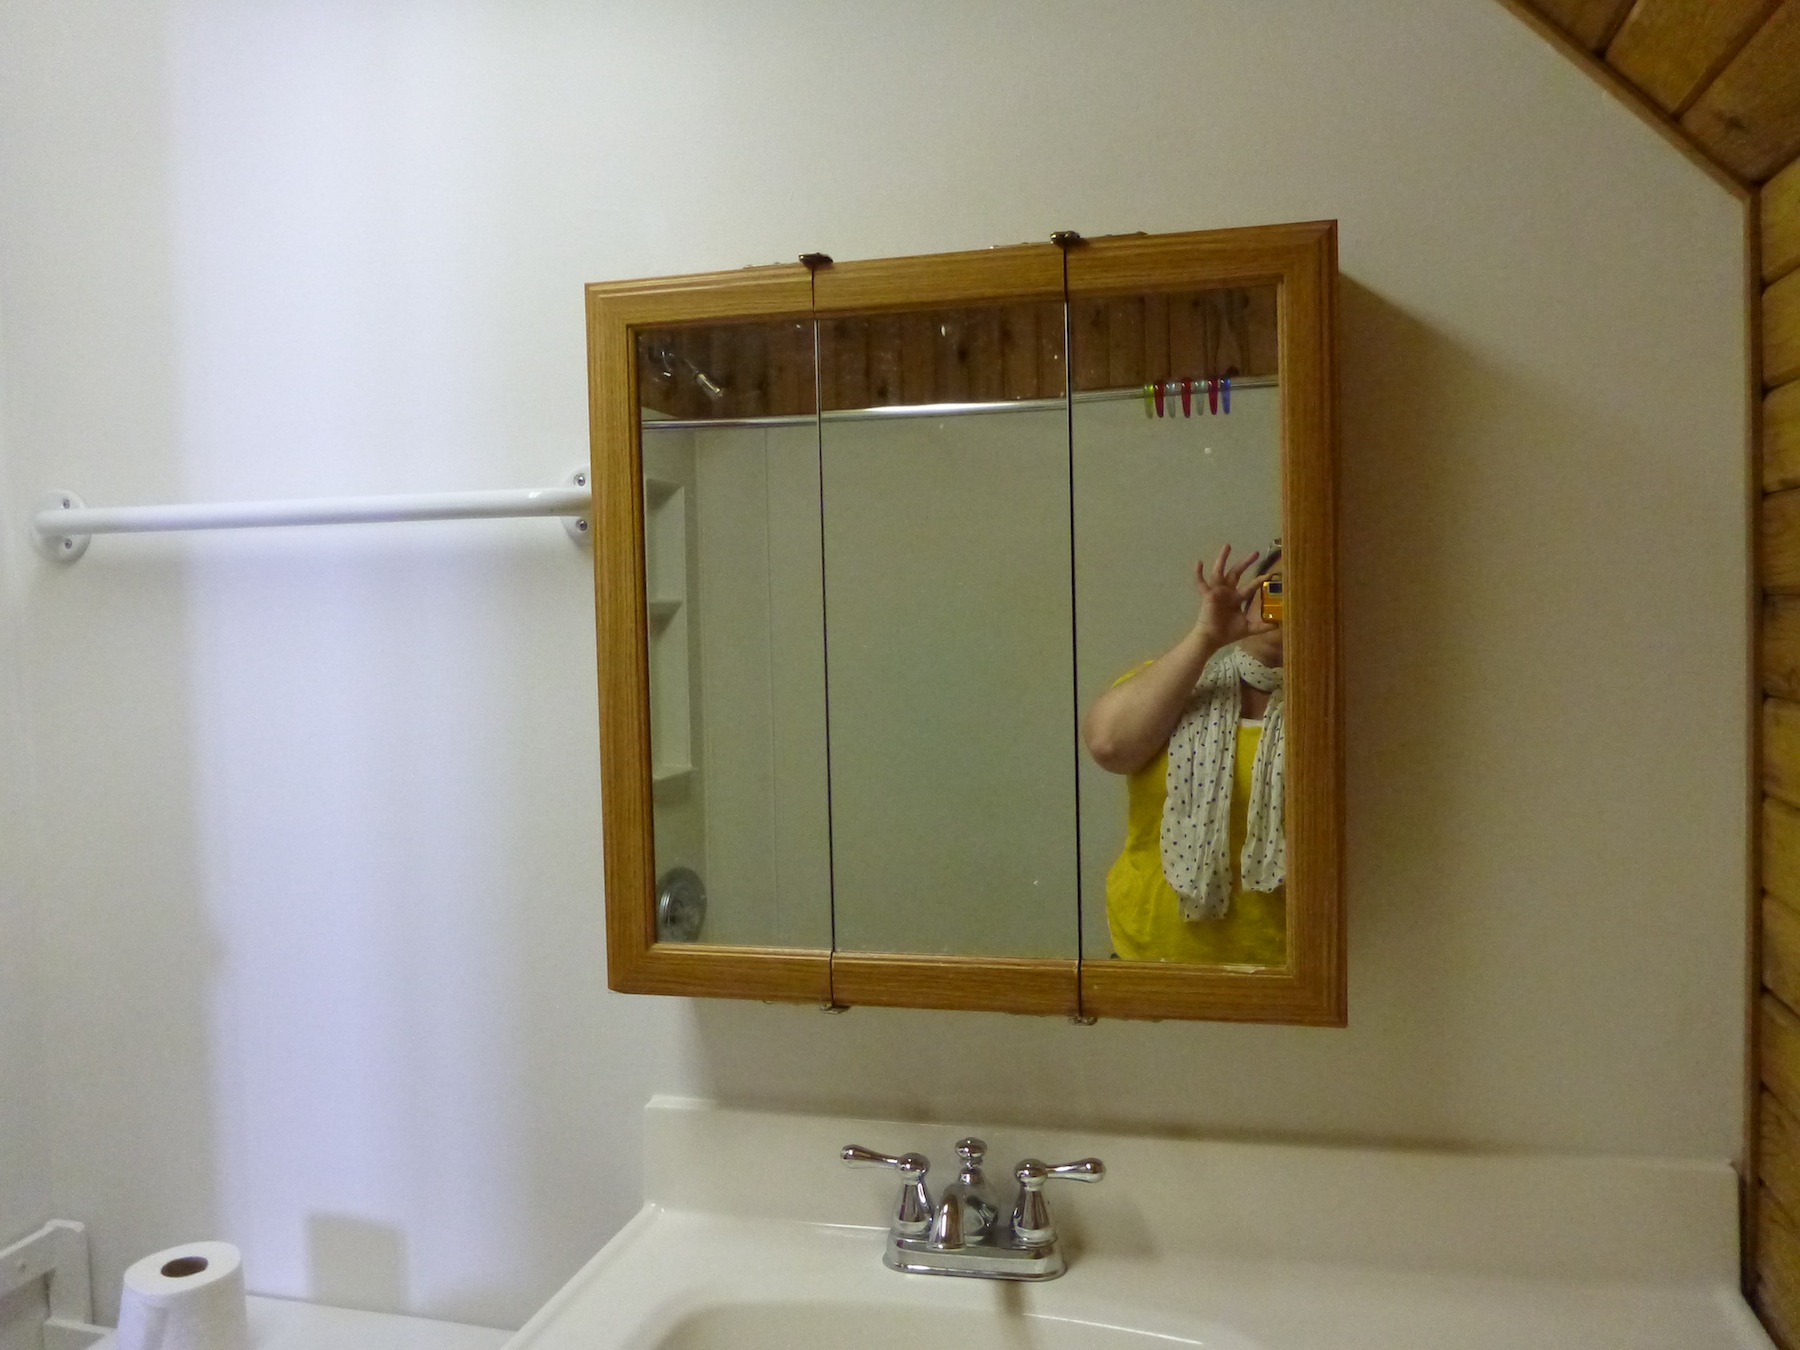
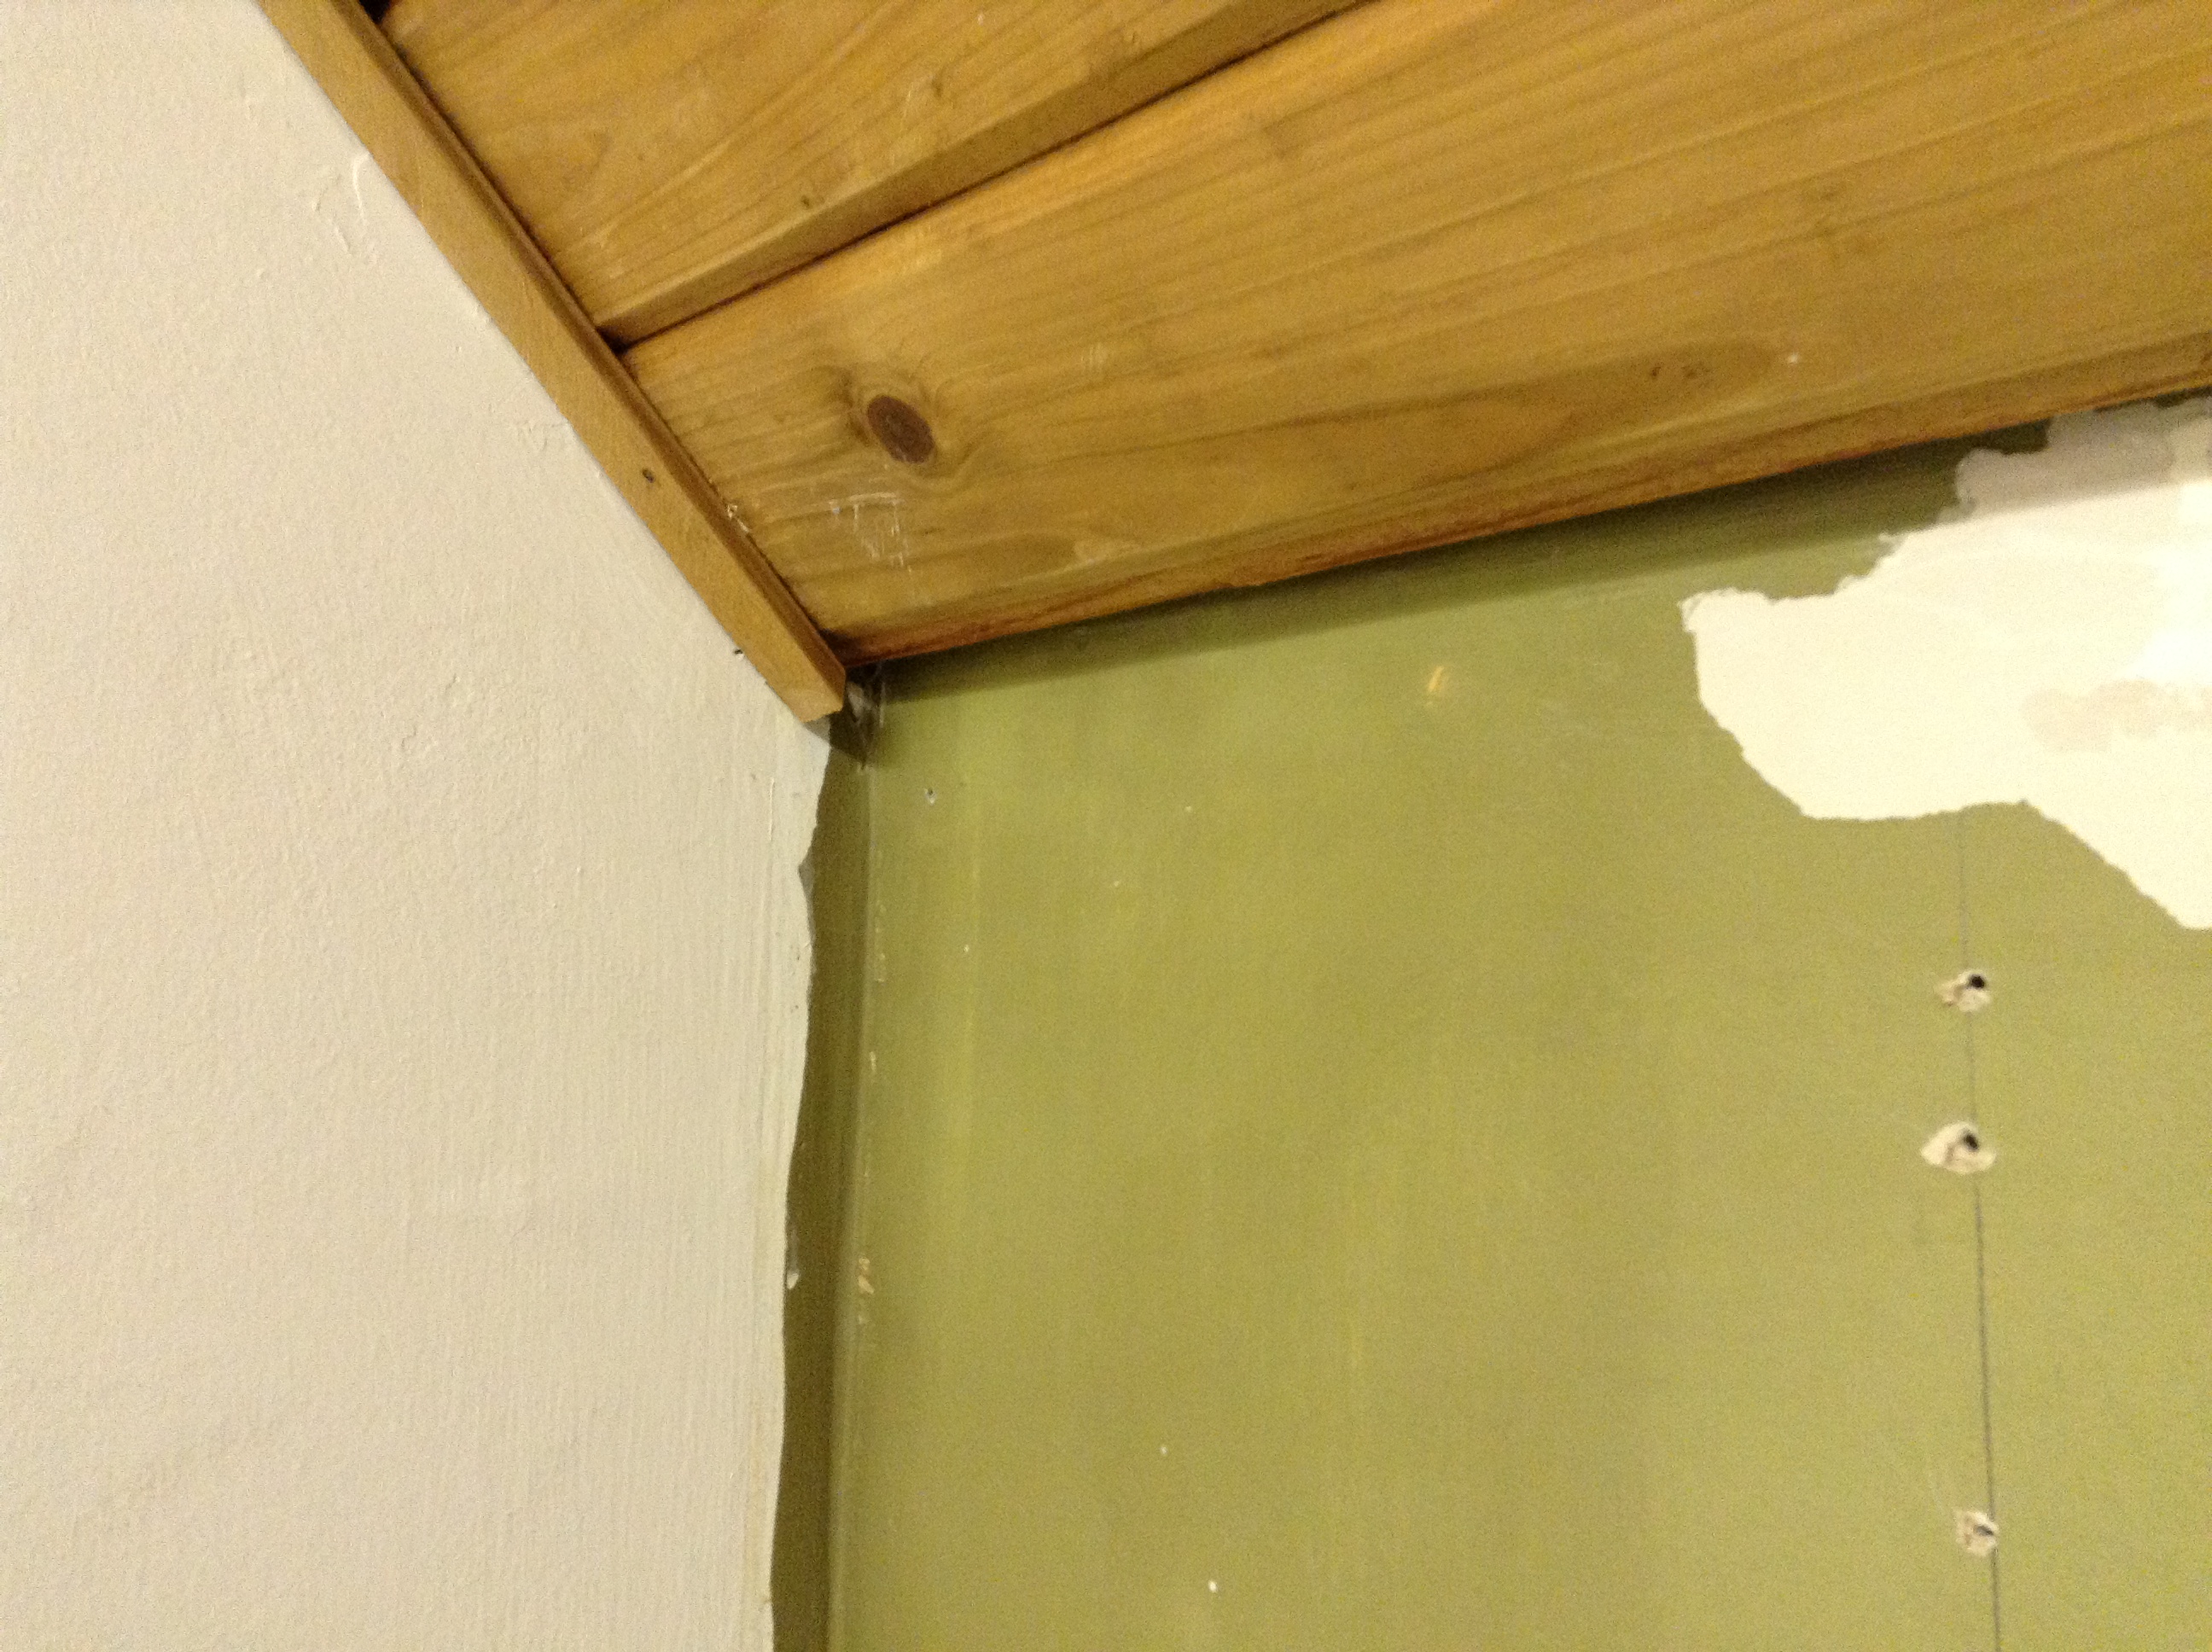
You’ll also notice that we moved the cabinet and the plumbing. Reason being we wanted to get rid of that annoying gap left between the wall and the counter on the righthand side. I think it was done that way when the counter was replaced, but they didn’t want to rejig the plumbing to fit it. But J worked his magic – i.e. got out a book on plumbing, spent an afternoon playing with it – and voila!If you look at the bottom right corner you can sort of see the one inch gap between the wall and counter. Once the wood panelling was removed from that wall the gap became a whole lot bigger.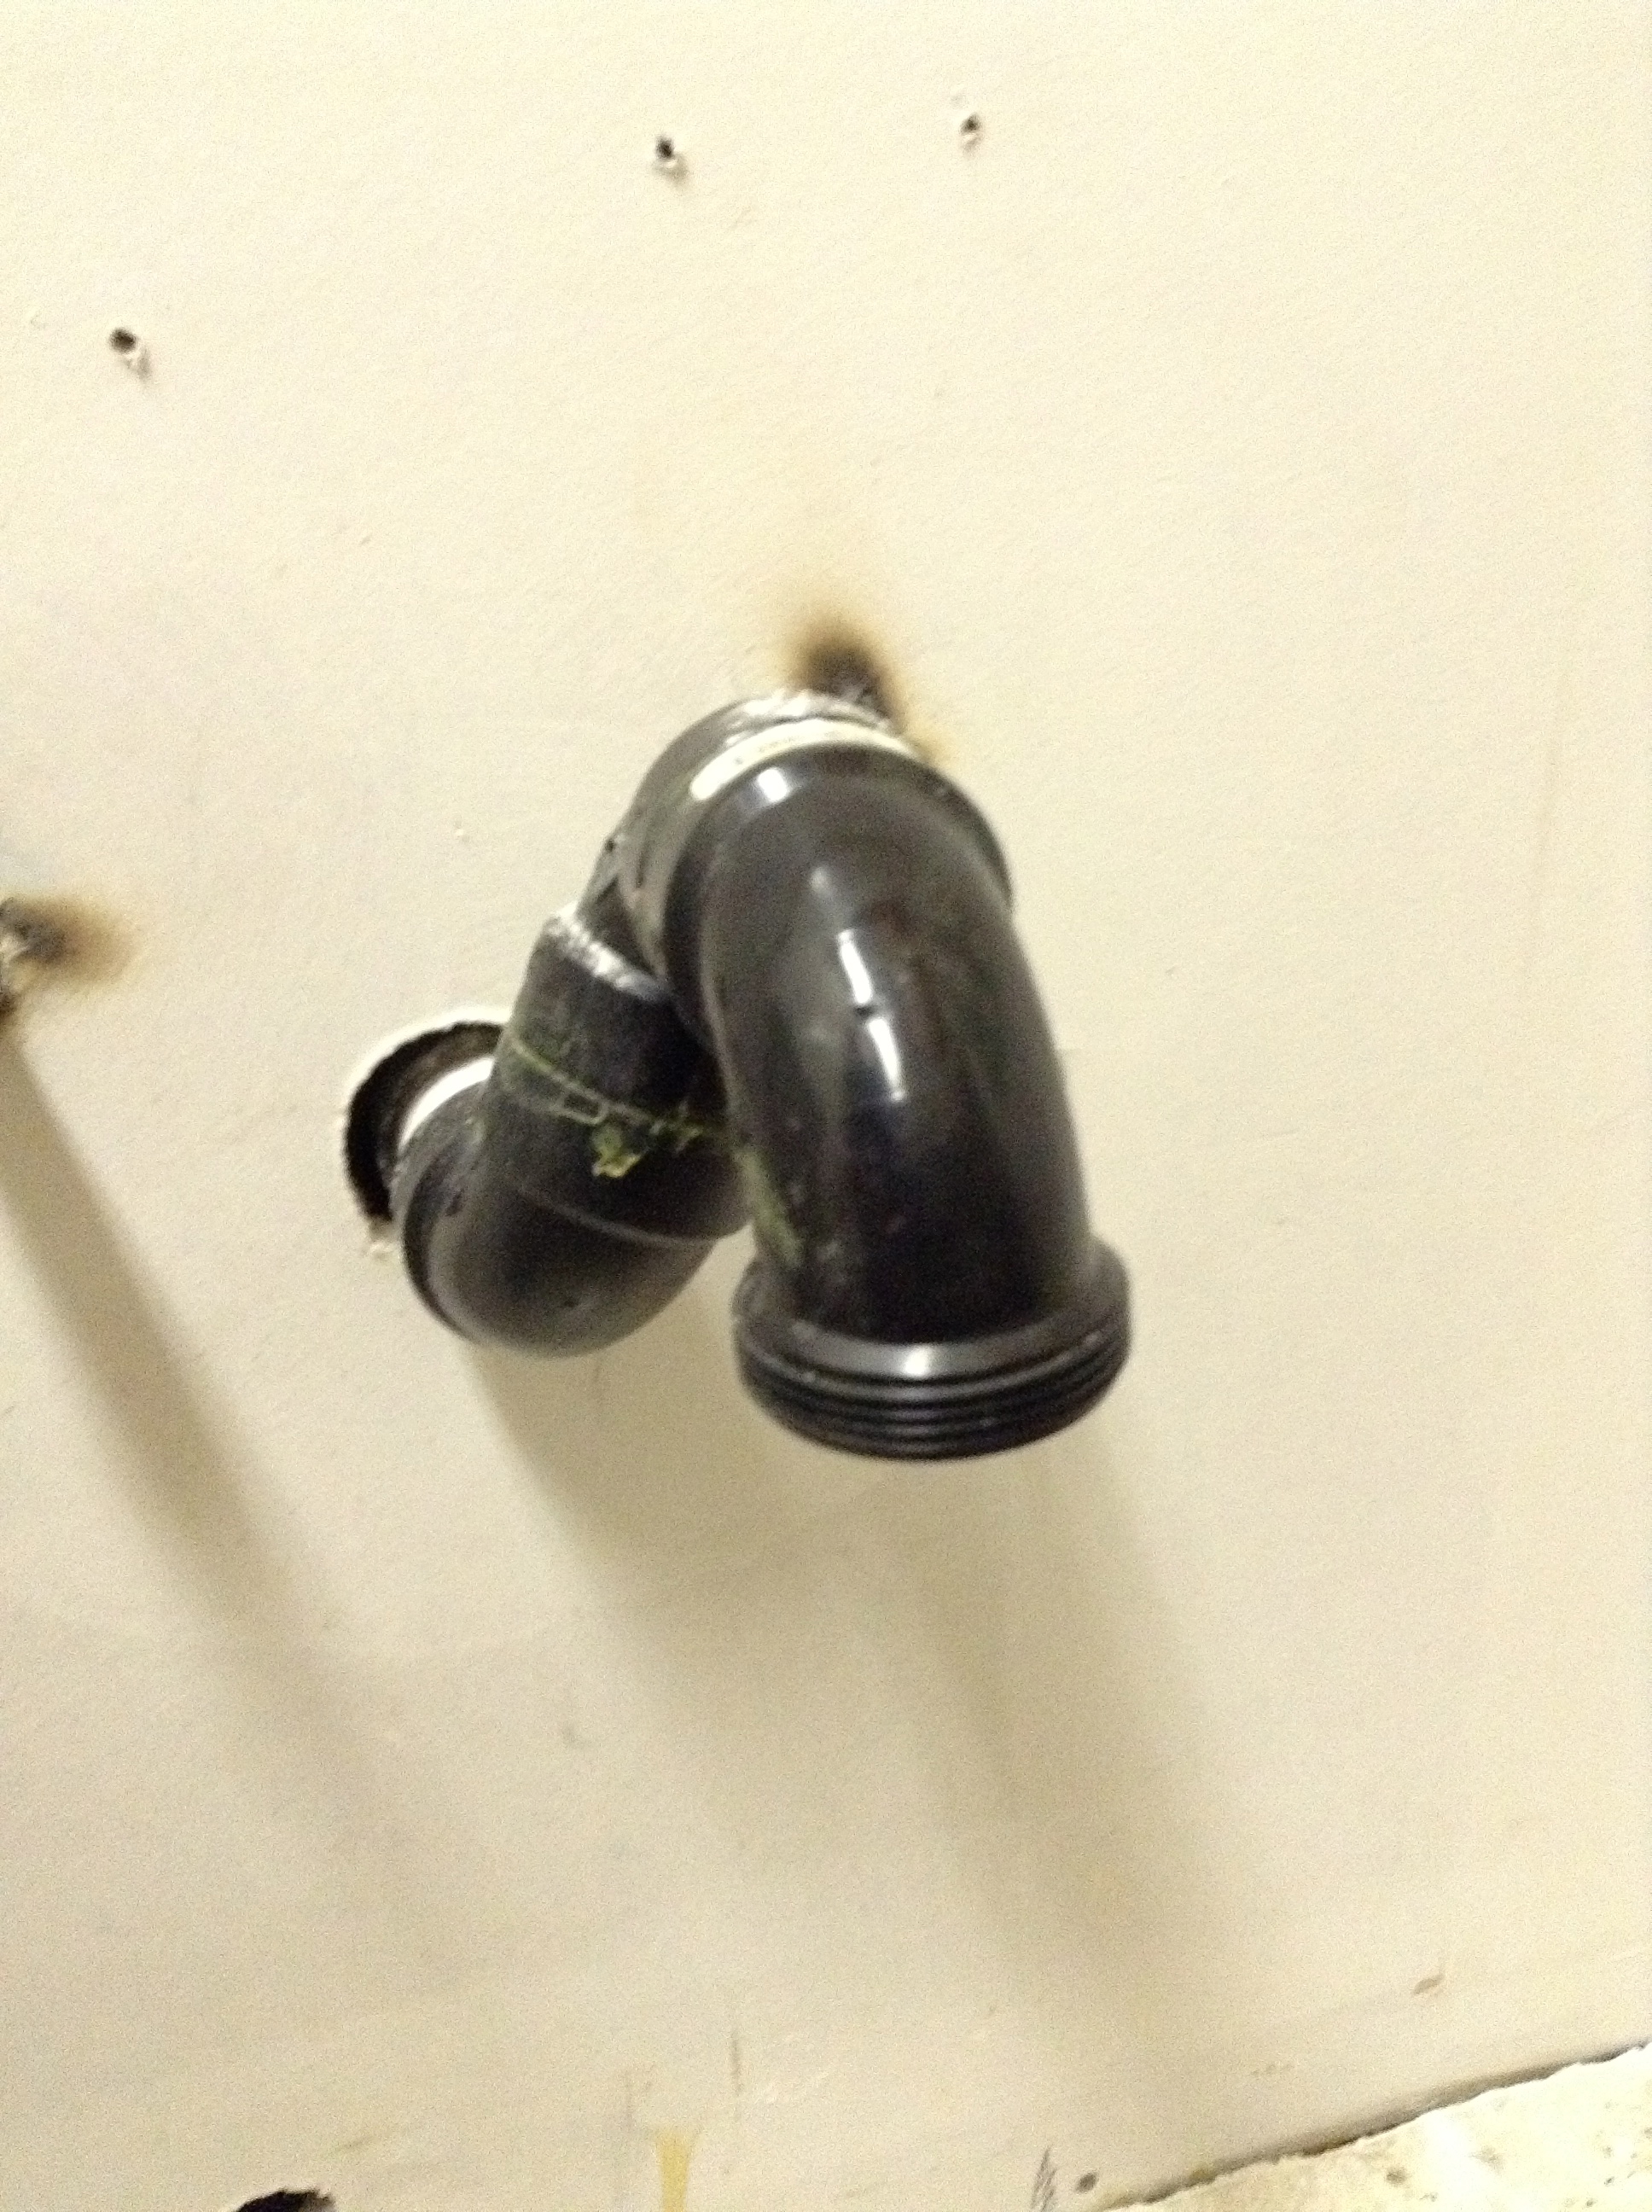
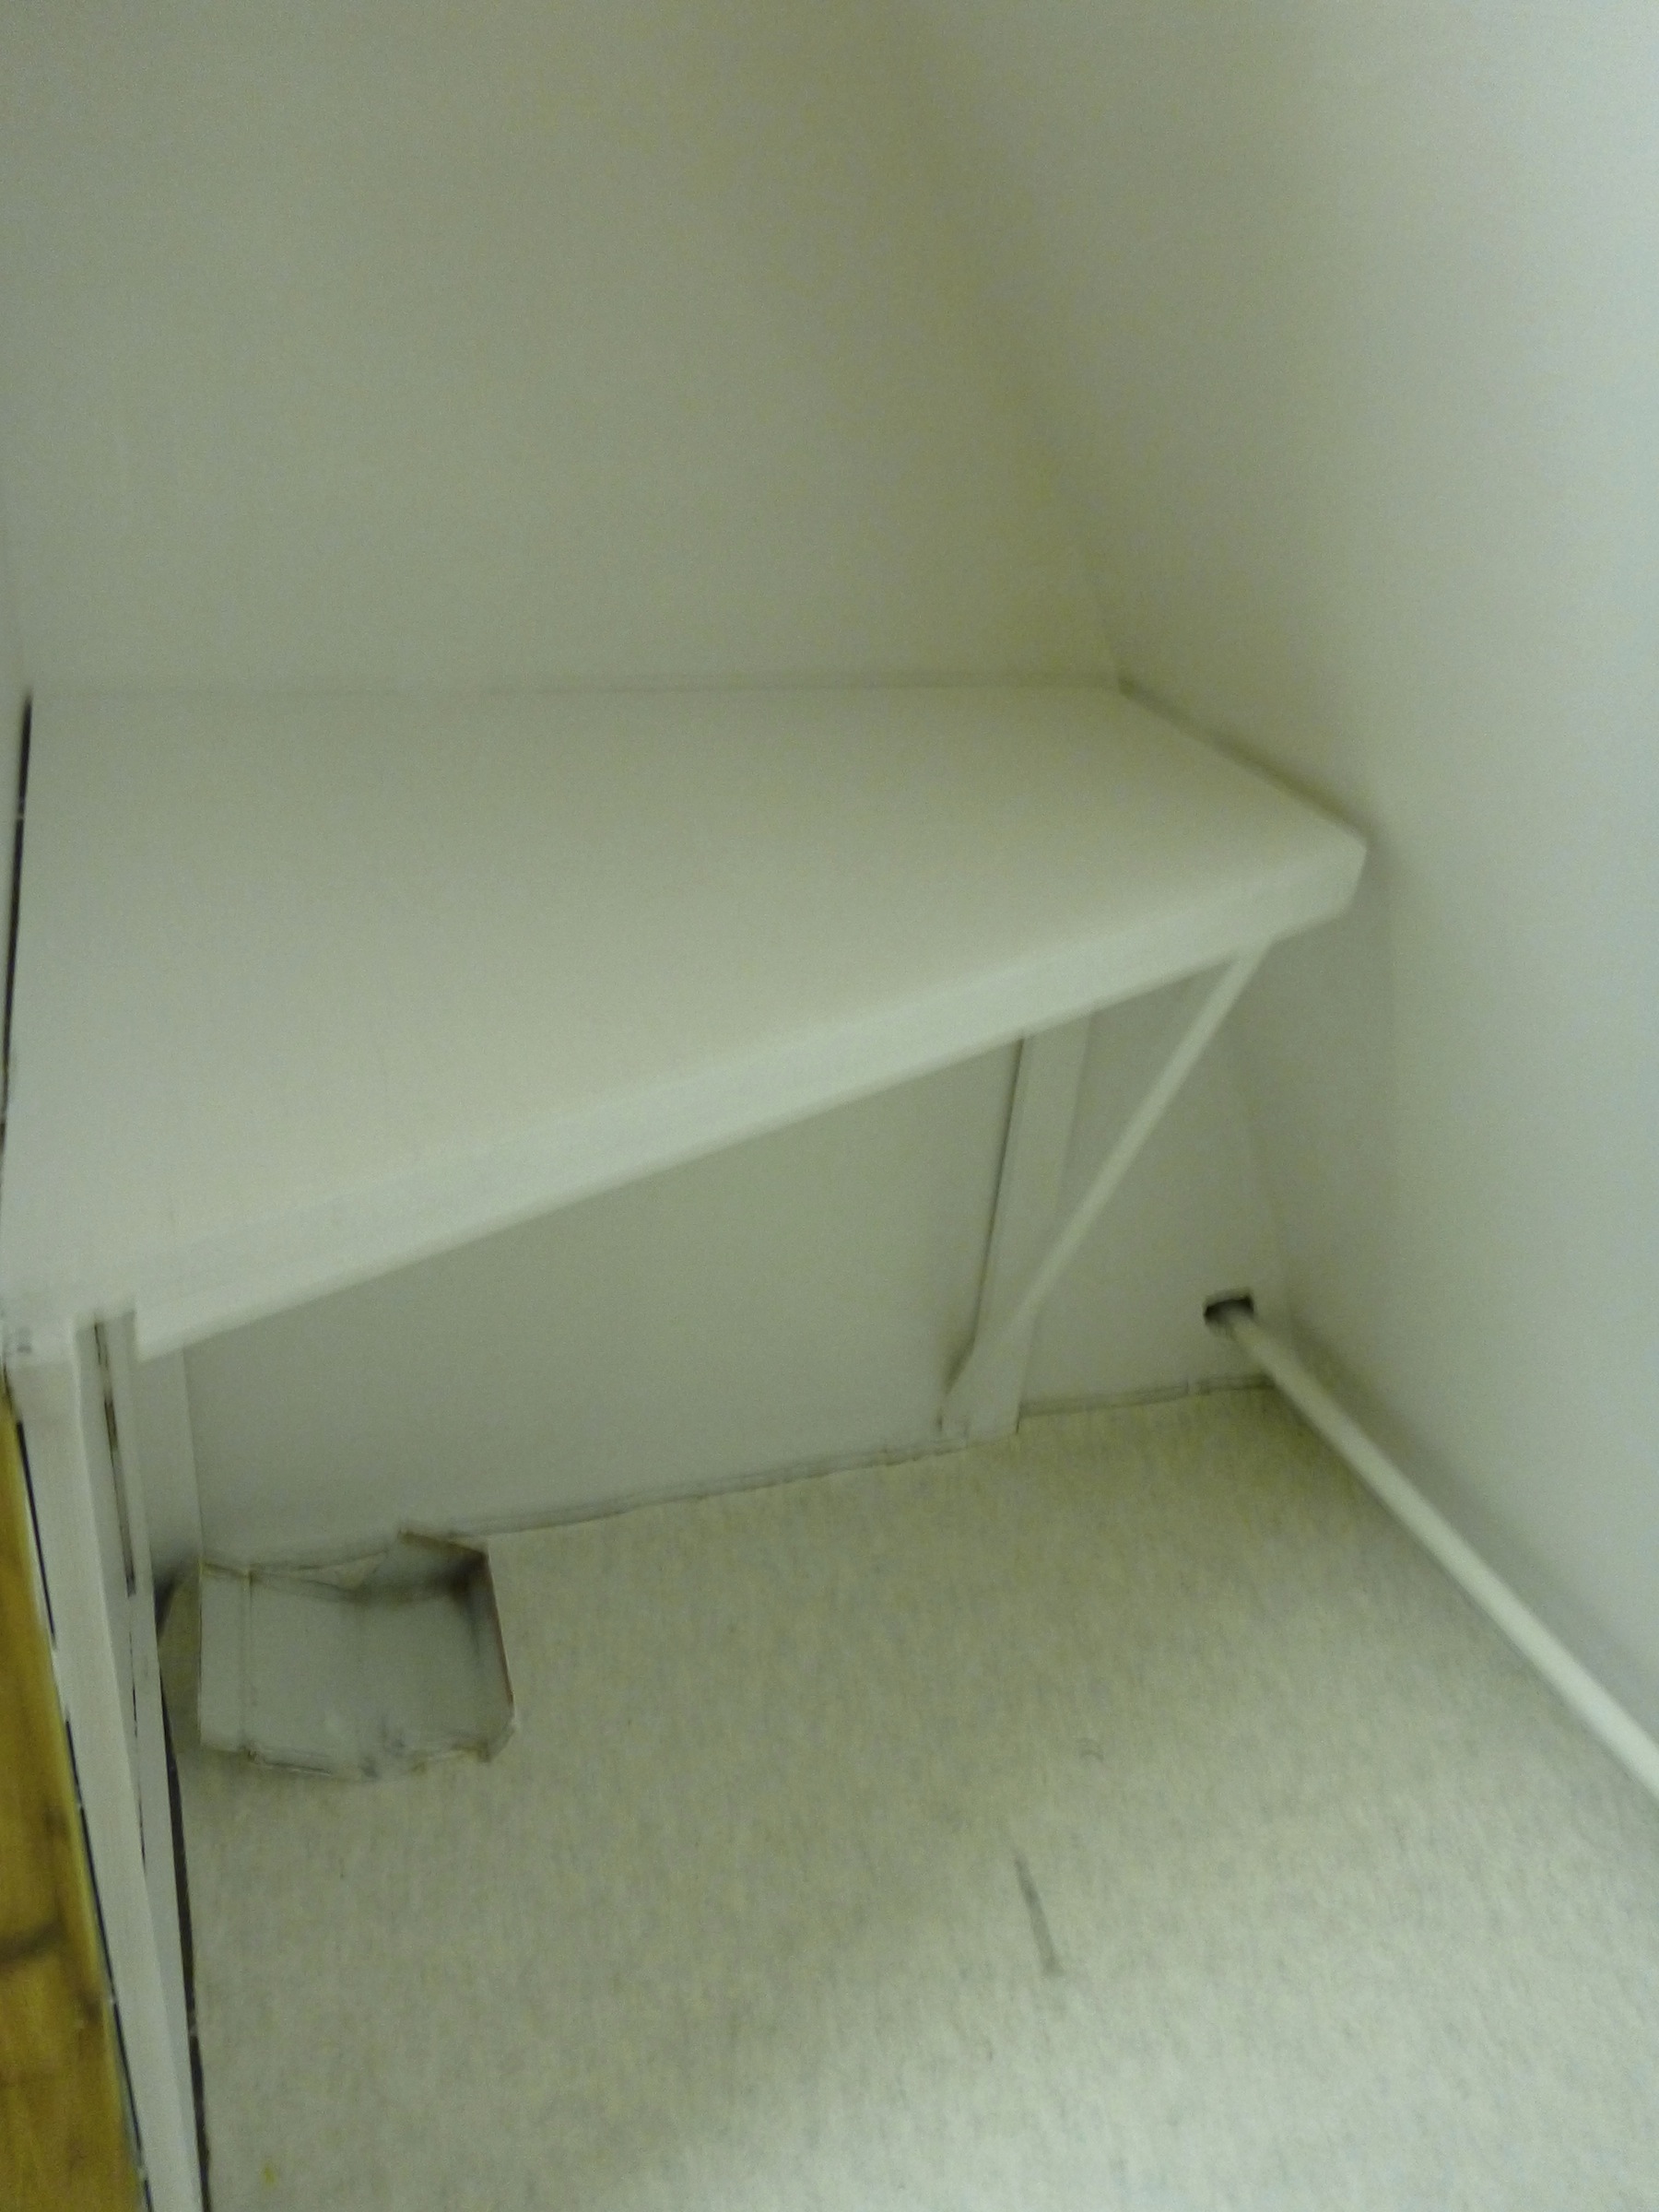
The old plumbing fro the sink needed to be moved slightly as well in order to allow the cabinet to be moved closer to the wall. You can see how we moved the plumbing by twisting the piping around a bit. The section on the left used to come straight down, but J worked his magic to enable the sink to be moved slightly without cutting into the wall.
You’ll also notice that we stuffed a rag up the old plumbing while it was disconnected to prevent the sewer gases from coming up through it. A good lesson learned the hard way.

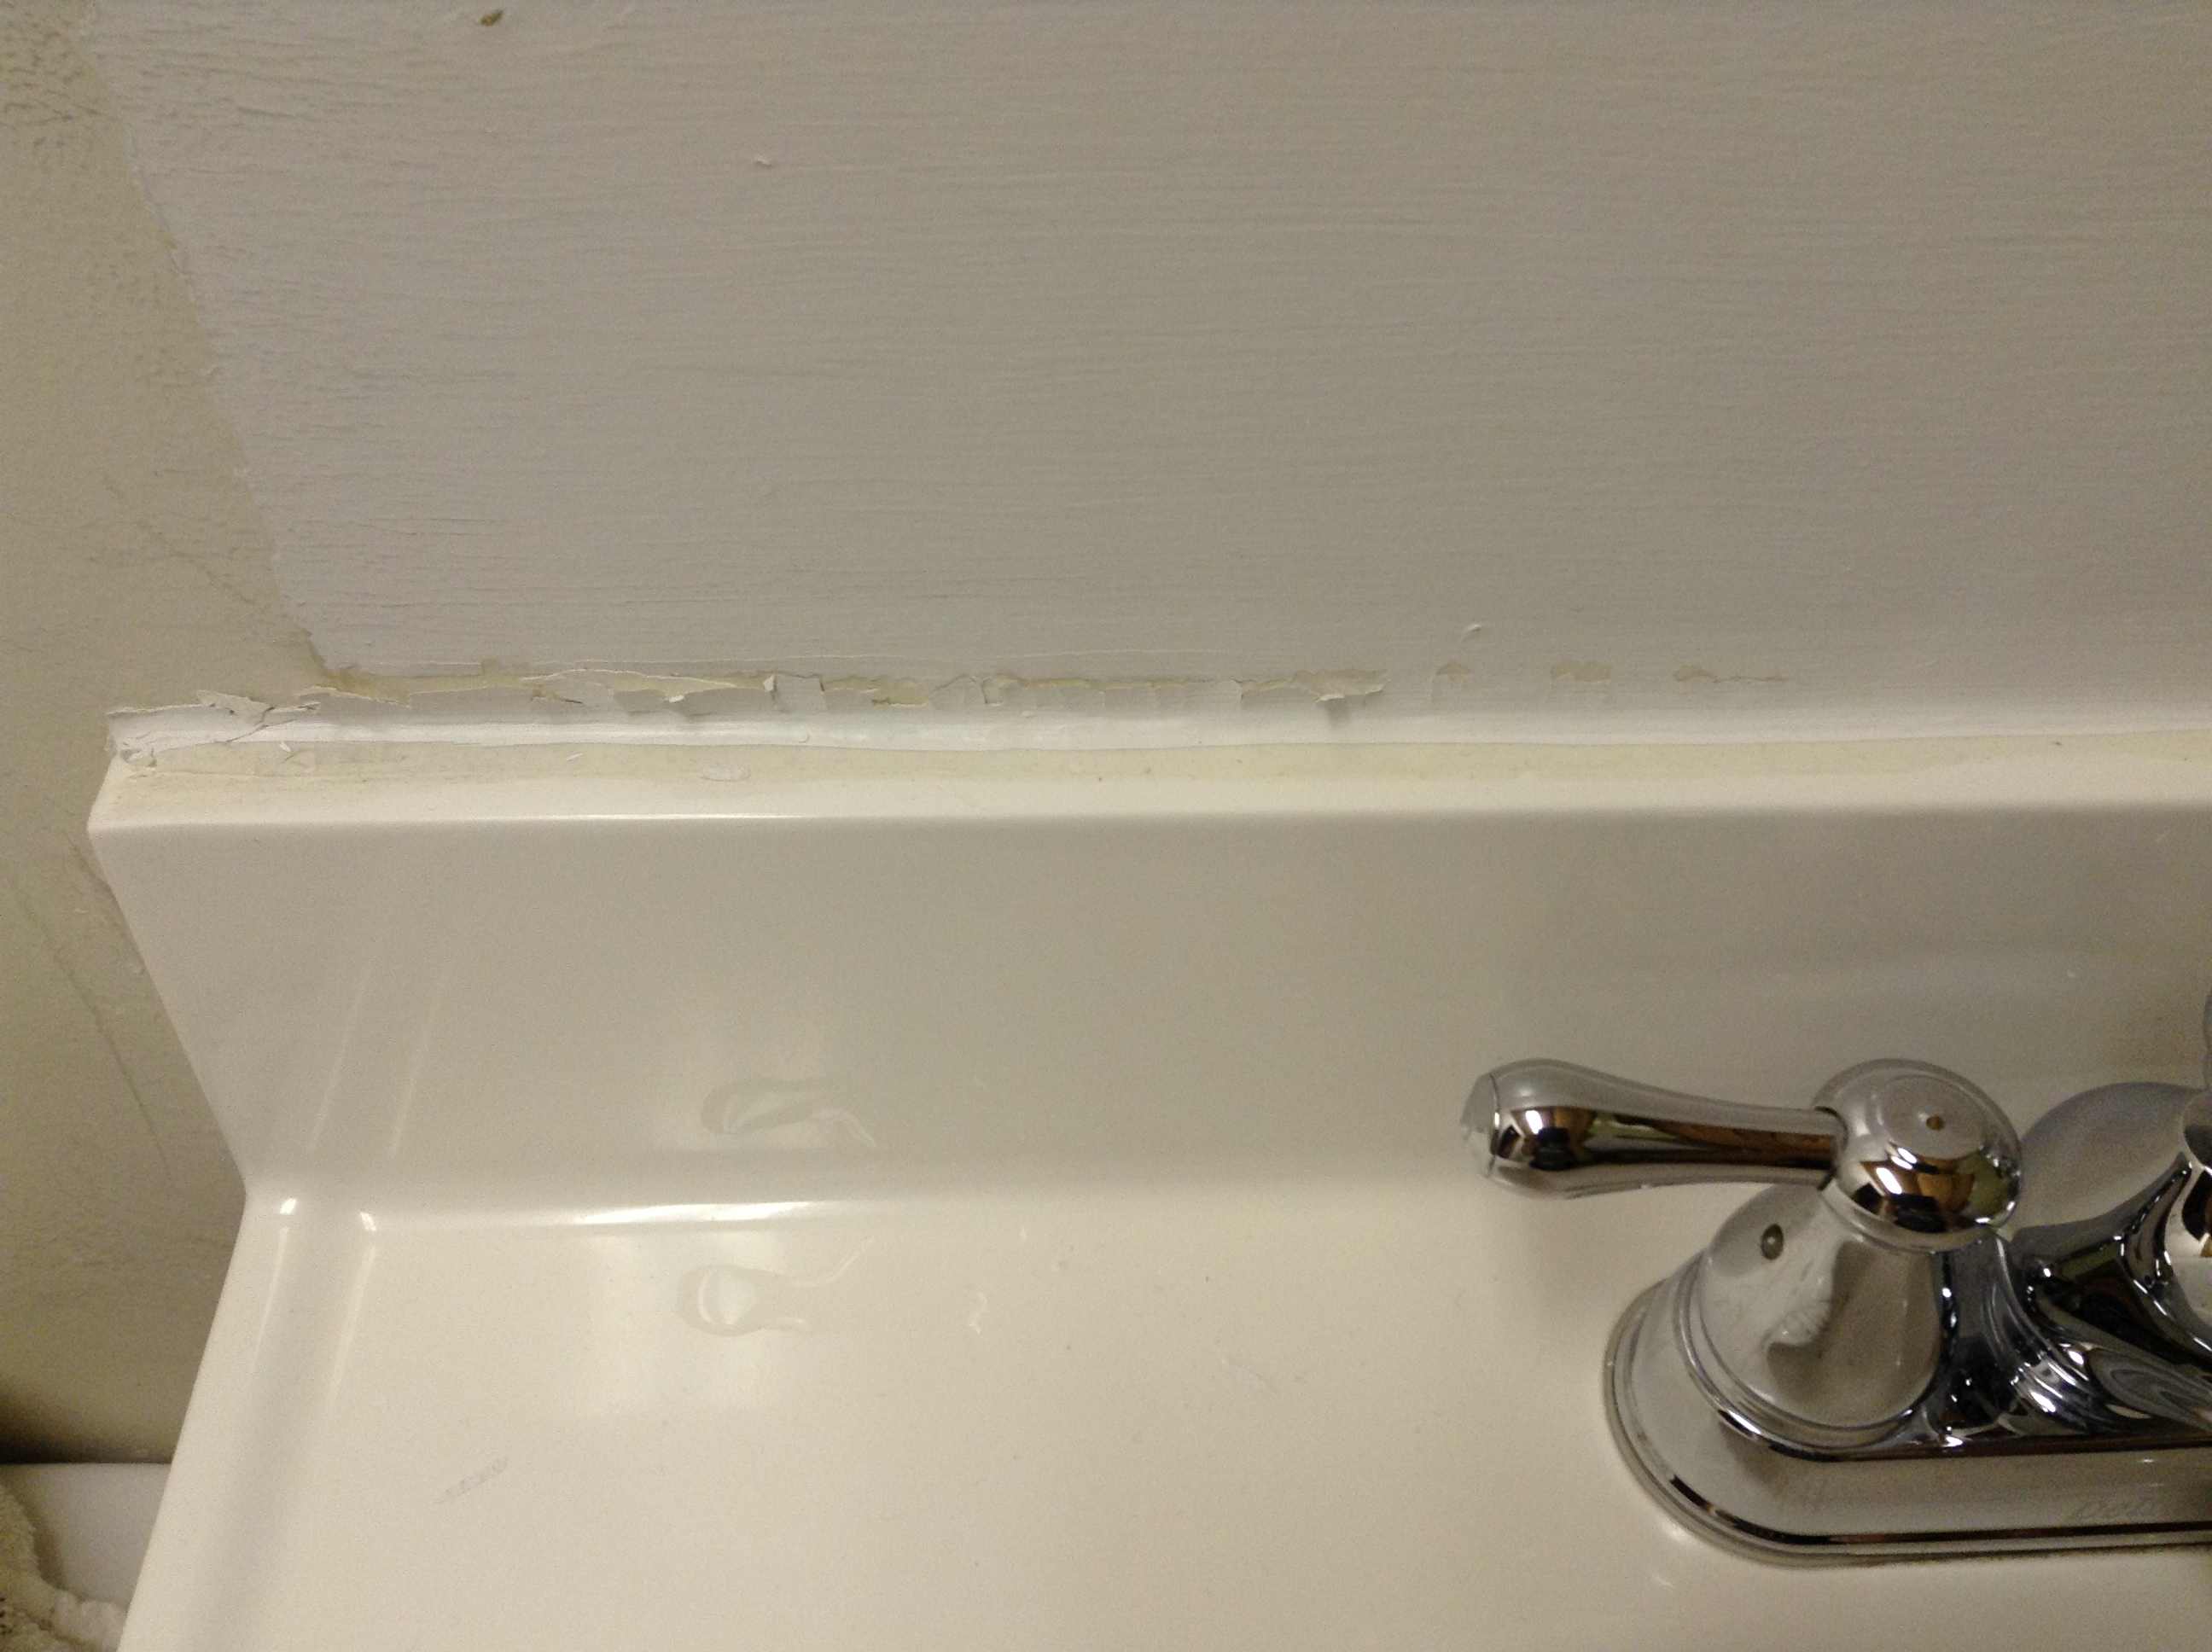
Next came the priming. I used a standard Pittsburg Paint Alkyd Primer – mainly because it was the only one left in store. This is especially good for sealing walls where there were smokers, or stains, etc., and since the cedar wood above has stained the walls in a few places, this did the trick. It’s also good to use this over oil paint or any surface that the latex might peel away from later on (like the old paint layers in this bathroom).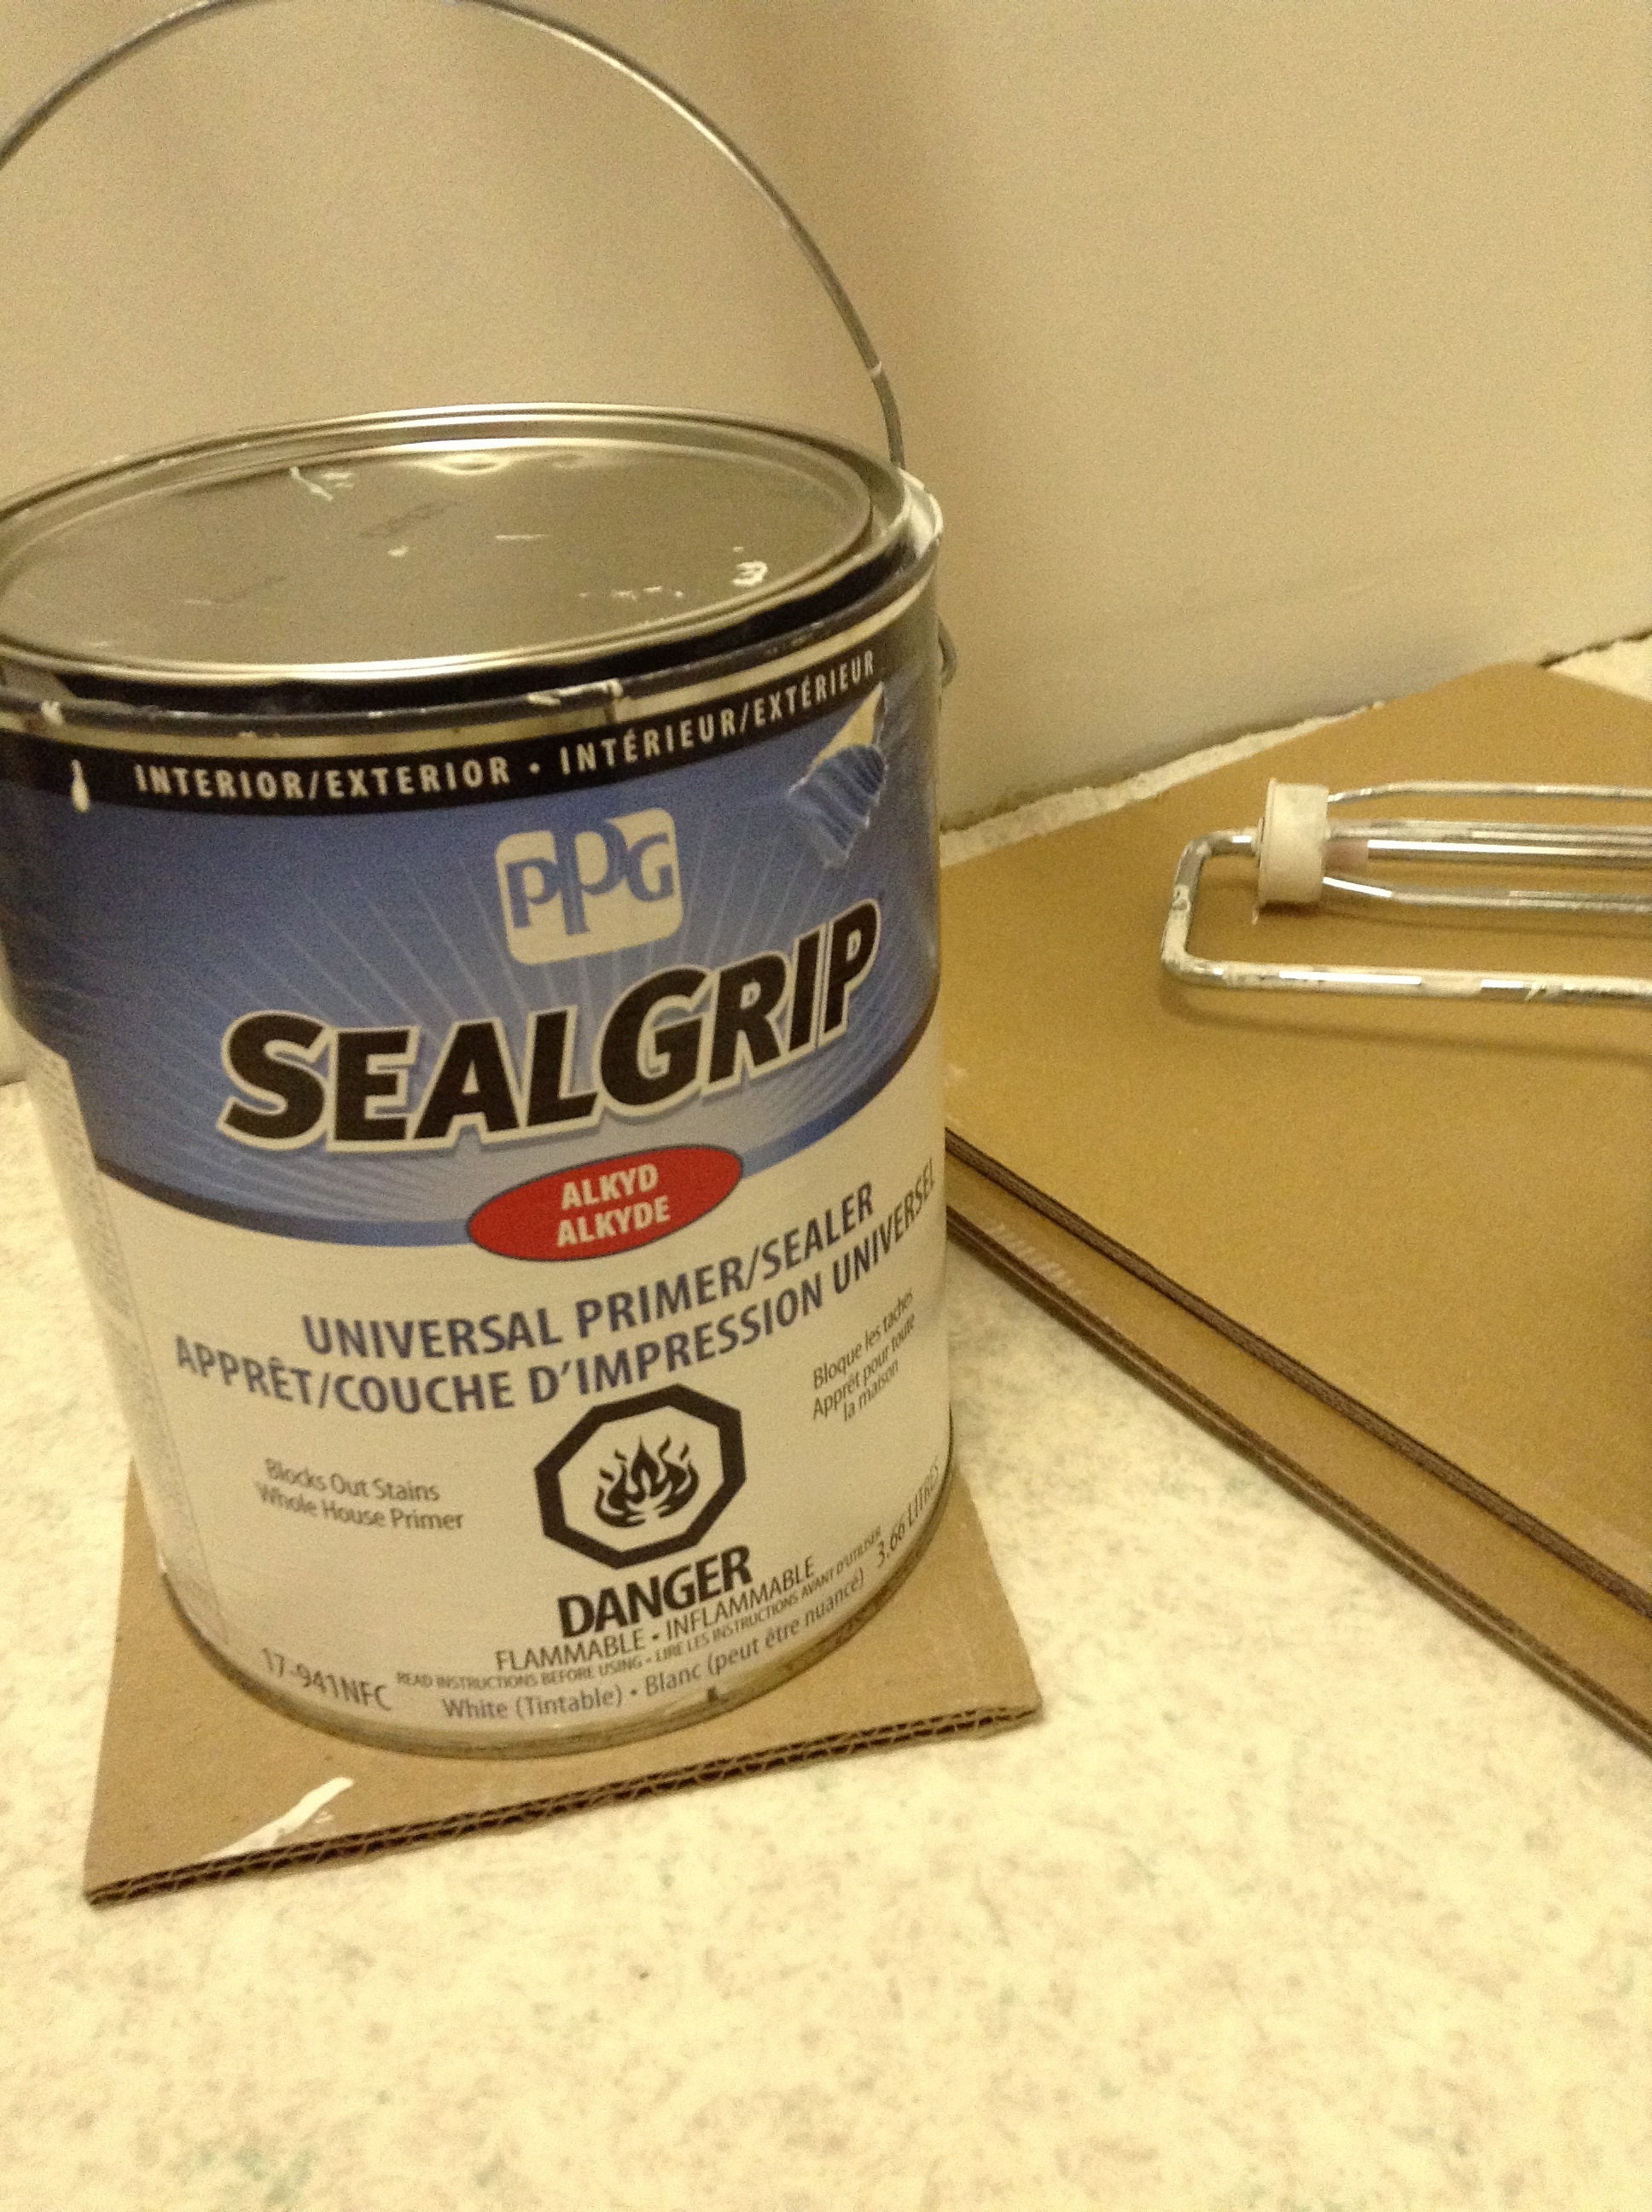

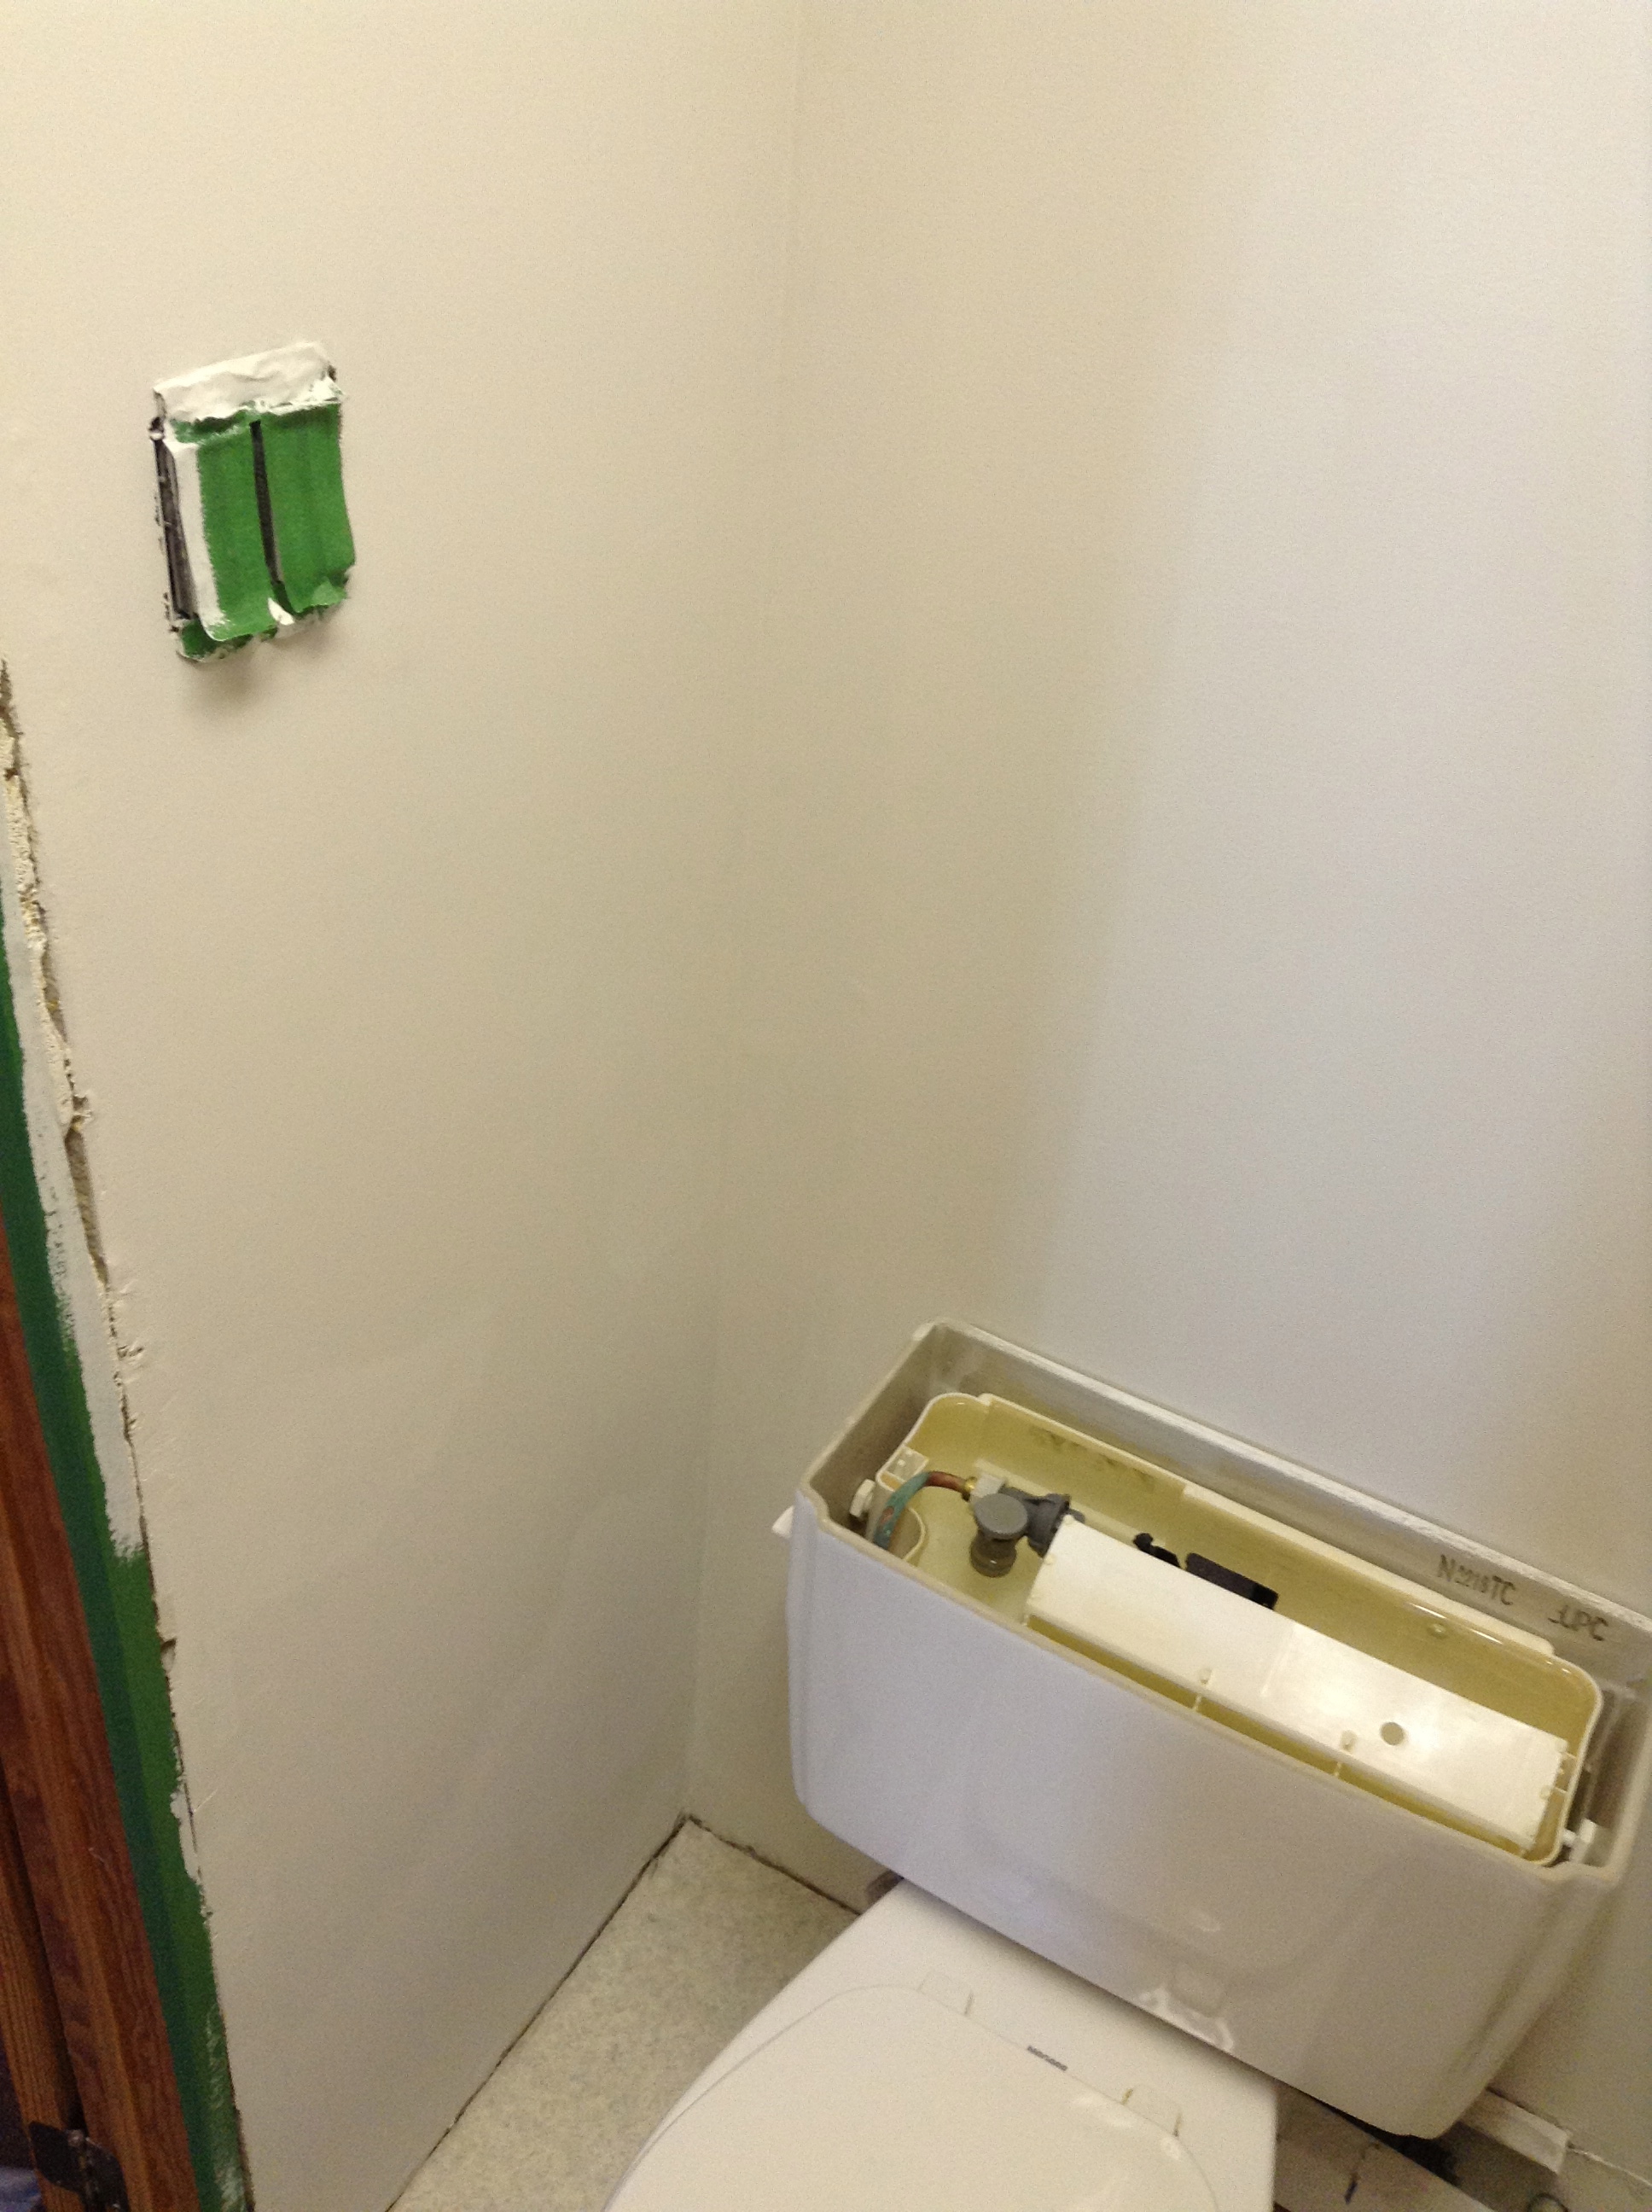

 And finally the paint! I’ll give you a sneak peak of the wall colour to come (very light mauvey-grey) as seen by my wet test patch on the wall (yet to darken)…
 See the how it all worked out in the end in the Afters Photos!