 Now that it’s February, and I’ve finally put away the Christmas decorations, and the last buds of my paperwhites have fallen, it’s time to prepare the bulbs for next winter.
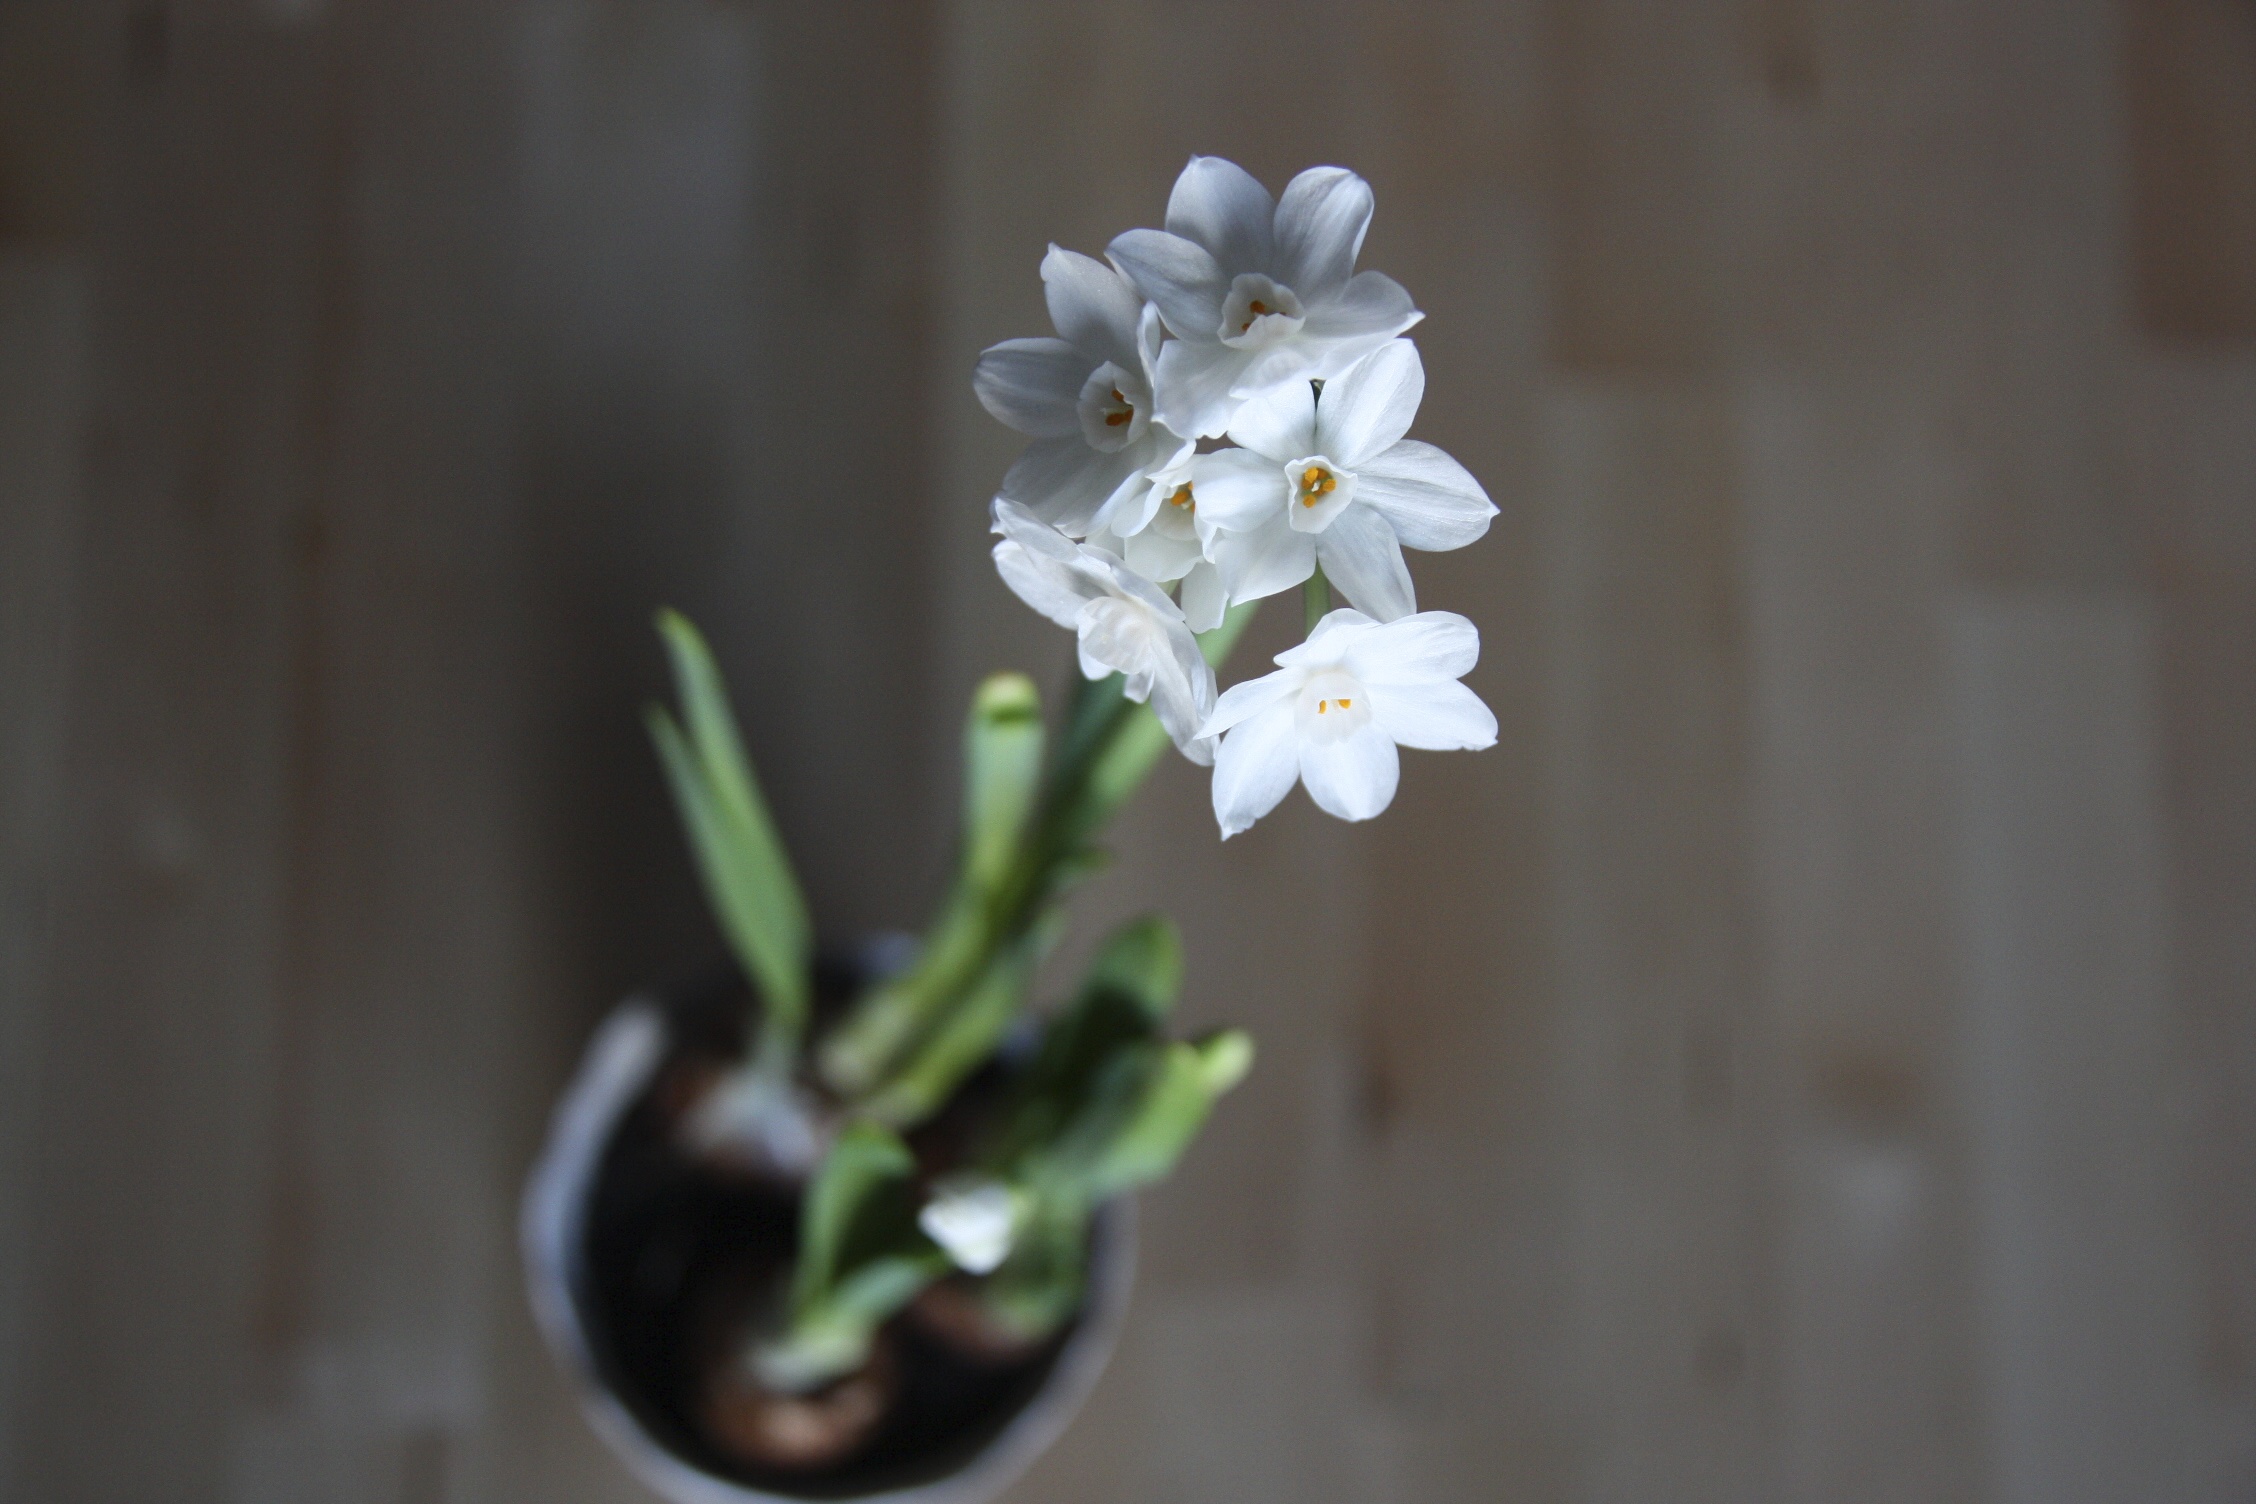
Since this is my first year planting bulbs, I’m still learning some of the tricks of the trade. As you’ll recall from my post earlier this winter on growing bulbs indoors, I’ve got a large selection of amaryllis and paperwhite bulbs that are ready for their dormancy preparations.
 One of the main tips I’ve picked up so far is that as soon as your last flower buds have dried up on the plant, you’ll want to give it one last watering and a good dose of plant food. You can also give them small amounts of food throughout their growing phase but you’ll want to make sure they get a good feed before you put them to bed. It’s also best to let the plant continue growing for a week or so after the flowers have died, to allow the bulbs to suck the nutrients from the leaves and soil back into the bulb – which will help it stay healthy until it is replanted.
With paperwhites its easy to see when they are ready – the greens start wilting a fair bit so you know when its time to cut them down. The amaryllises on the other hand are a little trickier, as the leaves looked luscious and lovely for months after the flowers die. Apparently that’s normal though, and as long as you’ve given them a good dose of food before cutting, they’ll be fine.

The paperwhites are ready for trimming once the leaves start wilting and drying out.
One of the great things about gardening is that you can really get your hands dirty and have a bit of fun while you’re at it, which is why I often like to get my lovely niece, Jaia, involved whenever I can – and she loves being Aja’s (Autie’s) little garden-helper.
As you can see below, Jaia has demonstrated how to trim your paperwhite stalks. You want to get close to the bulb, but leave about 1cm of stalk at the top.

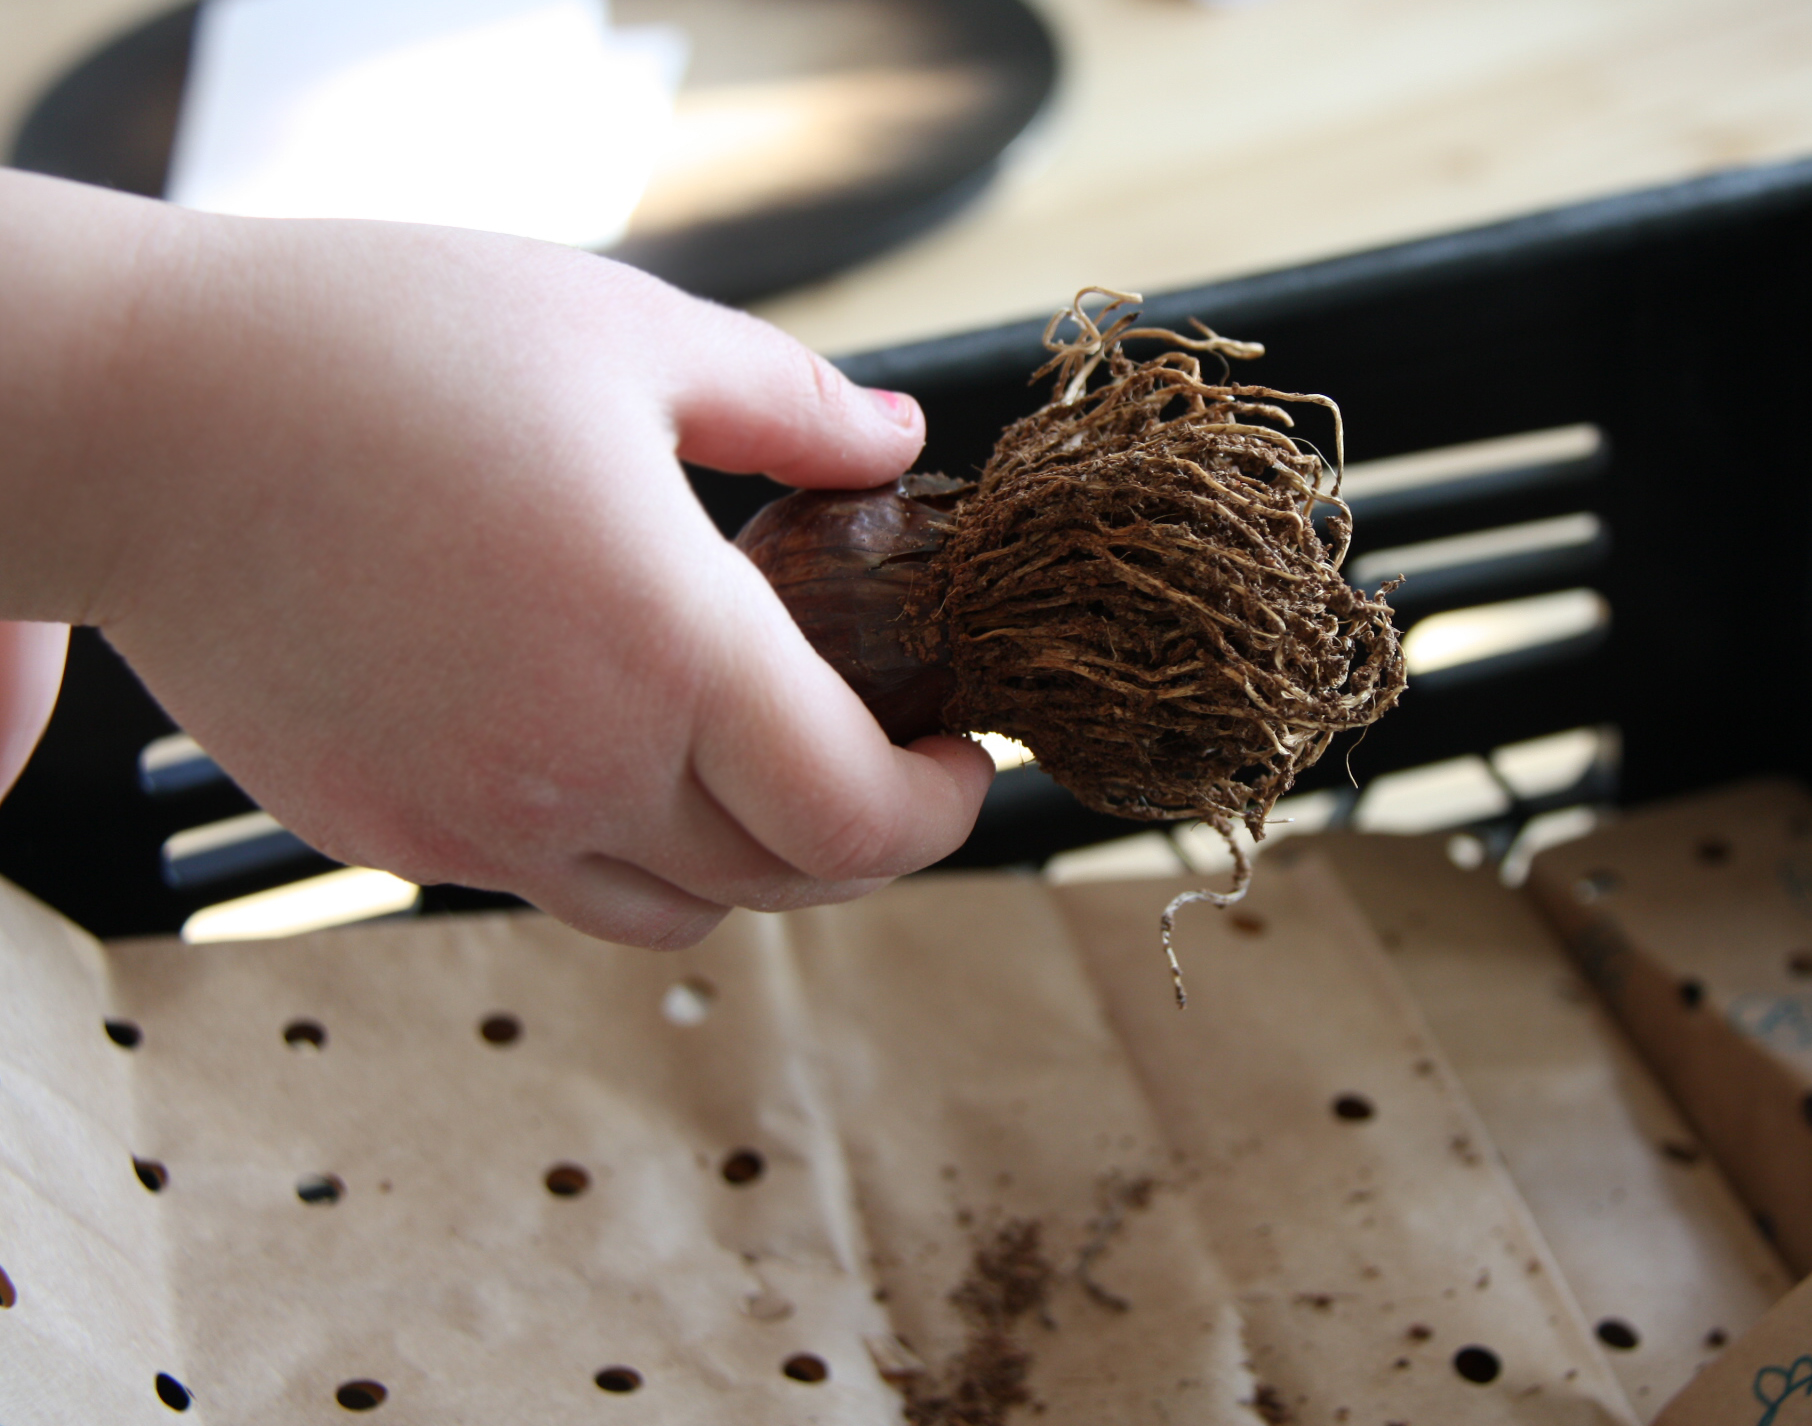
Once they’re cut, remove the bulbs from the soil carefully – I recommend dumping them out onto a newspaper and gently separate the bulbs from the soil to make sure their roots stay intact. The roots will dry up and some may even drop away, but you want to avoid cutting or pulling them off for now (I suspect because the nutrients in them will migrate into the bulb while they dry up).
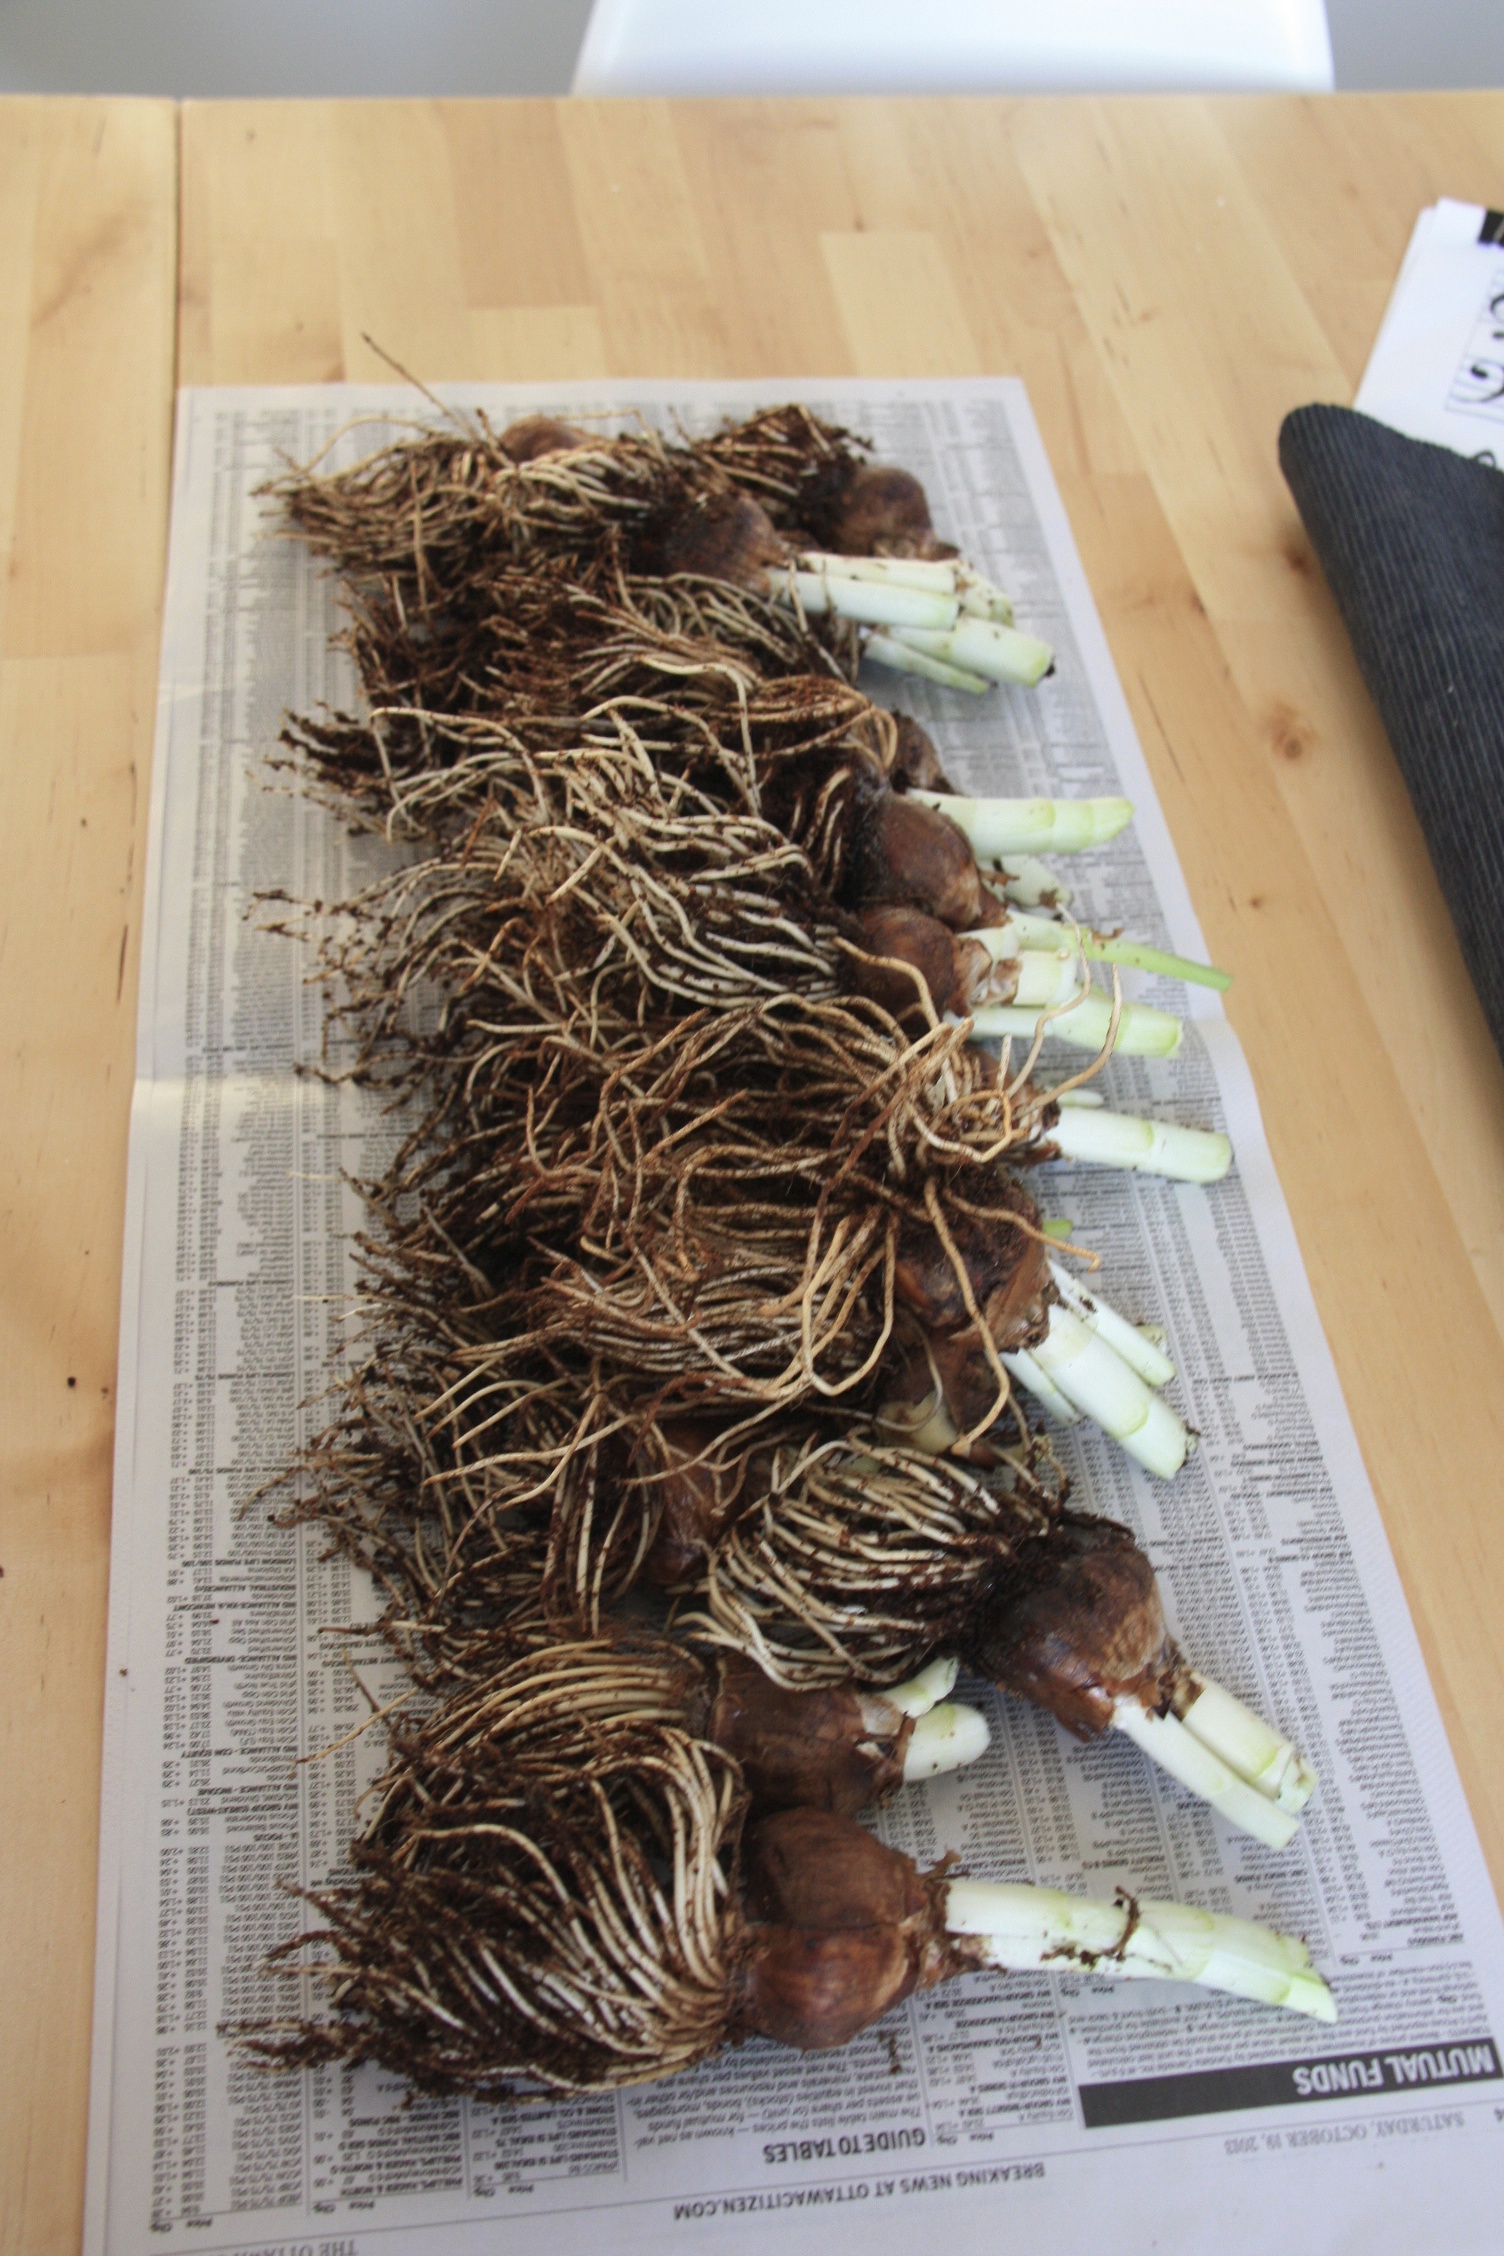
Set them aside in a well ventilated, cool (but not cold) location to dry out over the next couple days. I set ours on some sheets on newspaper on the dining table with lots of space between them until they started to shrivel up.
Drying bulbs before final trimming – make sure to cut he stalks down to about 1cm high.
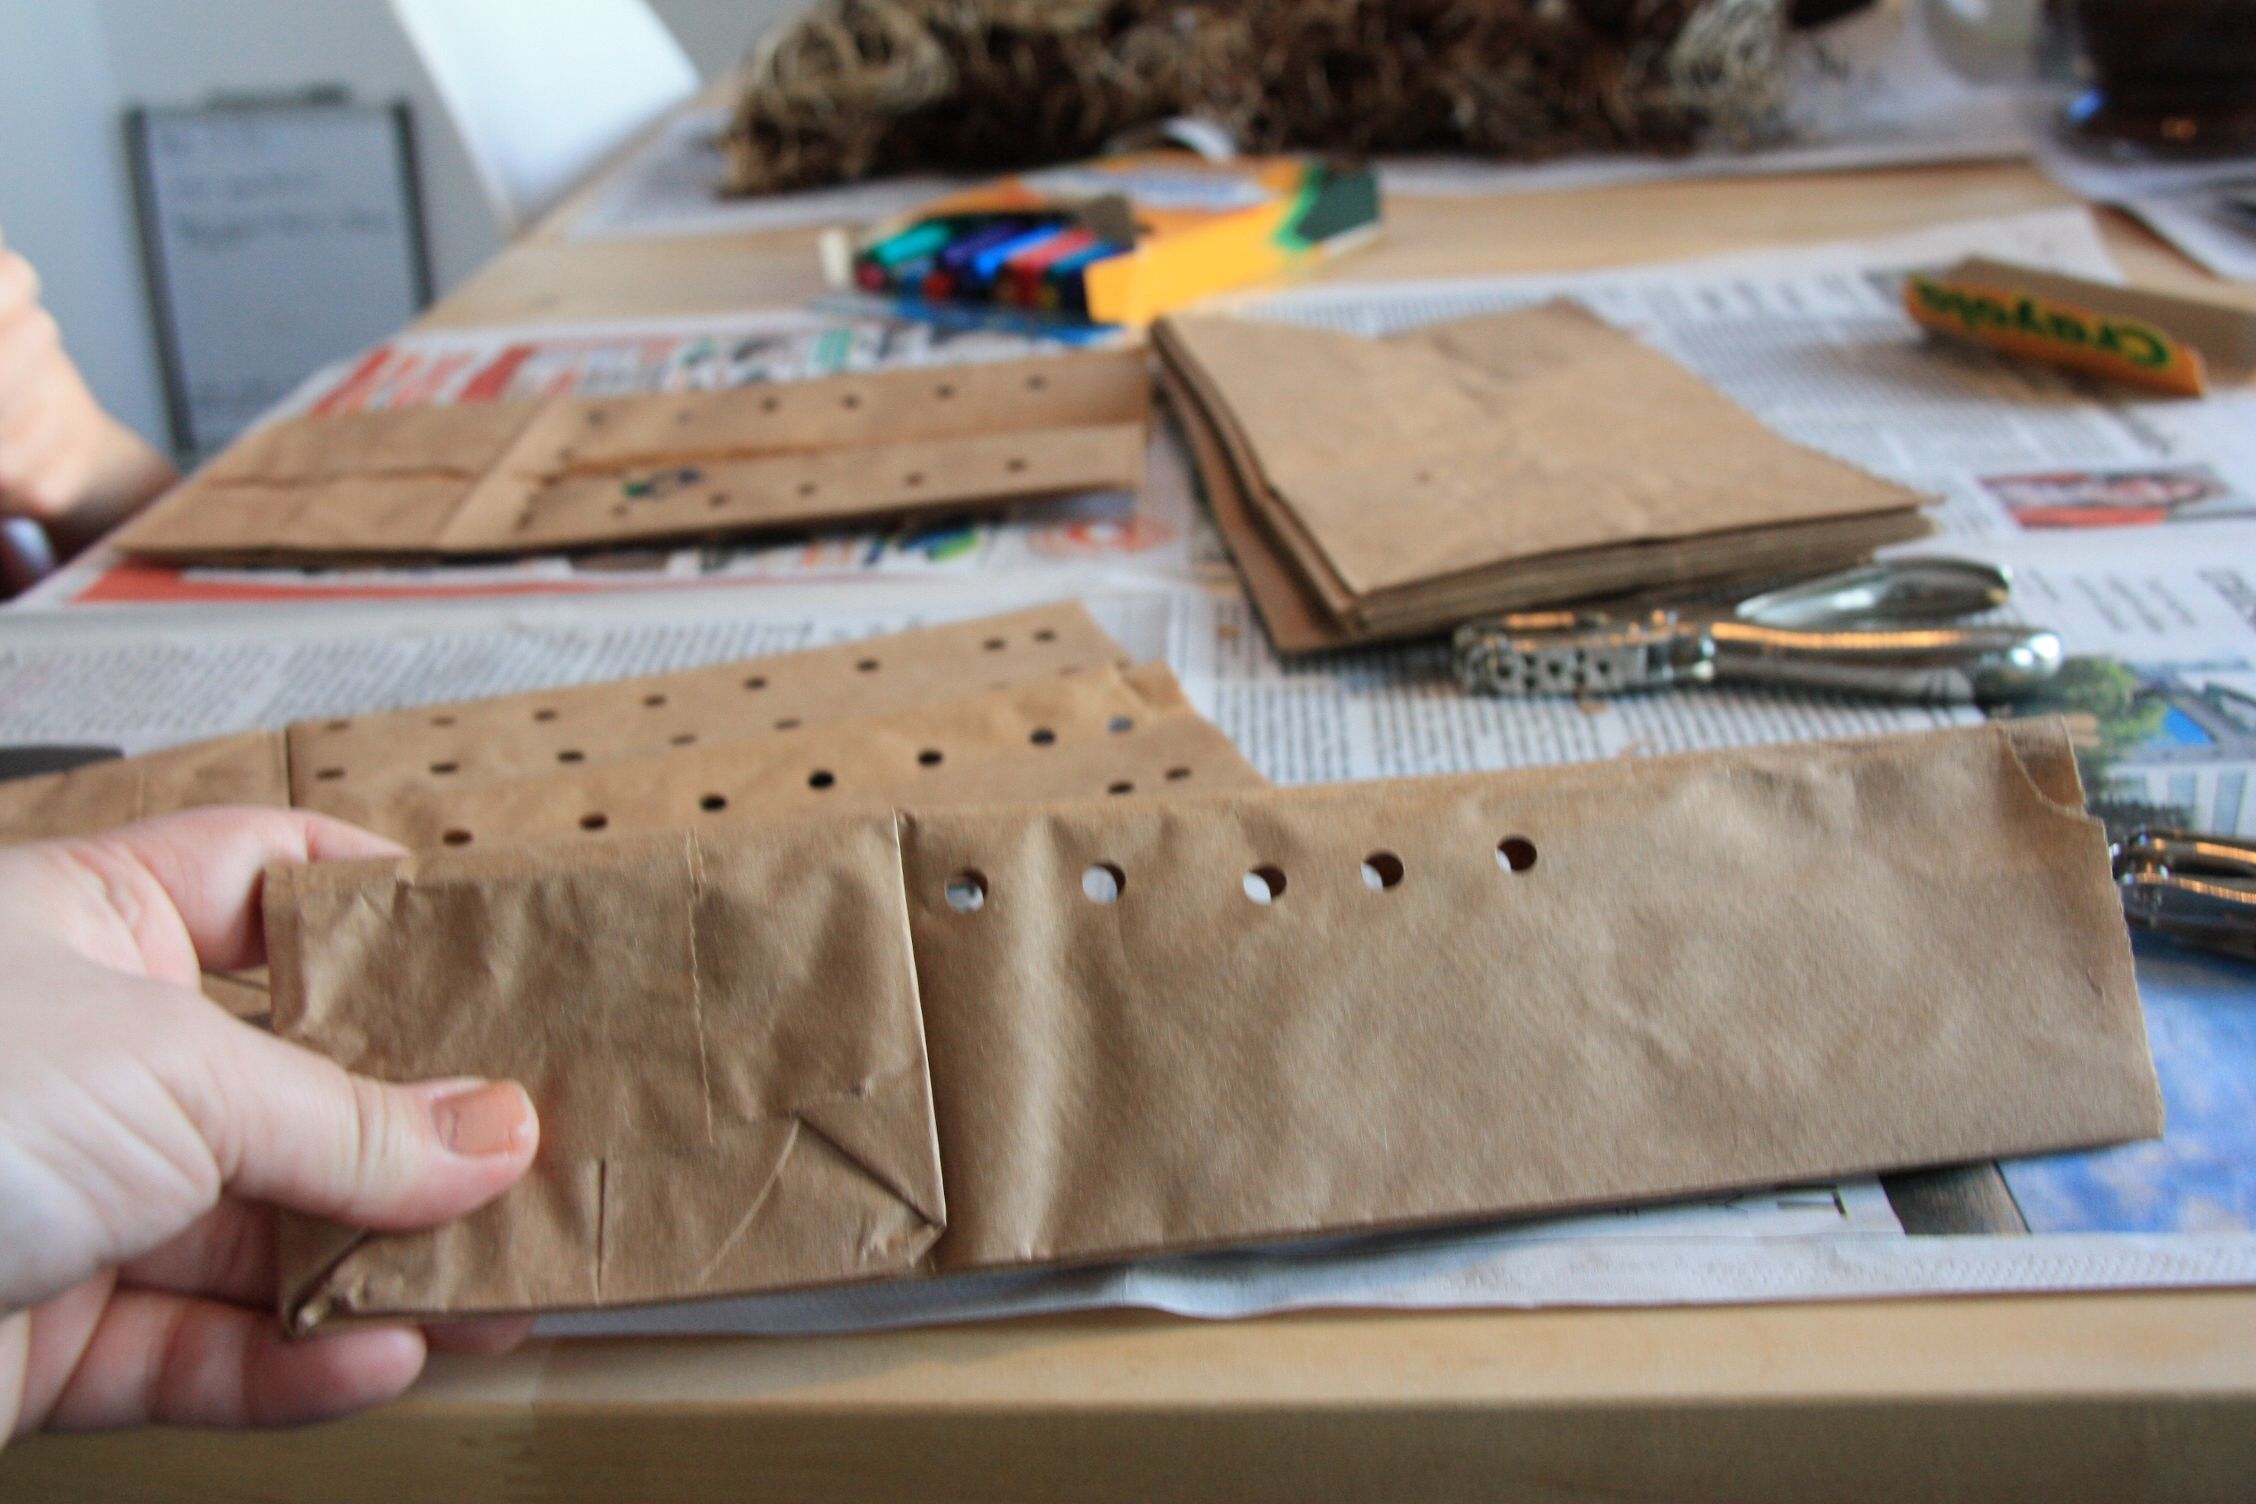
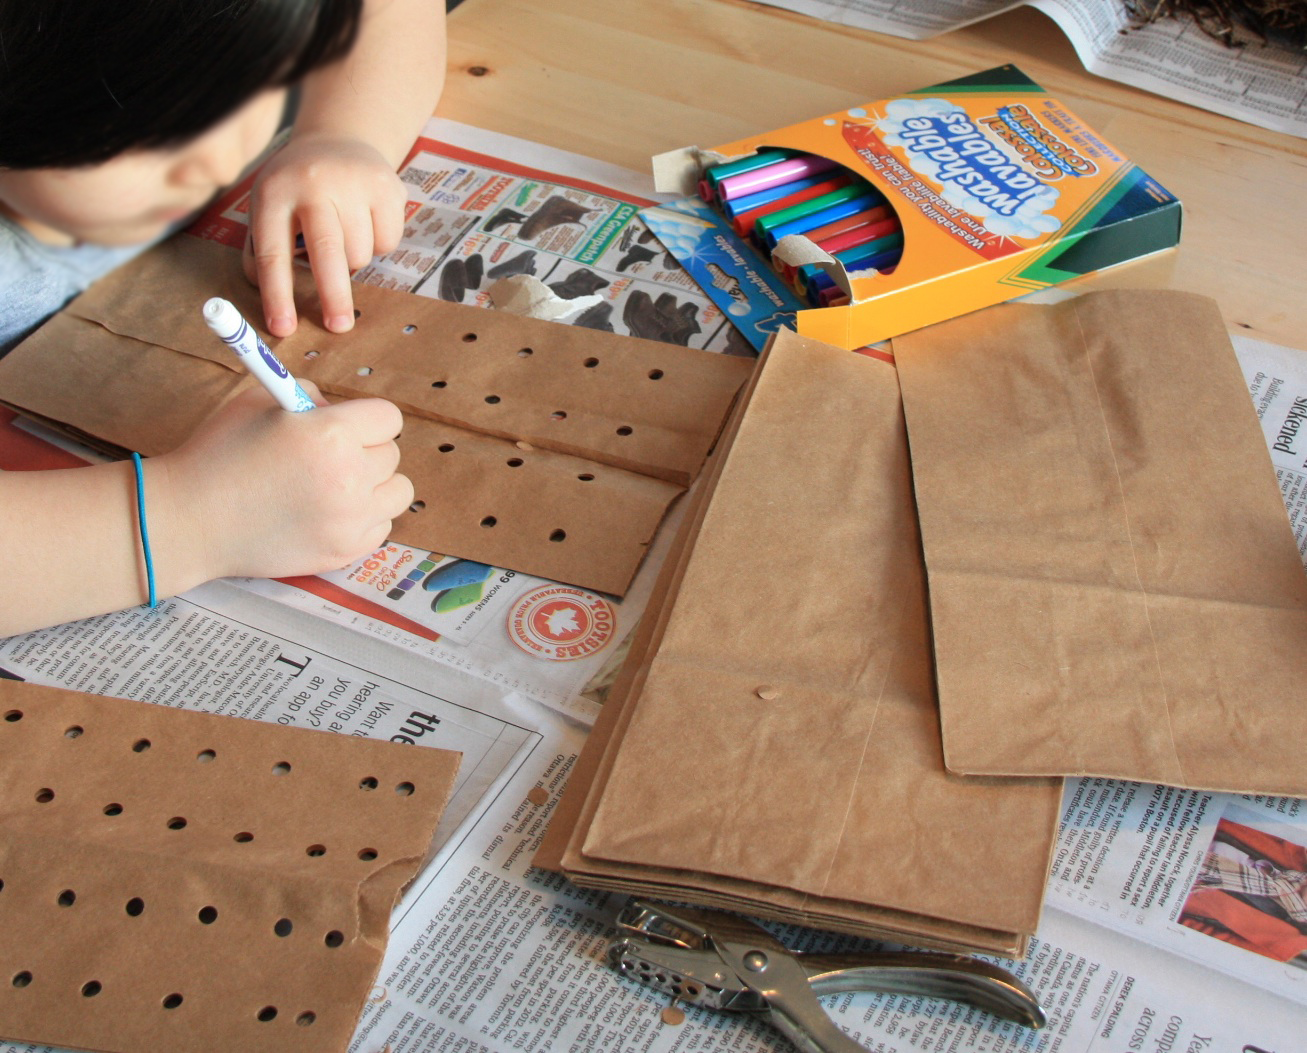
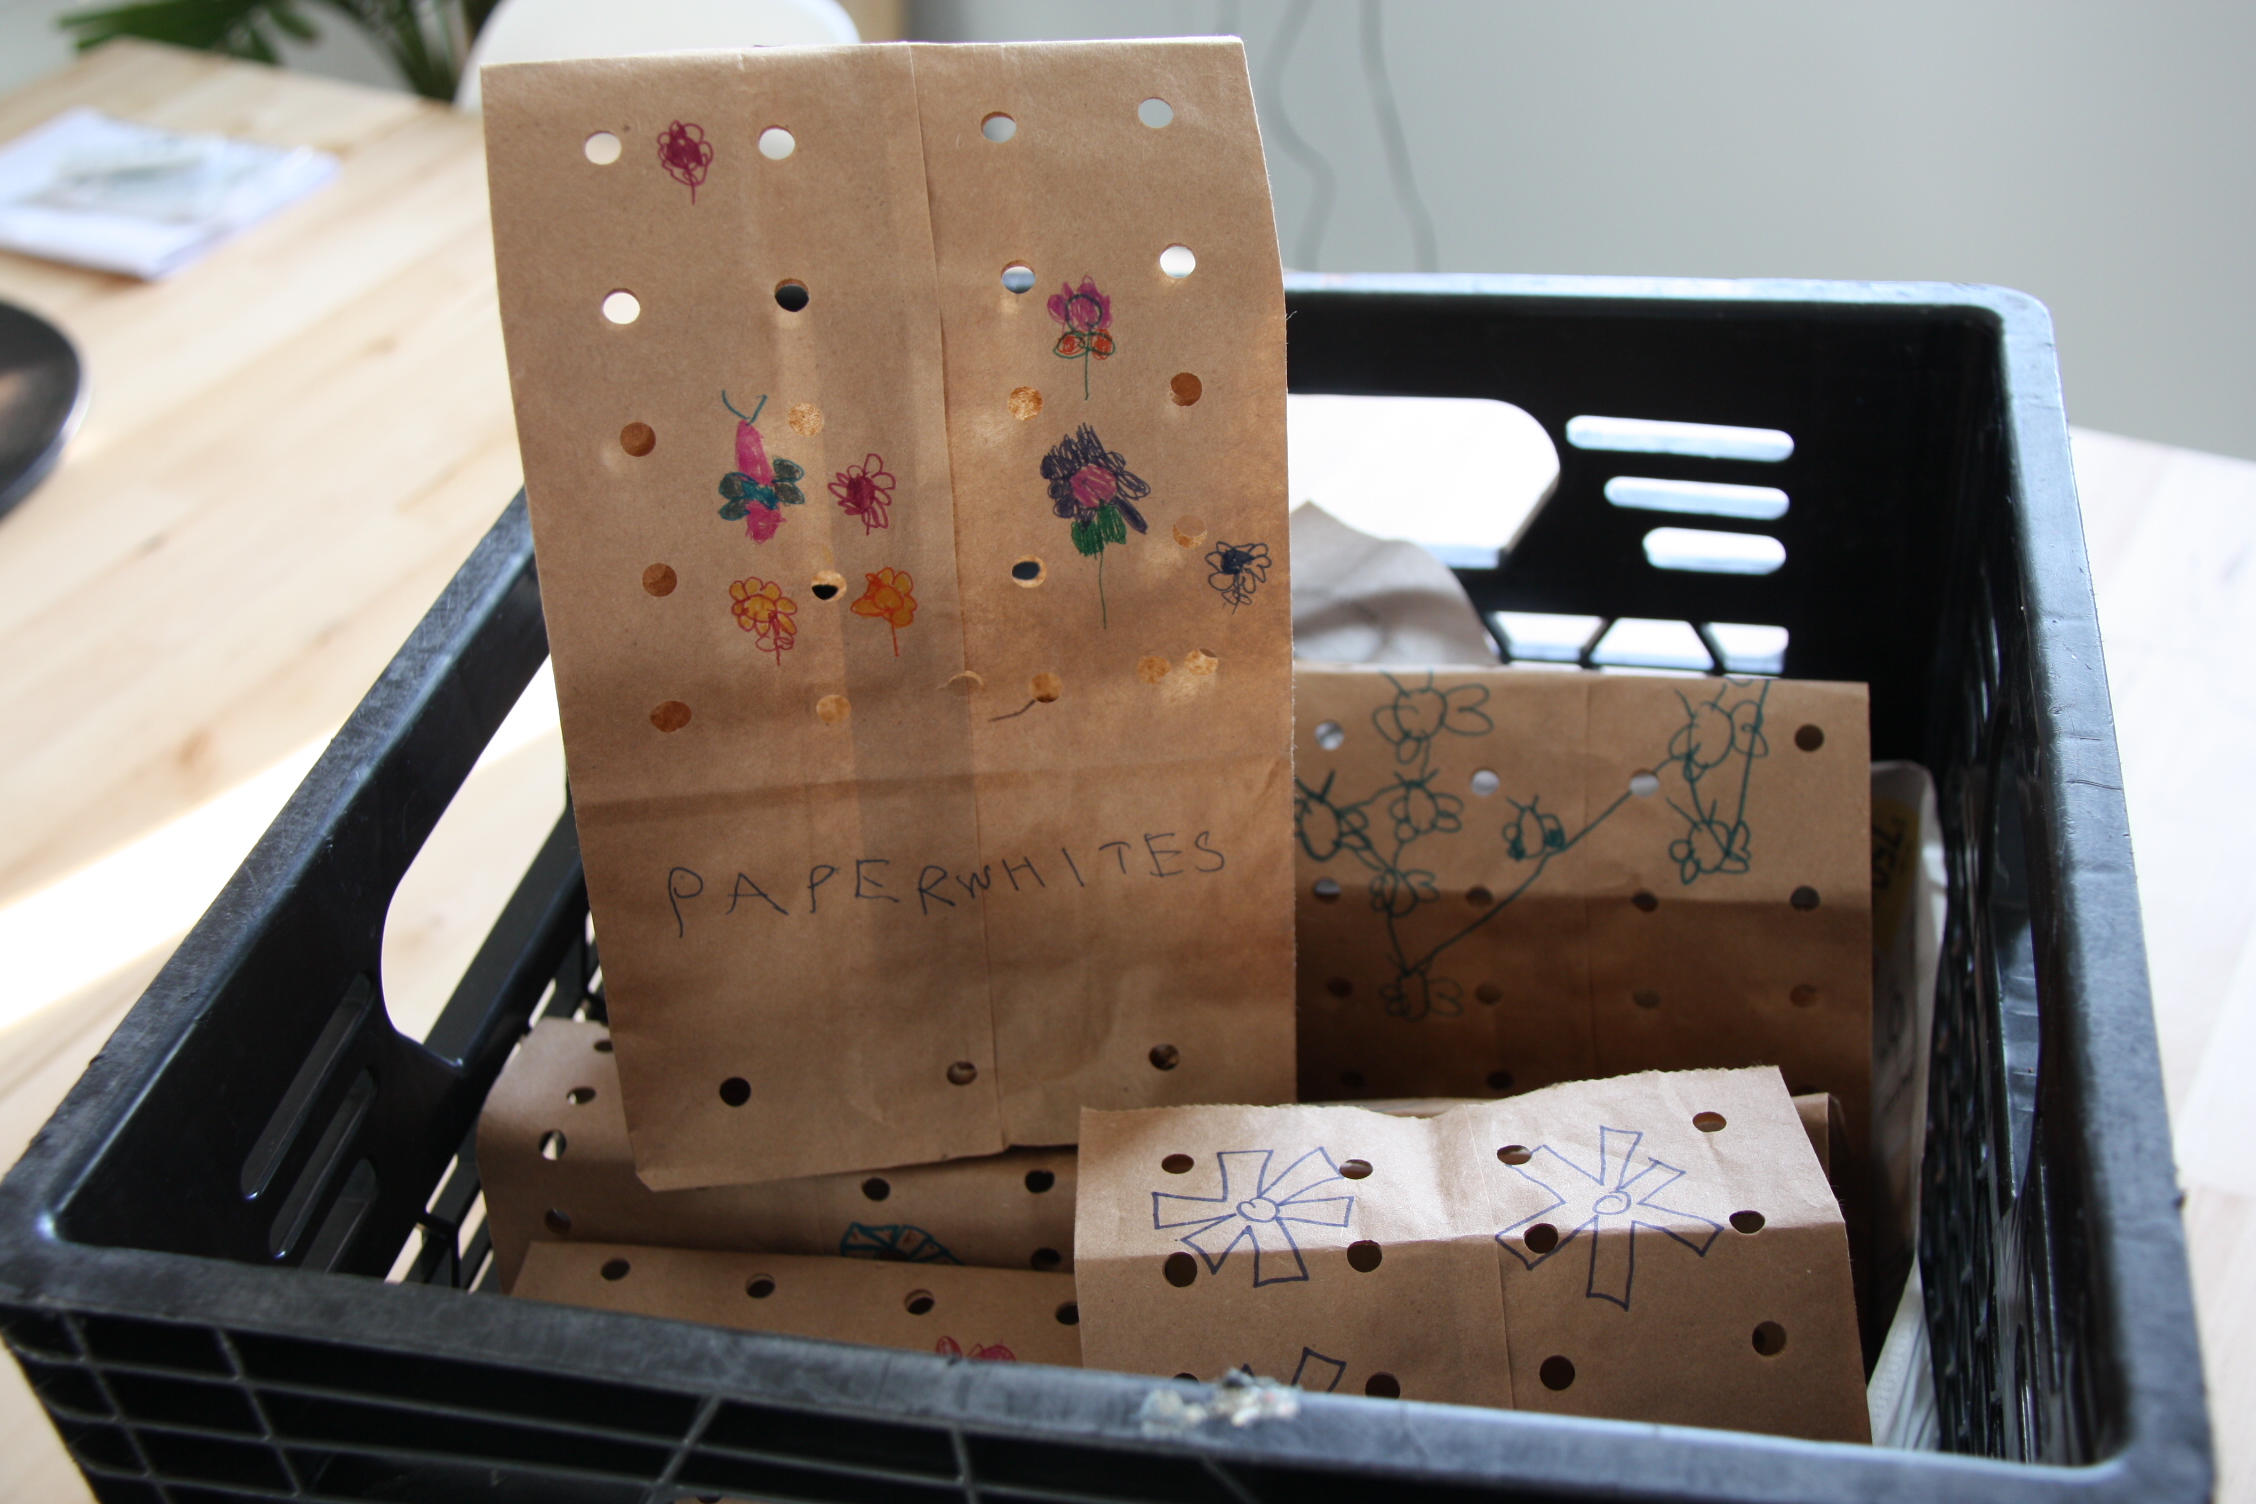
Once the bulbs dried out, Jaia and I made up some brown bags with ventilation holes in them to ensure they don’t get moist or go rotten over the summer. Simply fold the bag in half and using a single whole bunch, make lots of perforations throughout (especially at the bottom).
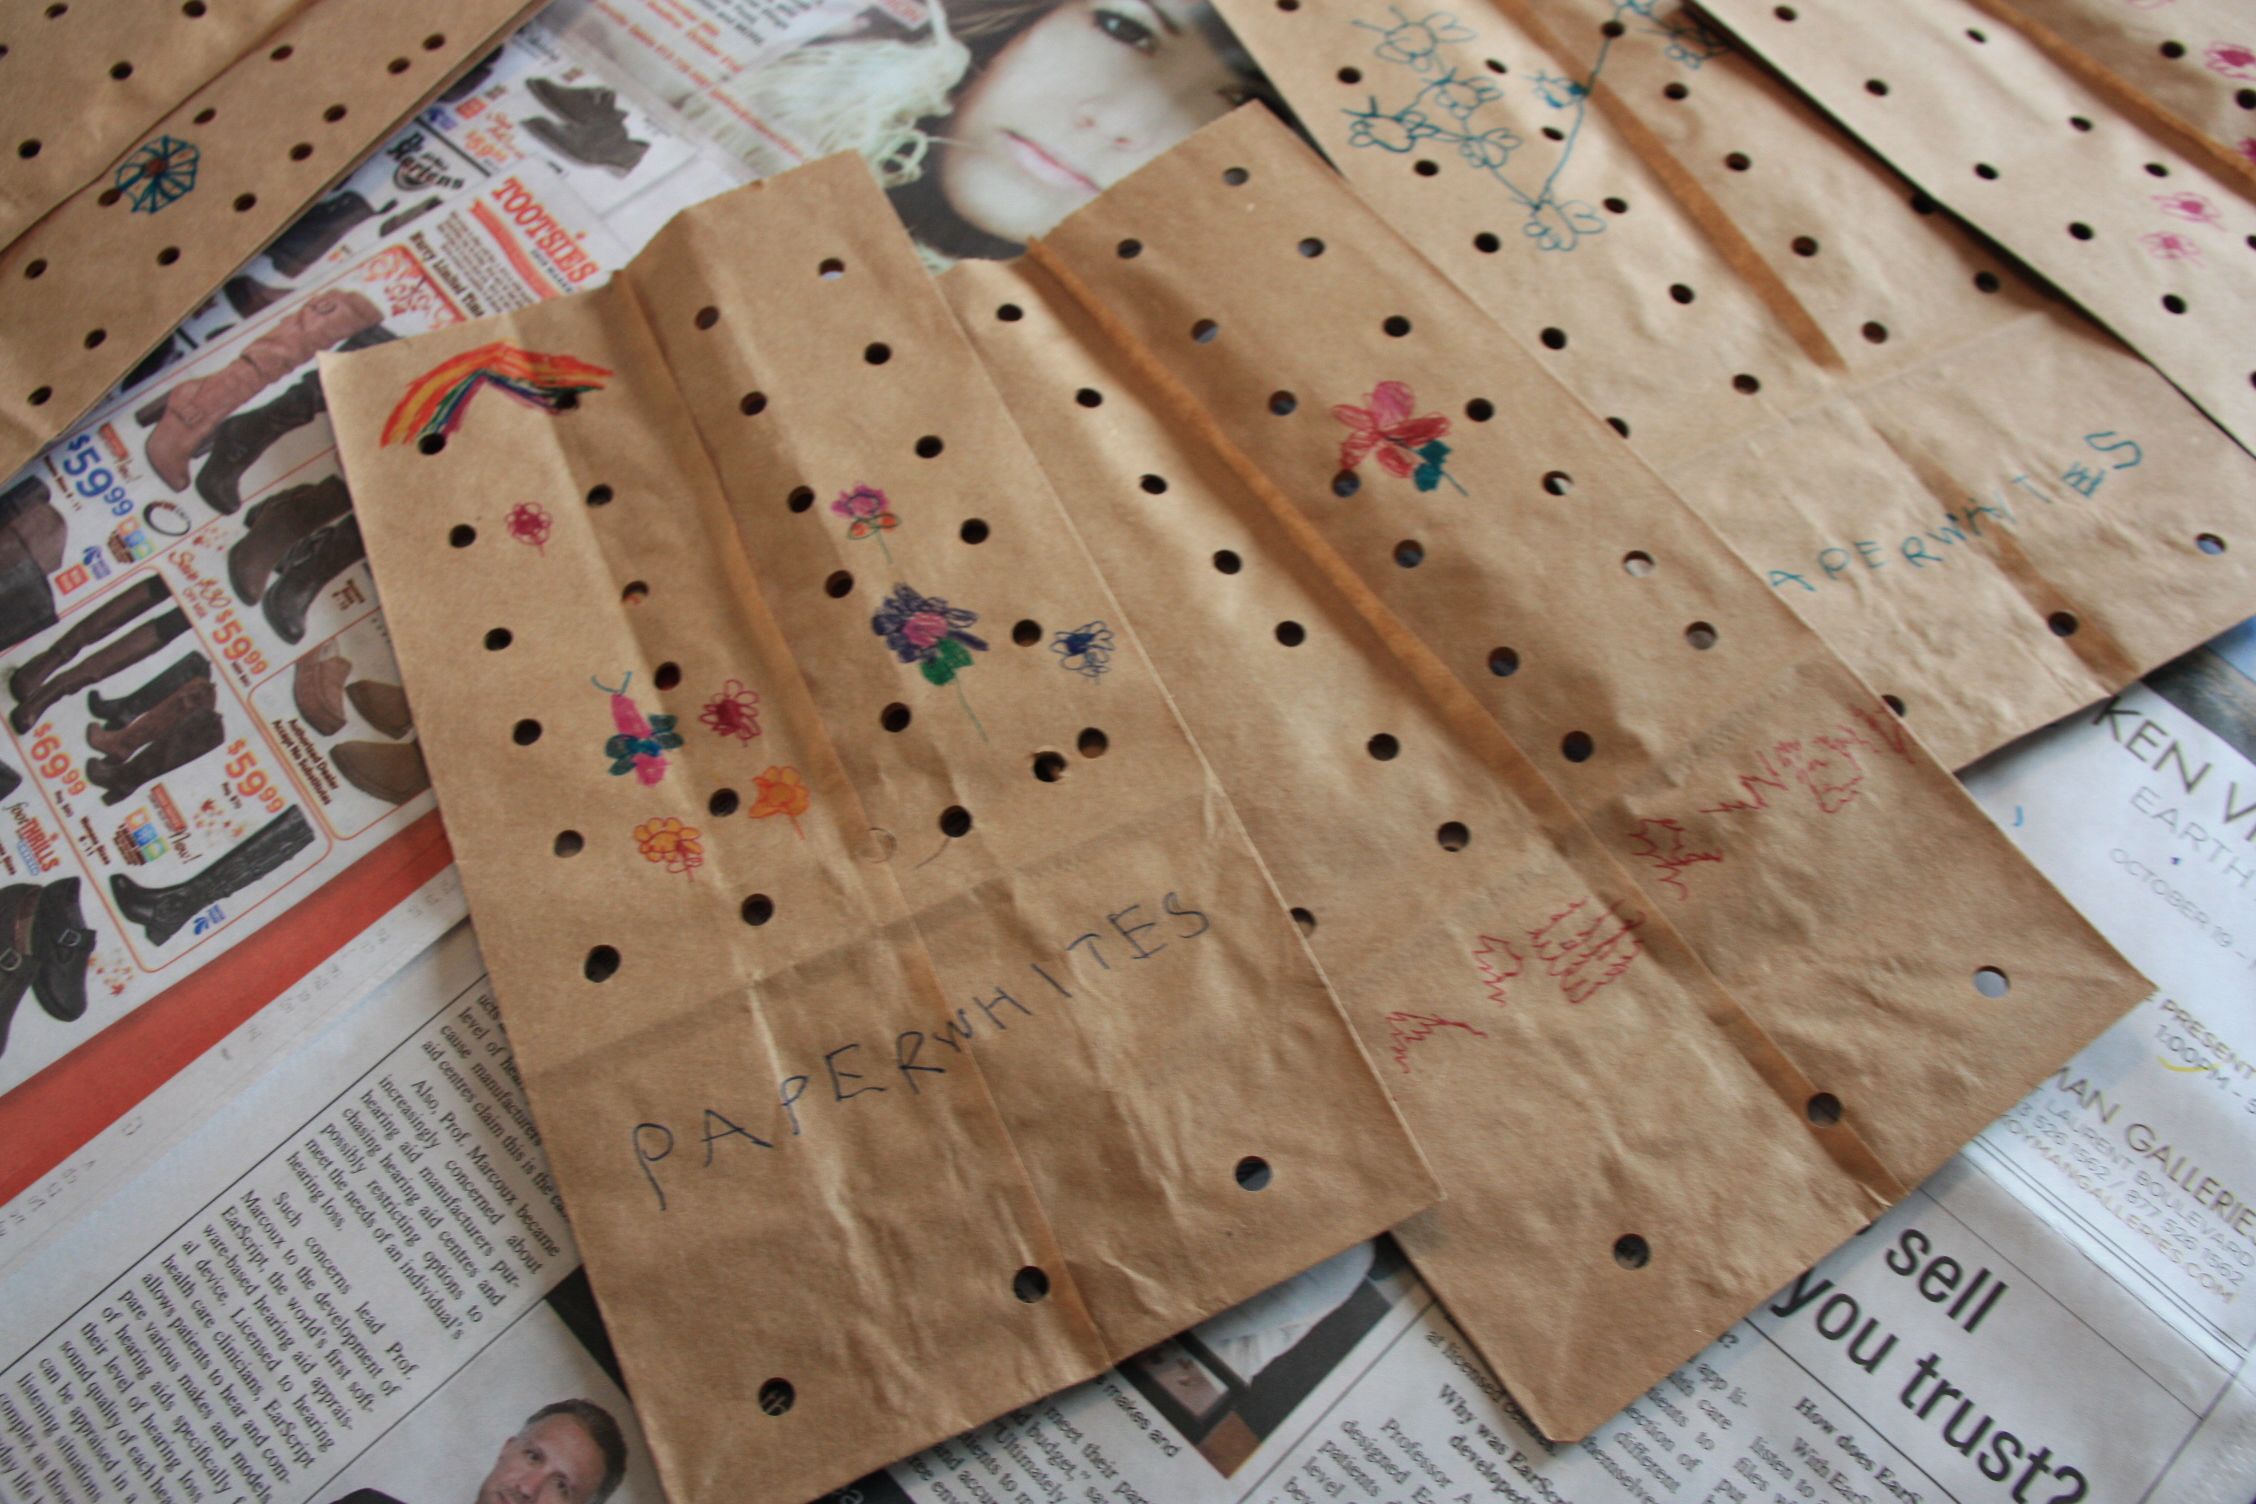
Next up, decorating the bags! This is a good crafting project for kids, and Jaia especially loved practicing her spelling of paperwhites on each of them.
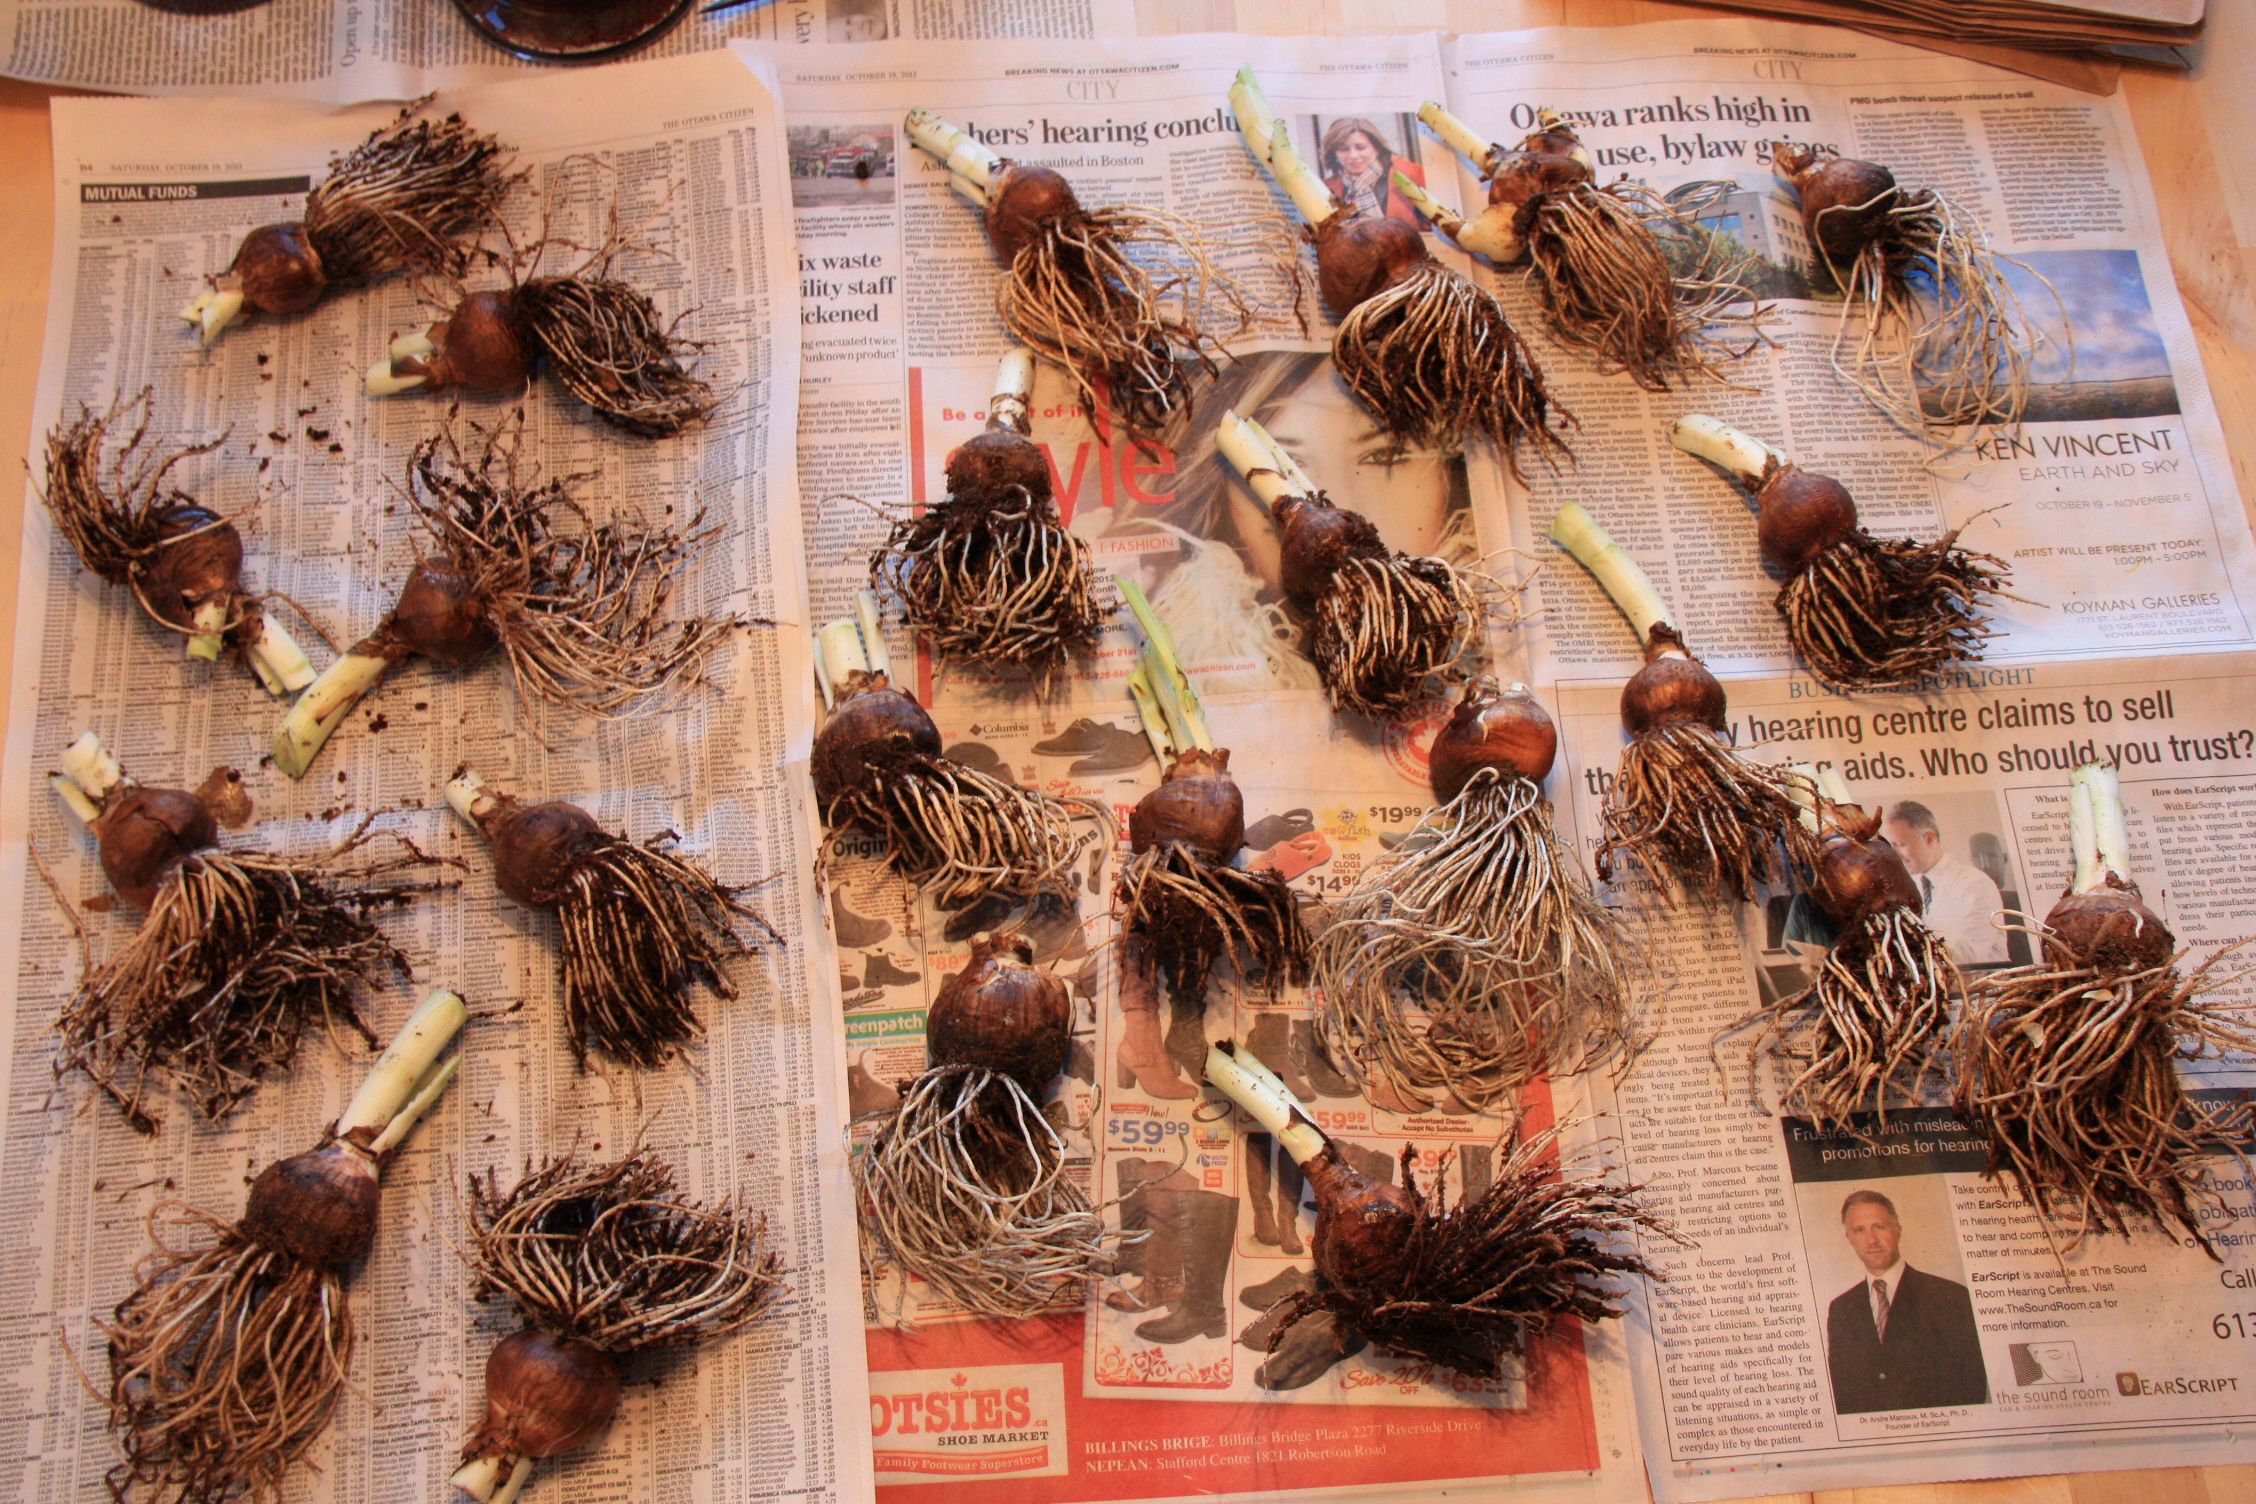
After a few days the bulbs will dry out and look like this…
At this stage you can bag them – I only put 3-4 per bag to not overcrowd them.
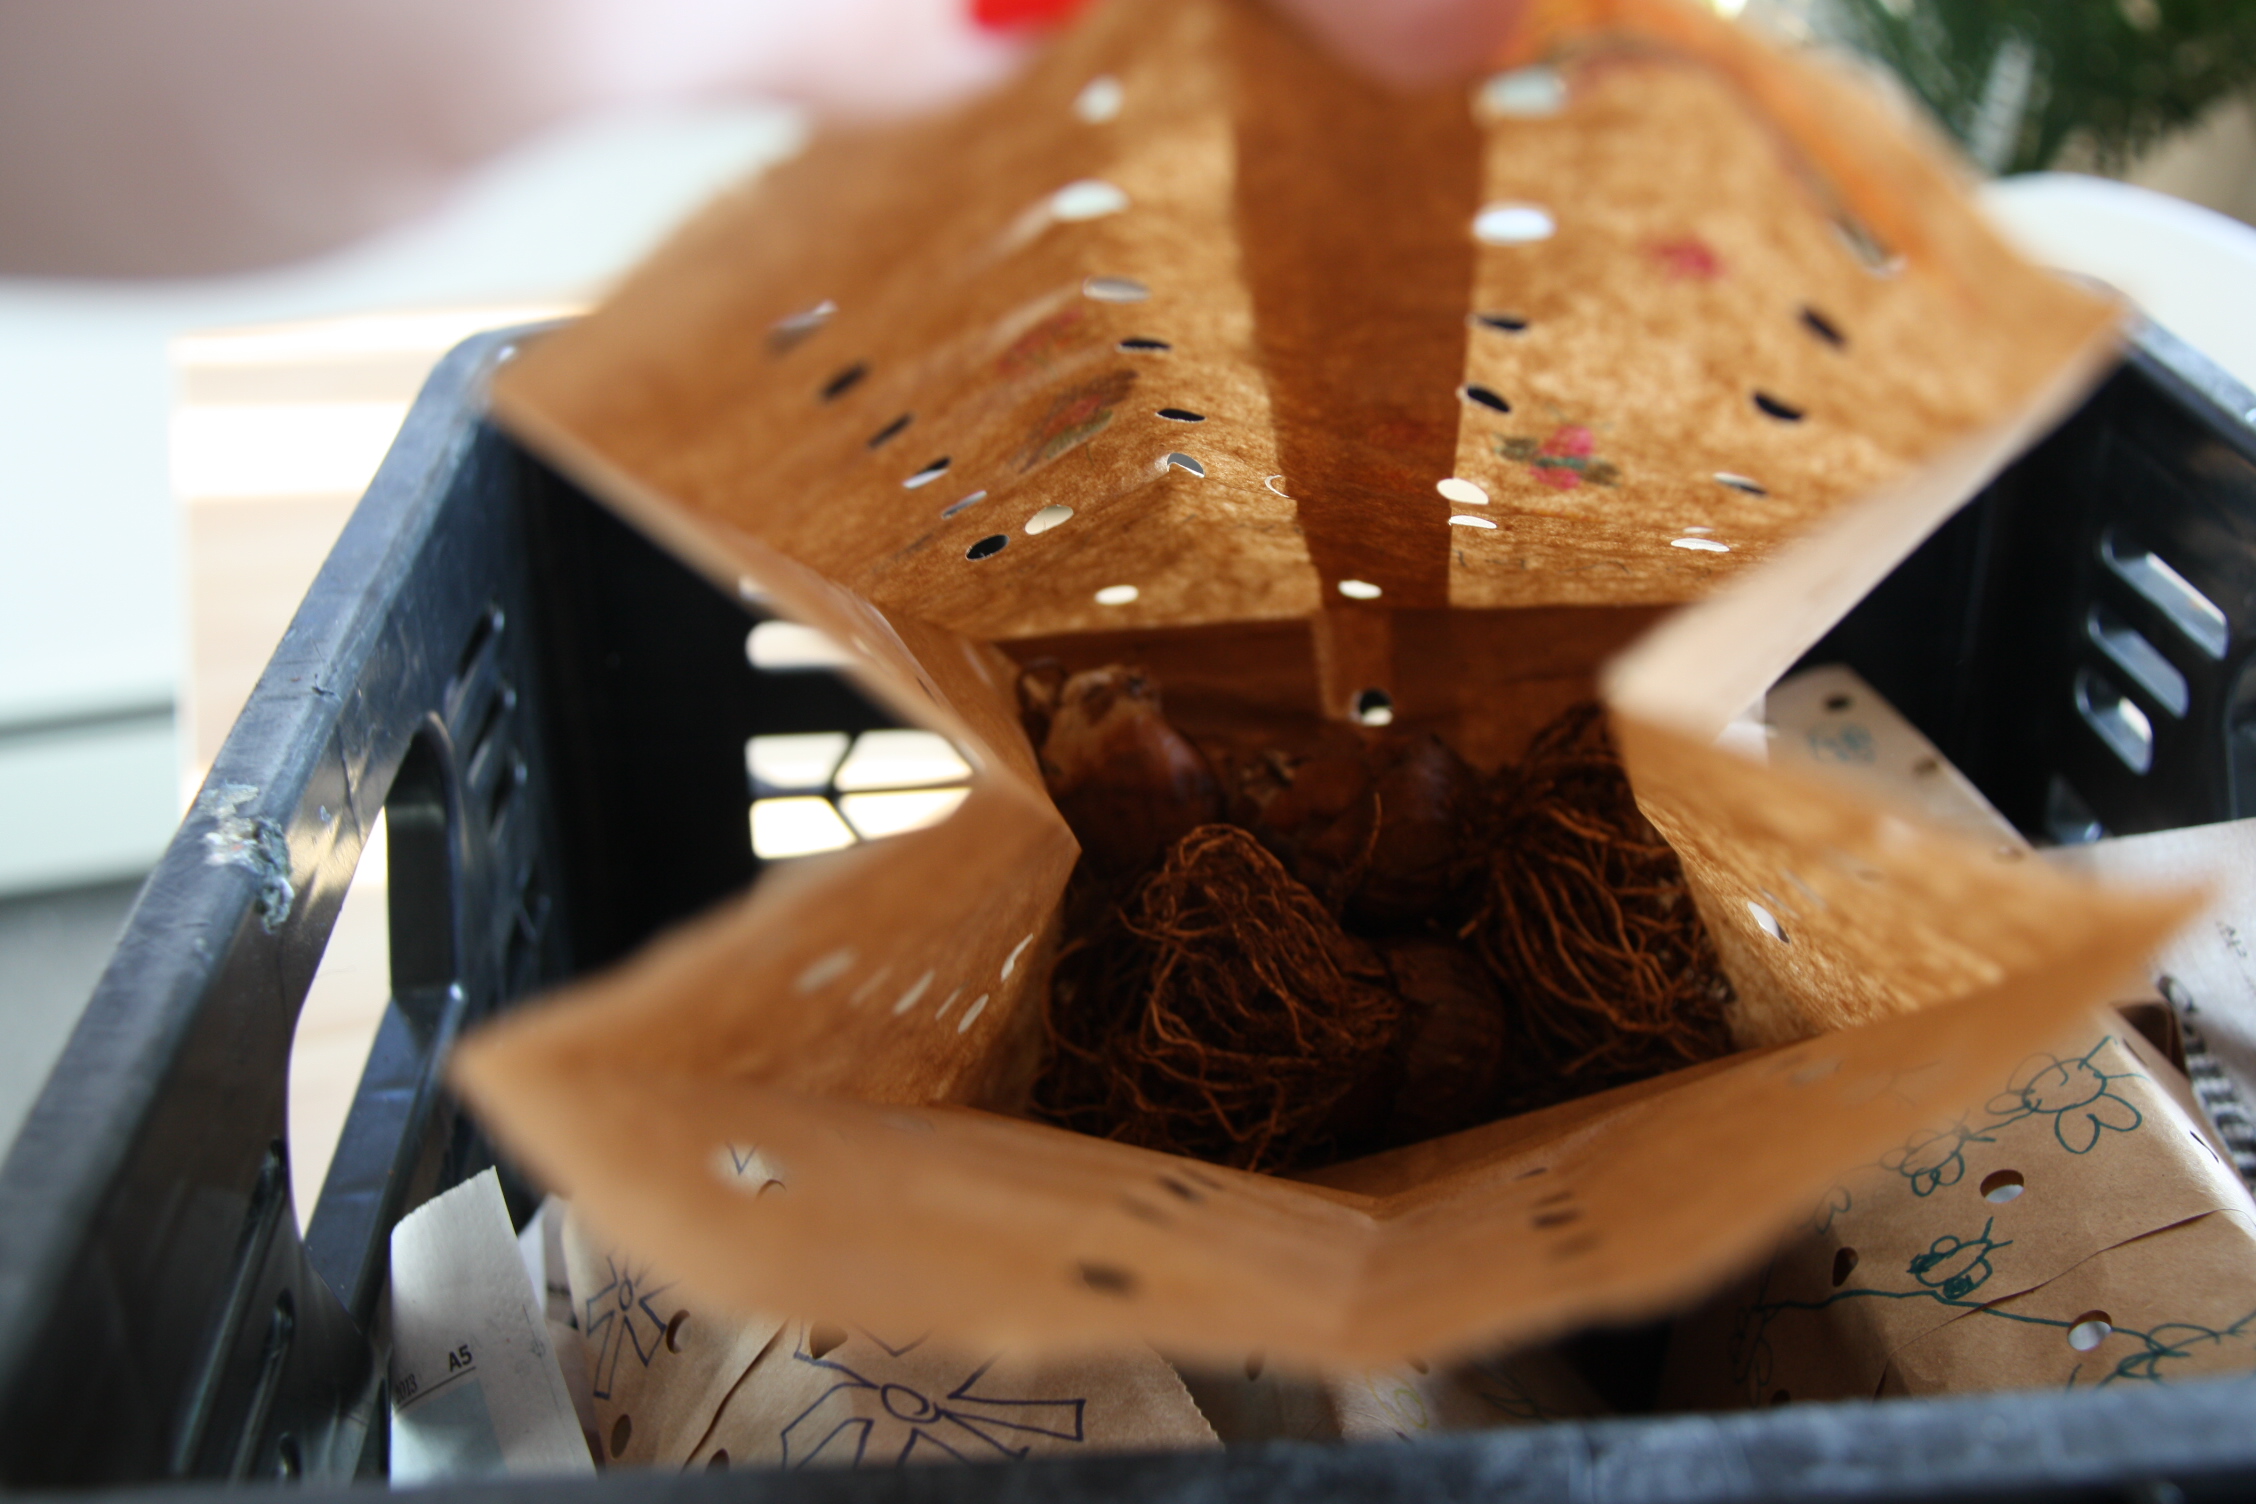
Then just roll them up, and store them away in a newspaper lined basket or milk crate (which you can get for free if you ask the deli-section of your local store nicely). Nothing to it!

If anyone else has tips for bulbs to share, please feel free to comment below. I hope I’ve got my information right – I guess we’ll see come next winter (or sooner if I get eager and decide to force the paperwhites early).
This is great info thanks! Just wondering where you store them over the summer after they are dried/bagged?
Hi there. I usually store them in my pantry, like I do with my onions. Somewhere slightly cool and dry and in the dark with some air circulation if possible.