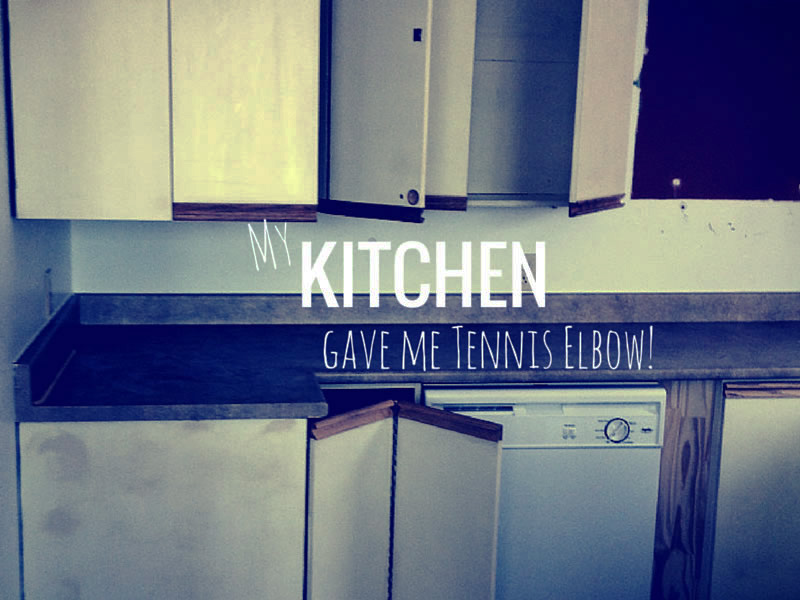
 It has been quite a week. My last week of ‘vacation’ and I’ve been going 9+ hrs solid each day on the bloody kitchen, but we’re seeing some progress finally.
Let me start by saying, if you are ever contemplating whether to buy new kitchen cabinets or refinish your old ones, think very hard on it before you commit. Because after this week, I’m wishing we just spent the rest of our savings and bought a whole new kitchen. As much as I researched the process for painting kitchen cabinets, I couldn’t have imagined how laborious, tedious, boring, and strenuous the whole process would be.
 In fact, if you’re thinking of refinishing your cabinets, I have devised a screening tool to help you determine if refinishing is the best option for you.
Please answer the following:
1. Are you a masochist?
2. Do you enjoy doing monotonous tasks over long hours each day for more than a week?
3. Do you have an extremely strong upper body?
4. Are you mentally deficient?
5. Do you enjoy sniffing paint fumes?
If you answered ‘yes’ to more than half of the questions above, then you should definitely consider refinishing your cabinets. I, however, only prescribe to the last two questions, so I would not be an ideal candidate for this as it turns out. Nonetheless, we’re nearly at the end of this project and I’m starting to enjoy the results so far.
Why, you ask, am I not a huge cabinet-refinishing fanatic now that I’ve nearly finished a week long project? Well, let me take you through the process.
After spending hours researching how to actually do this last spring, I purchased a tone of paint supplies from Benjamin Moore (I call him Benji for short) for the project, as their ‘Advance’ line of paints are definitely the best on the market for refinishing melamine cabinets, like ours. They are also low V.O.C. AND they are water soluble for some time after getting it all over you (even 9 hours later), so you can actually clean up with soap and water afterwards, unlike the oil-based options which pretty much every other brand has and are pretty nasty. I chose to get my paint in a ‘pearl’ finish, which is more matte than a semi-gloss, but a little more shiny than a satin, and was the finish most recommended for cabinets by Benji.
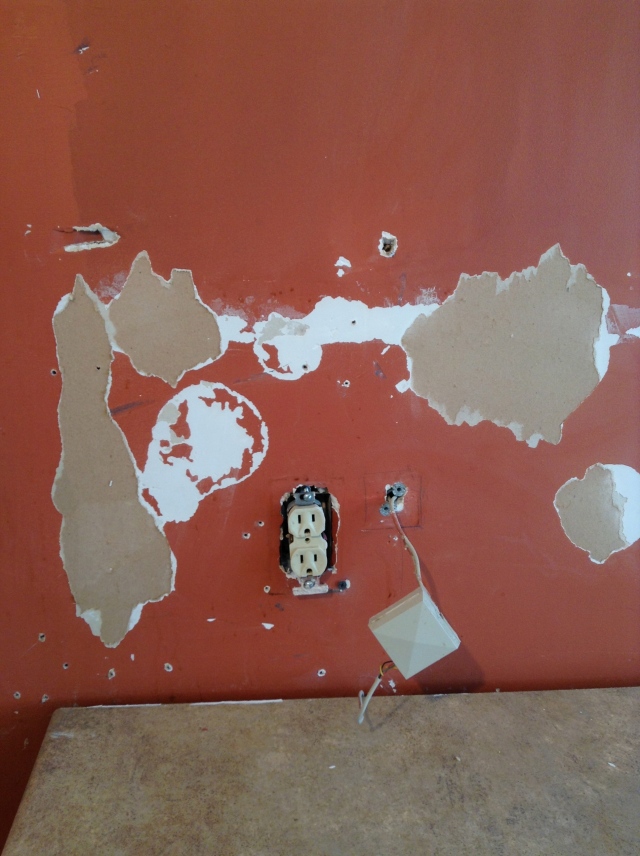
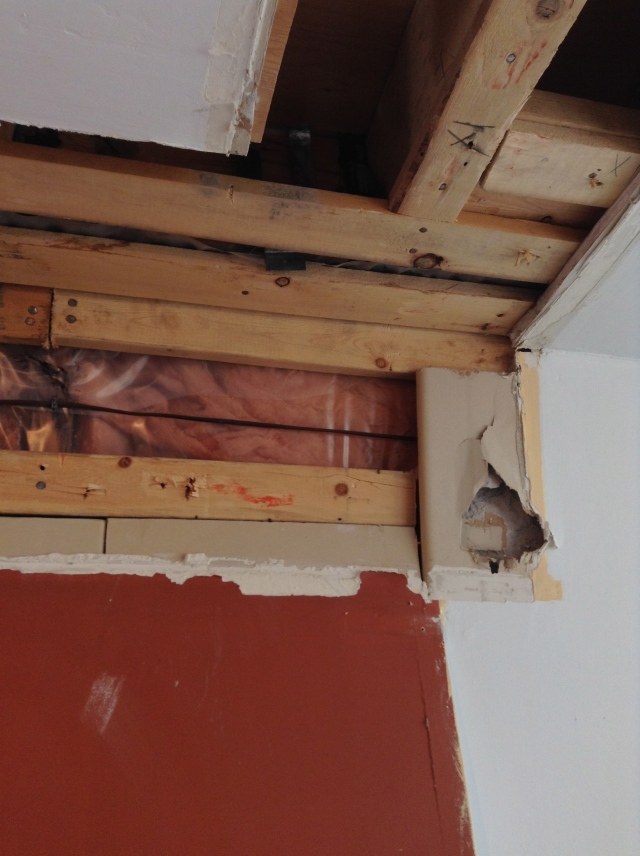
I was especially inspired by the blog from this talented couple from Young House Love who were also going for the clean white cabinet look we are, yet also managed to make it look so simple – including doing all the work between down times when their baby napped and in evenings before bed. Ummm, ya there is no way I could have done ours that way – at least not without giving myself 3+ months to do it and probably developing a severe drinking problem (and that’s without having a kid!). That’s another thing, when planning a project like this, make sure to stock up on beer and protein shakes (honestly!). But I have to hand it to them, their kitchen looks amazing, and I’m hoping ours will too. Once we patch up those huge holes in the wall. Oh ya, did I forget to mention the gapping holes? I haven’t filled you in on the more recent demo work yet. Keep reading.
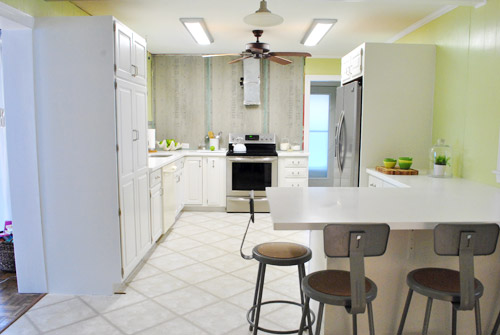
Here's what their kitchen cabinets look like after painting. Photo Credit: www.younghouselove.com.
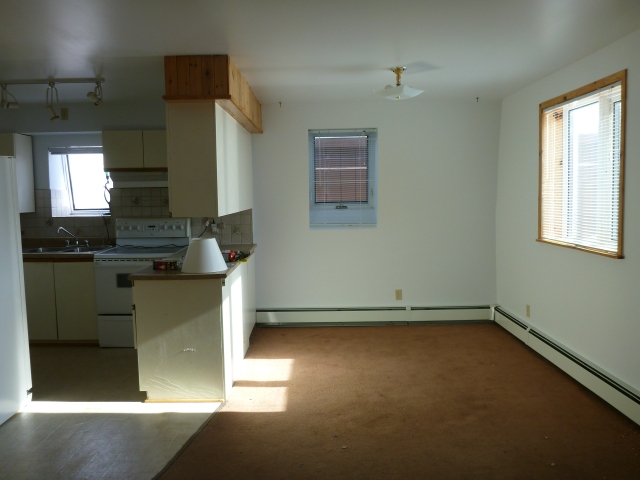
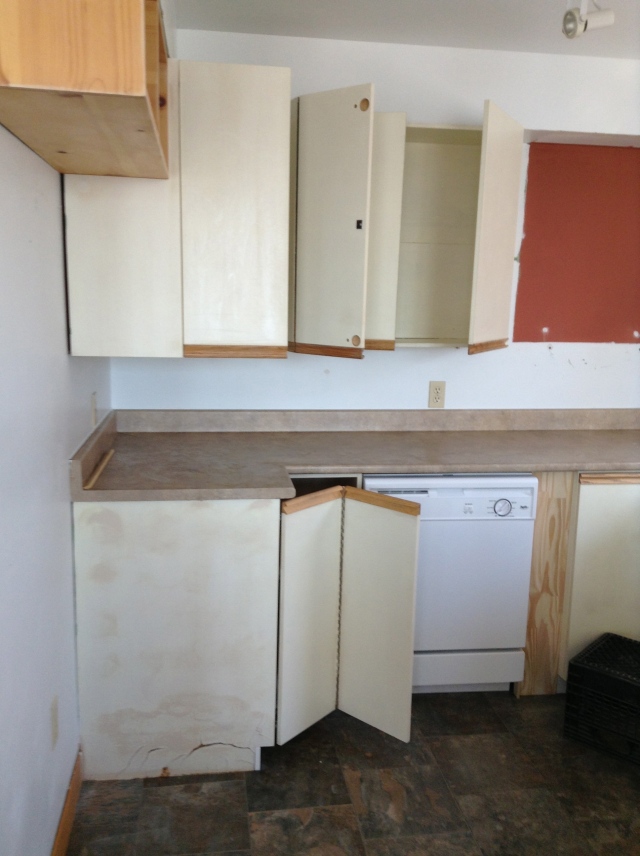
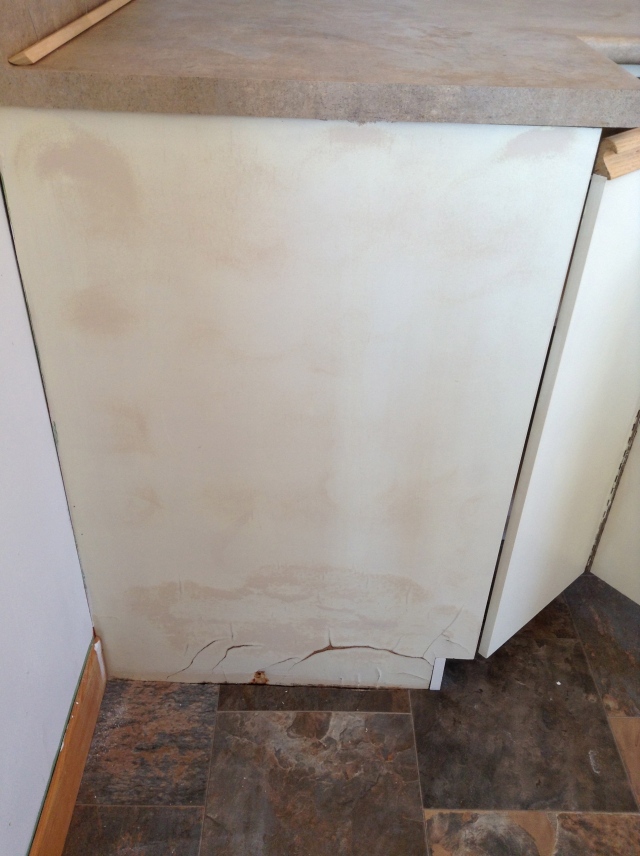
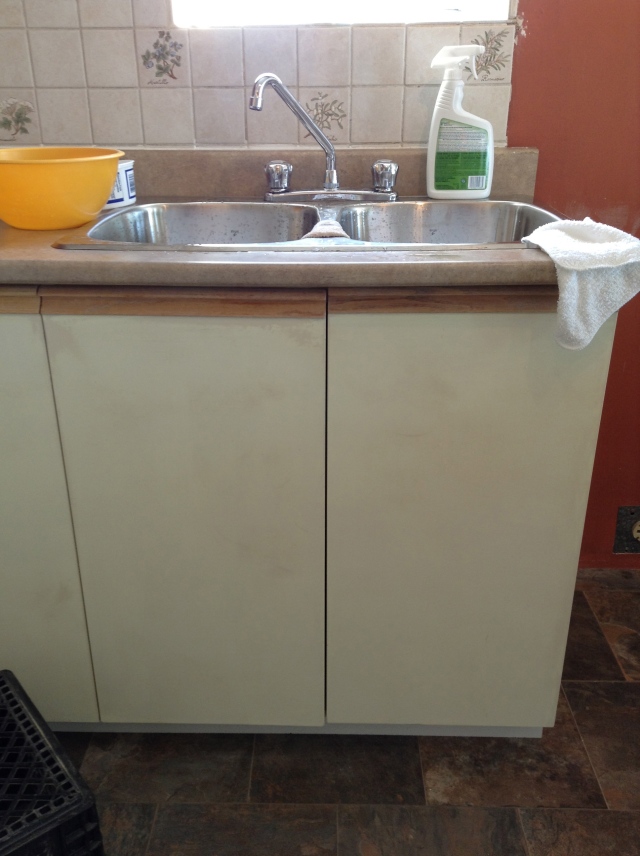
So a quick reminder before I show you all the recent pics (yes I’m building the suspense) of what the kitchen looked like before – and you can get the early demo recap HERE.
First a rundown of what we did. The preparation involves sanding, sanding, and more sanding. J broke in our new rotary sander while I did the insides, handles, and more detailed areas by hand. This was my first fatal flaw. It wasn’t so much the hand sanding, or my technique, but as I was so determined to get the sanding done before the end of the day on Monday I ‘inadvertently’ forgot to take breaks and was sanding continuously for some 6 hours straight (at one time – overall it was probably 16 hrs of sanding between the two of us). This resulted in me severely aggravating the tendons in my right arm giving me tennis elbow as well as re-injuring an old tendon injury in my right thumb, leaving me rather crippled for the rest of the week. Ugh. Not a good start.
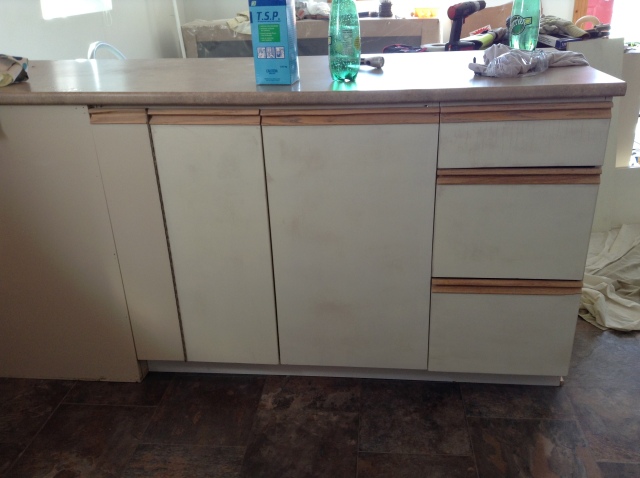
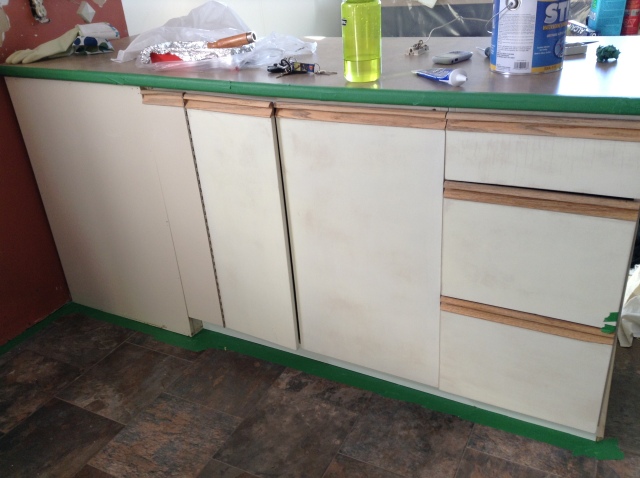
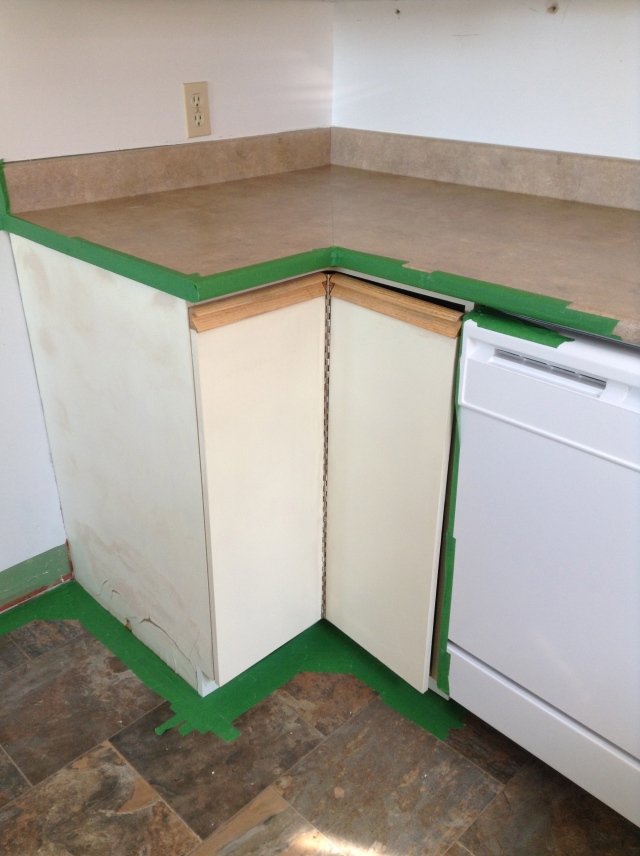
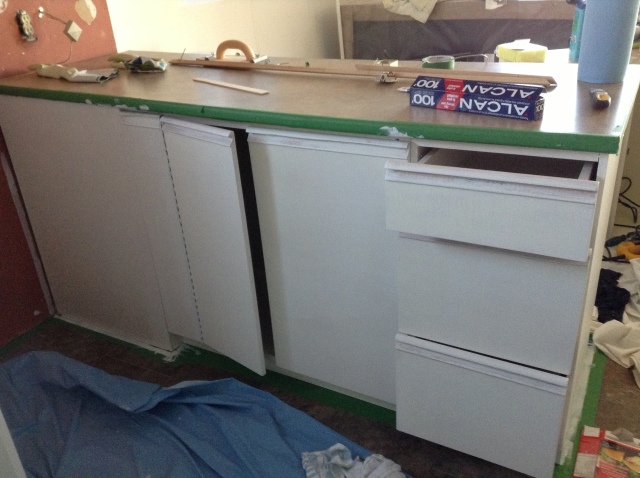
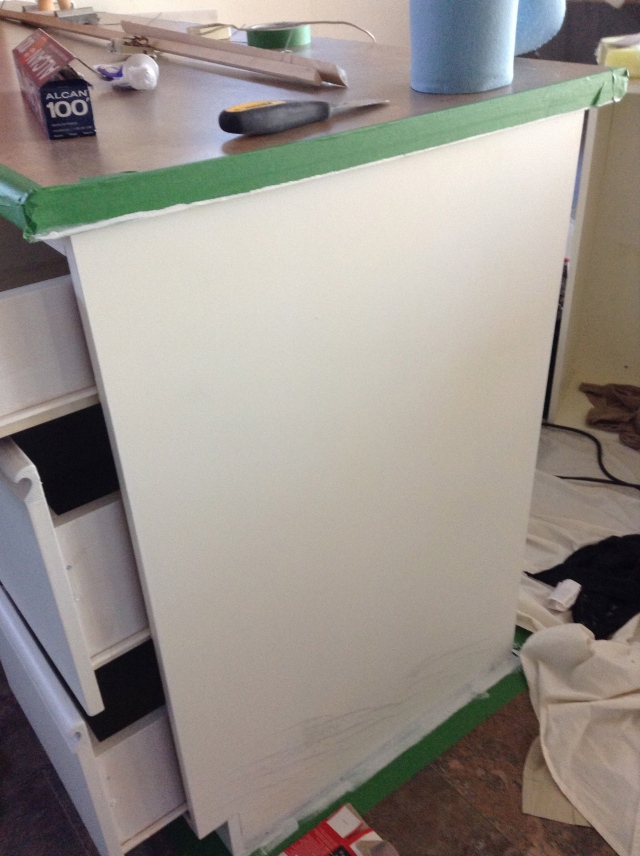
The purpose of sanding is to remove some of the old paint and crud on the surfaces, and to give a tad bit of grit for the new paint layers to stick to. Here’s how things looked after sanding…
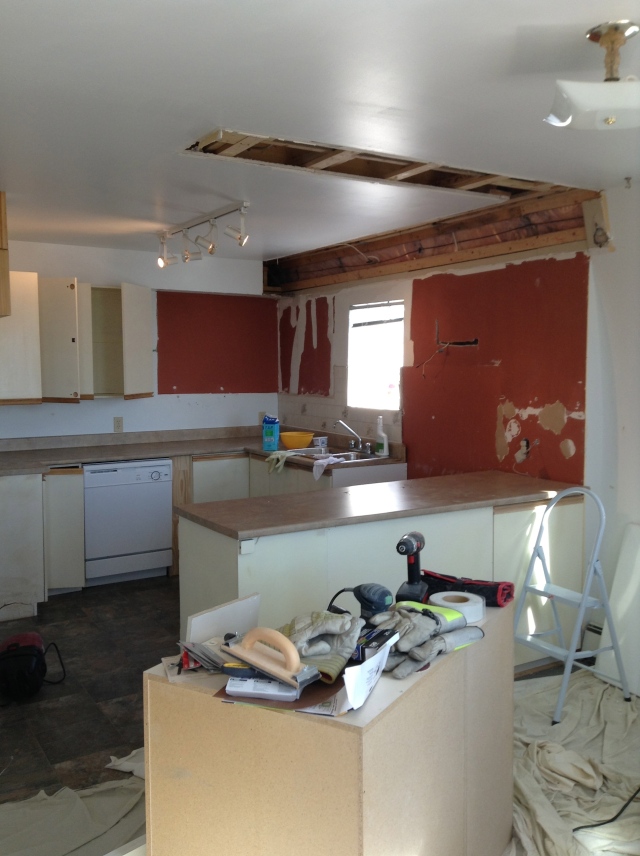
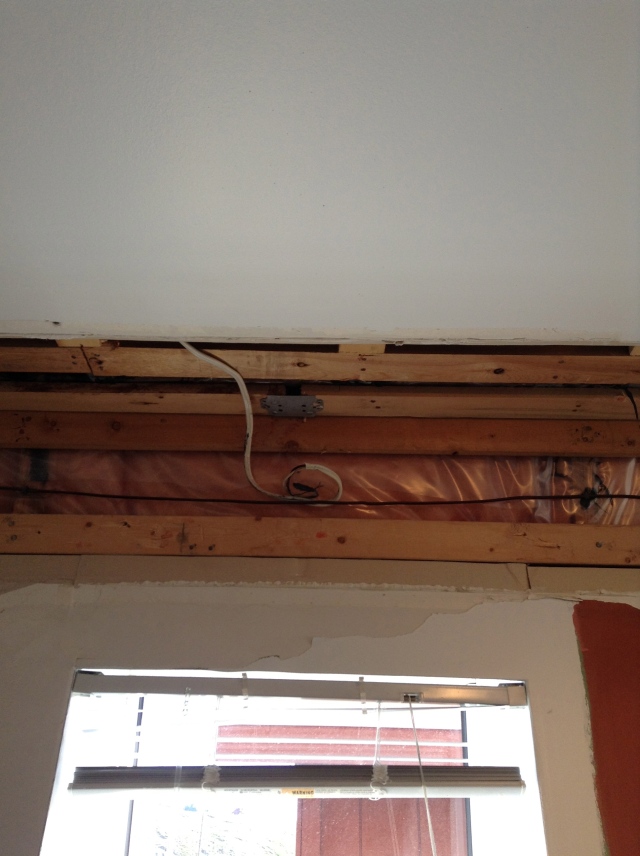
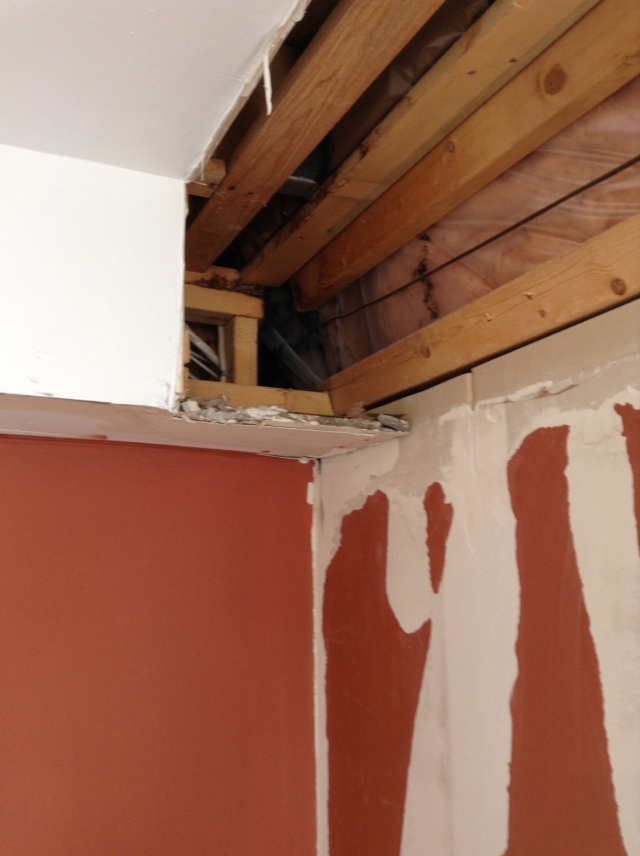
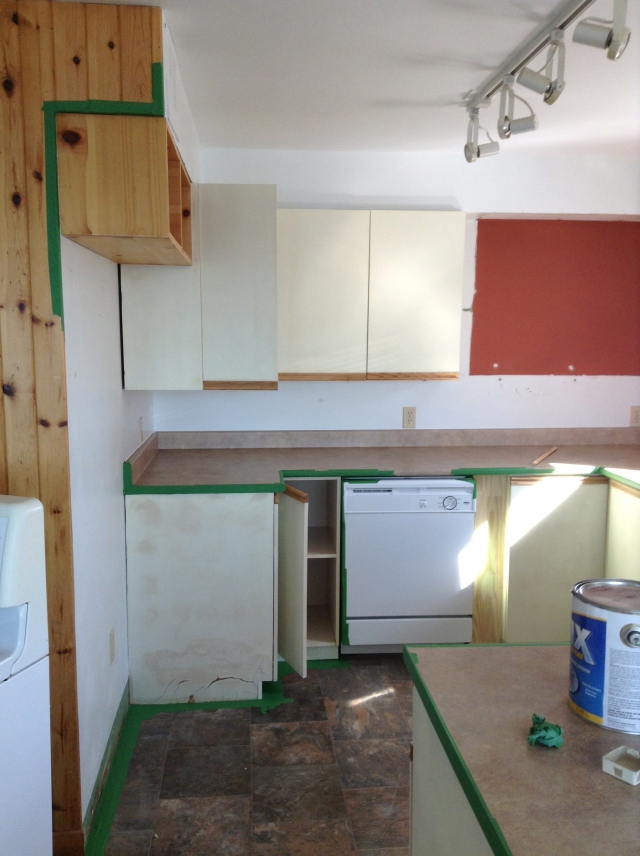
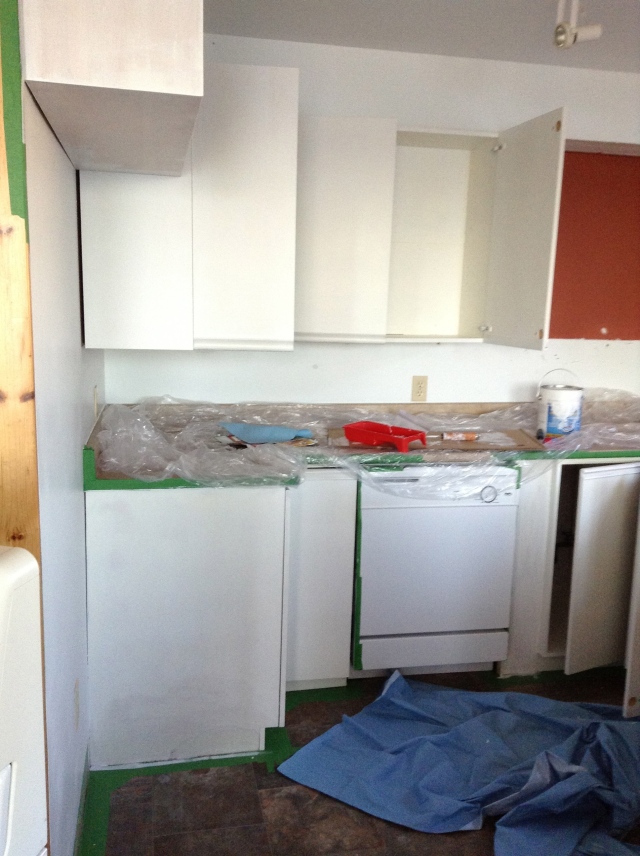
While the dirty work was still underway, we took down some other parts of the kitchen including the rest of the soffit against the window wall, the tile backsplash near the stove/counter, and the upper cabinets above the stove including range hood. You’ll notice more cupboards on the back wall have also come down (and are currently sitting in the middle of the dining room), but they’ll be put back up once the drywall goes up in the coming weeks.
Next came washing. I washed everything down with good ol’ TSP. Trisodium Phosphate is your standard industrial cleaner for walls and surfaces you need to clean before painting. You can see the bright blue box in the ‘sanding’ pictures above. It’s pretty awesome stuff, and I used it in a 1:20 and sometimes 1:10 ratio in warm water and it did the trick. Don’t forget your safety goggles and rubber gloves when working with that stuff too. You also have to go back and wash everything down with water to make sure you remove it all, so basically I spent the entire day on Wednesday washing the cupboards inside and out numerous times (see what fun it is?!). They say a good paint job is all in the prep, so this had better be good.
Next came clean up and taping. Lots and lots of taping.
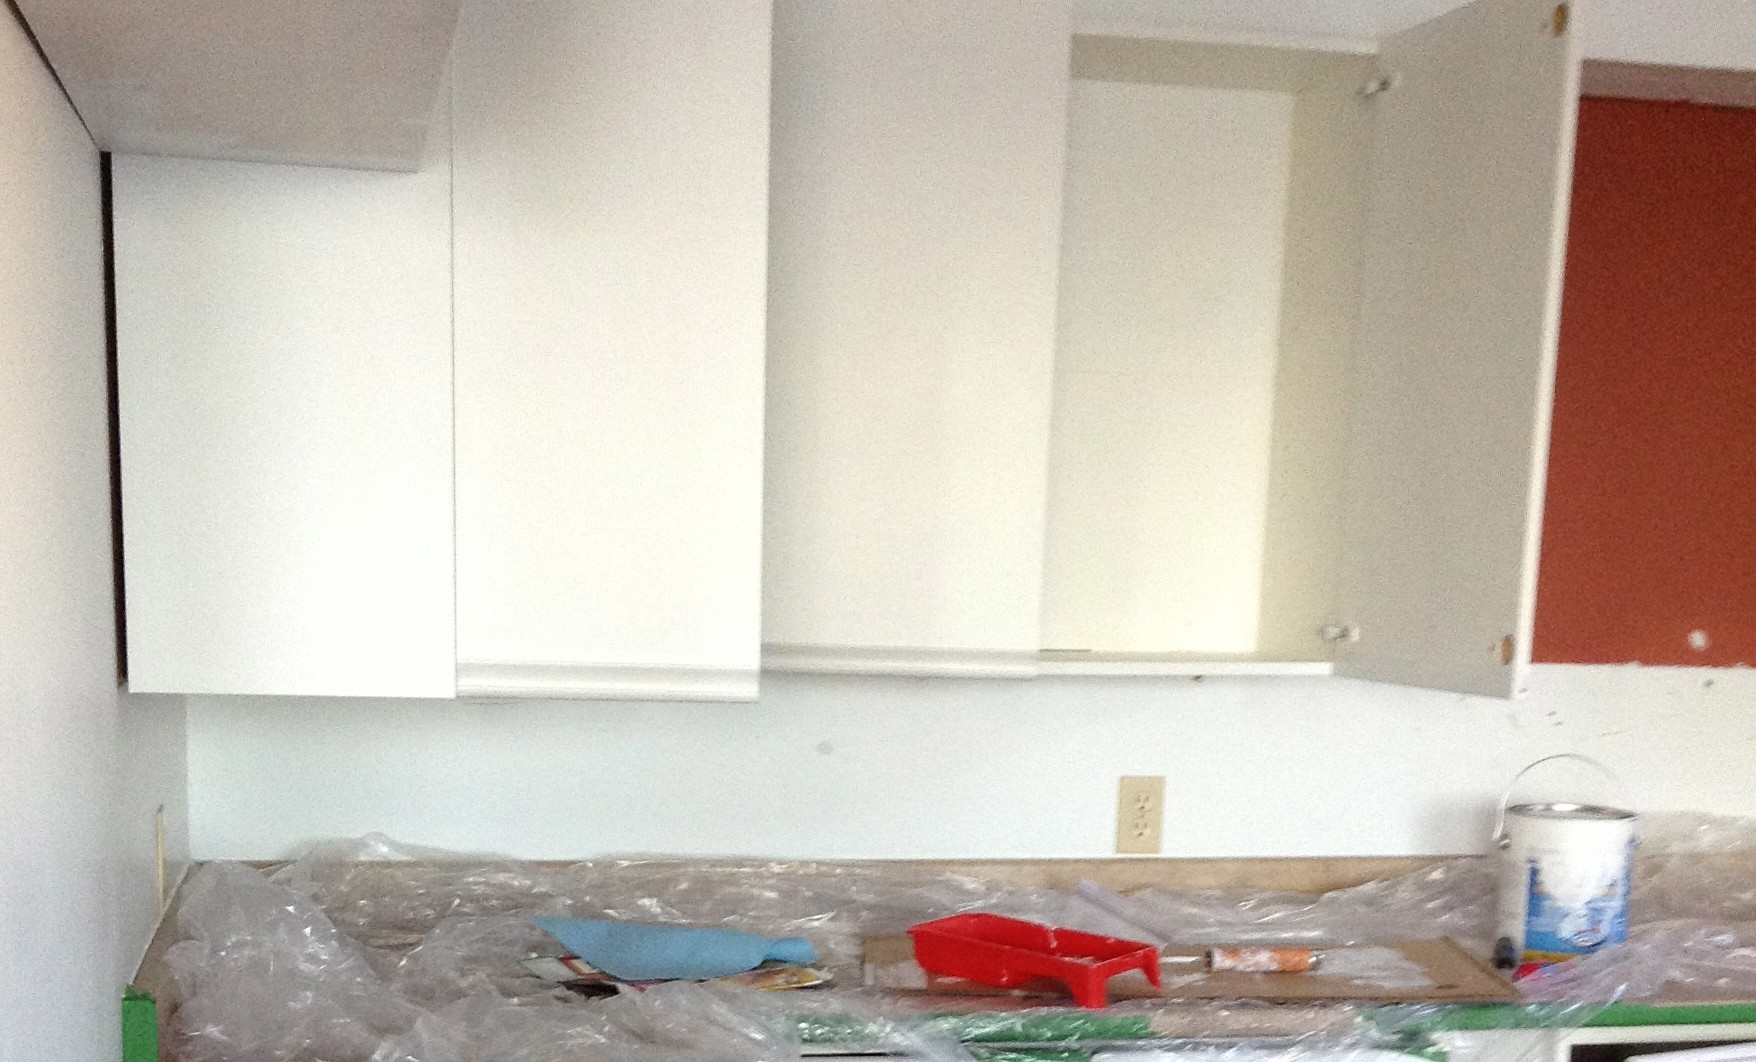
FINALLY priming. I used a primer recommended by Benji called STIX. This stuff is great but it also stinks. A lot. Especially when you’ve got your upper torso stuck inside a small cabinet rolling for hours on end, you know you’ve killed a few braincells in the process. Okay, maybe more than a few. I may have forget my name for a few hours following, but it really worked well.
It’s incredible how even after just the primer it looks AMAZING! I can totally envision how it will look when it’s all done now. So much less 80’s! Yay!
Next up 2-3 coats of Benji ‘Chantilly Lace’ white paint, with 16 hrs of drying time between each. So I’ll be posting more after shots later next week at this rate. Wish me luck!



Good Luck, it looks amazing!! Well worth the tennis elbow:)
a world of difference already!
good luck with your elbow…. 🙁