It’s been awhile since I last posted – but I’m happy to report there’s been LOTS of progress on the house. I’ll be updating more over the coming weeks with more pictures of our progress.
One of the challenges with renovating is that you rarely complete a room entirely before starting another project or room, and right now we have quite a few ‘nearly finished’ or ‘just started’ rooms. I’ve been wanting to wait until they are just right, but am starting to realize that may never happen, so I’ll share with you some of the in progress pics for the time being.
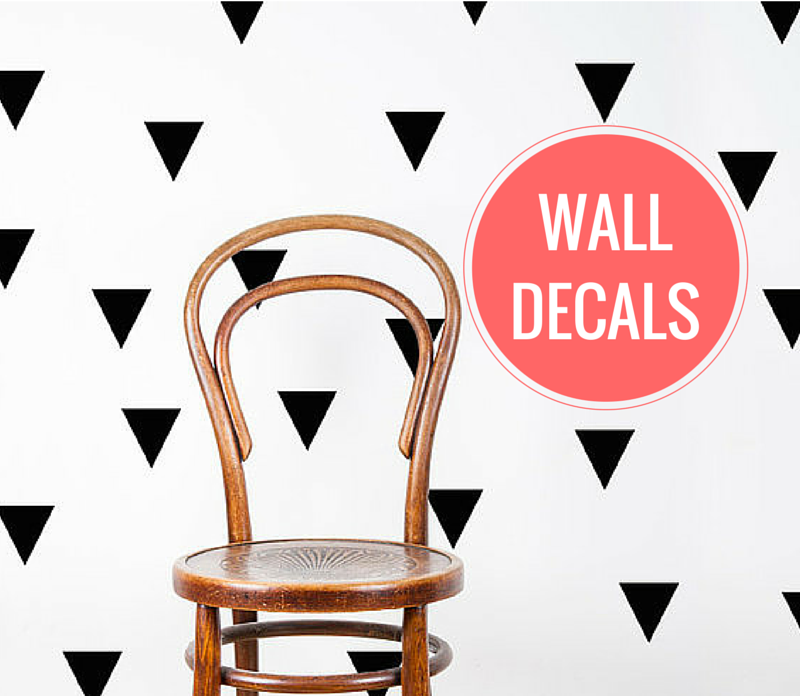
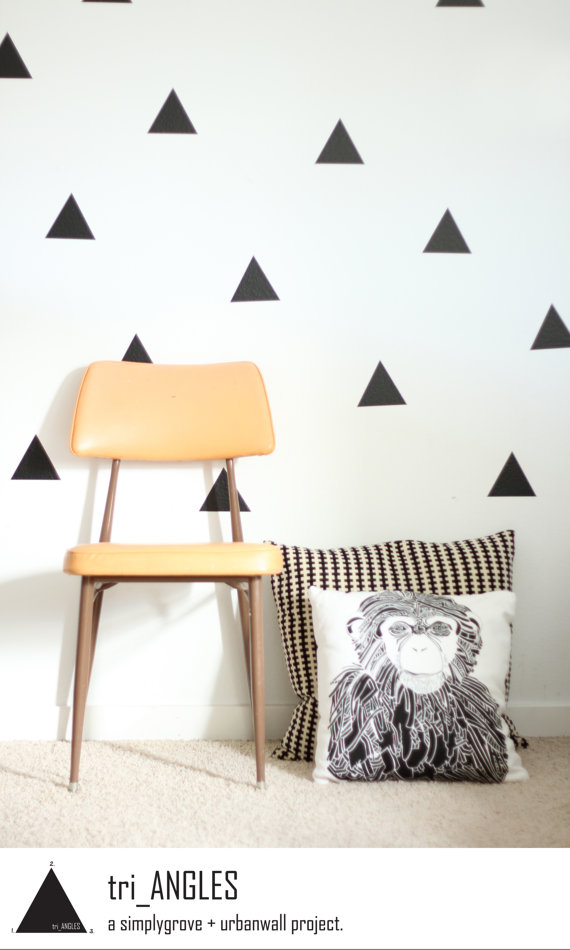
Today I’m sharing with you the feature wall I’ve created in my office/library/music room/studio. I wanted to create a monochrome, geometric look with minimal work/cost, and ended up settling on these wall decals from Urban Walls on Etsy.
They were an easy way to upgrade a room at little cost and were pretty damn easy to apply. At first I was worried about not applying them properly or having them look strange by not having them perfectly spaced, but that didn’t last long. I ended up finding they looked a lot better not being perfectly spaced, and since I didn’t want them to seem TOO perfect, it worked out well.
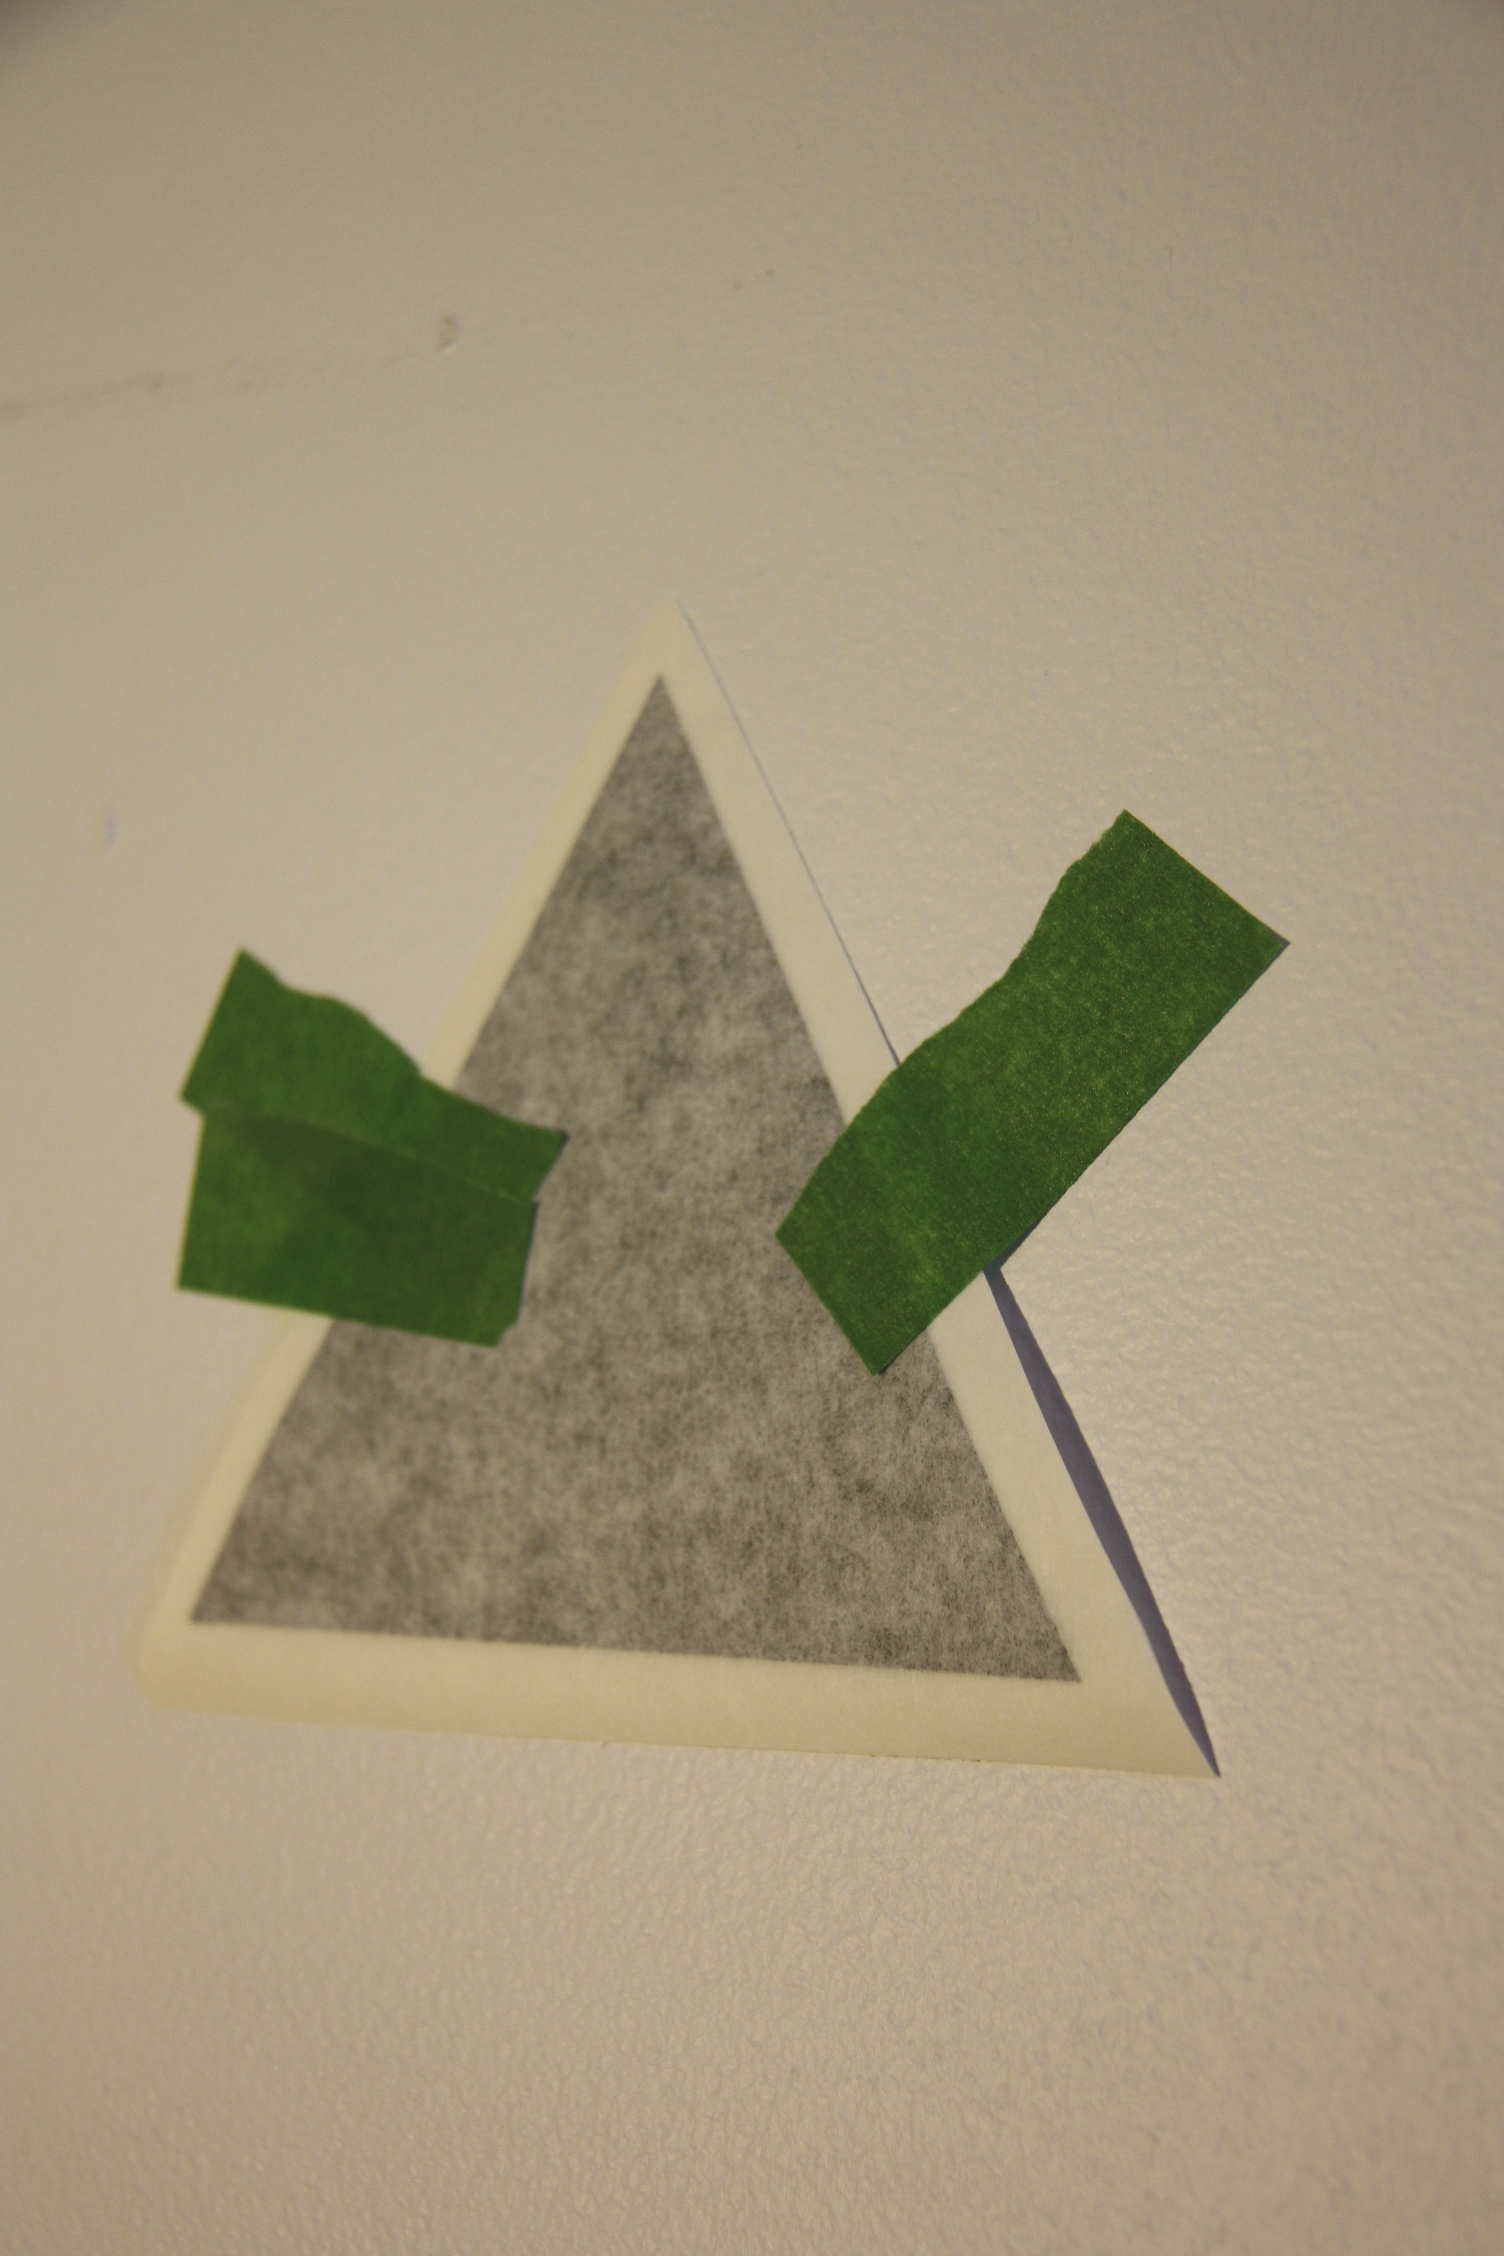
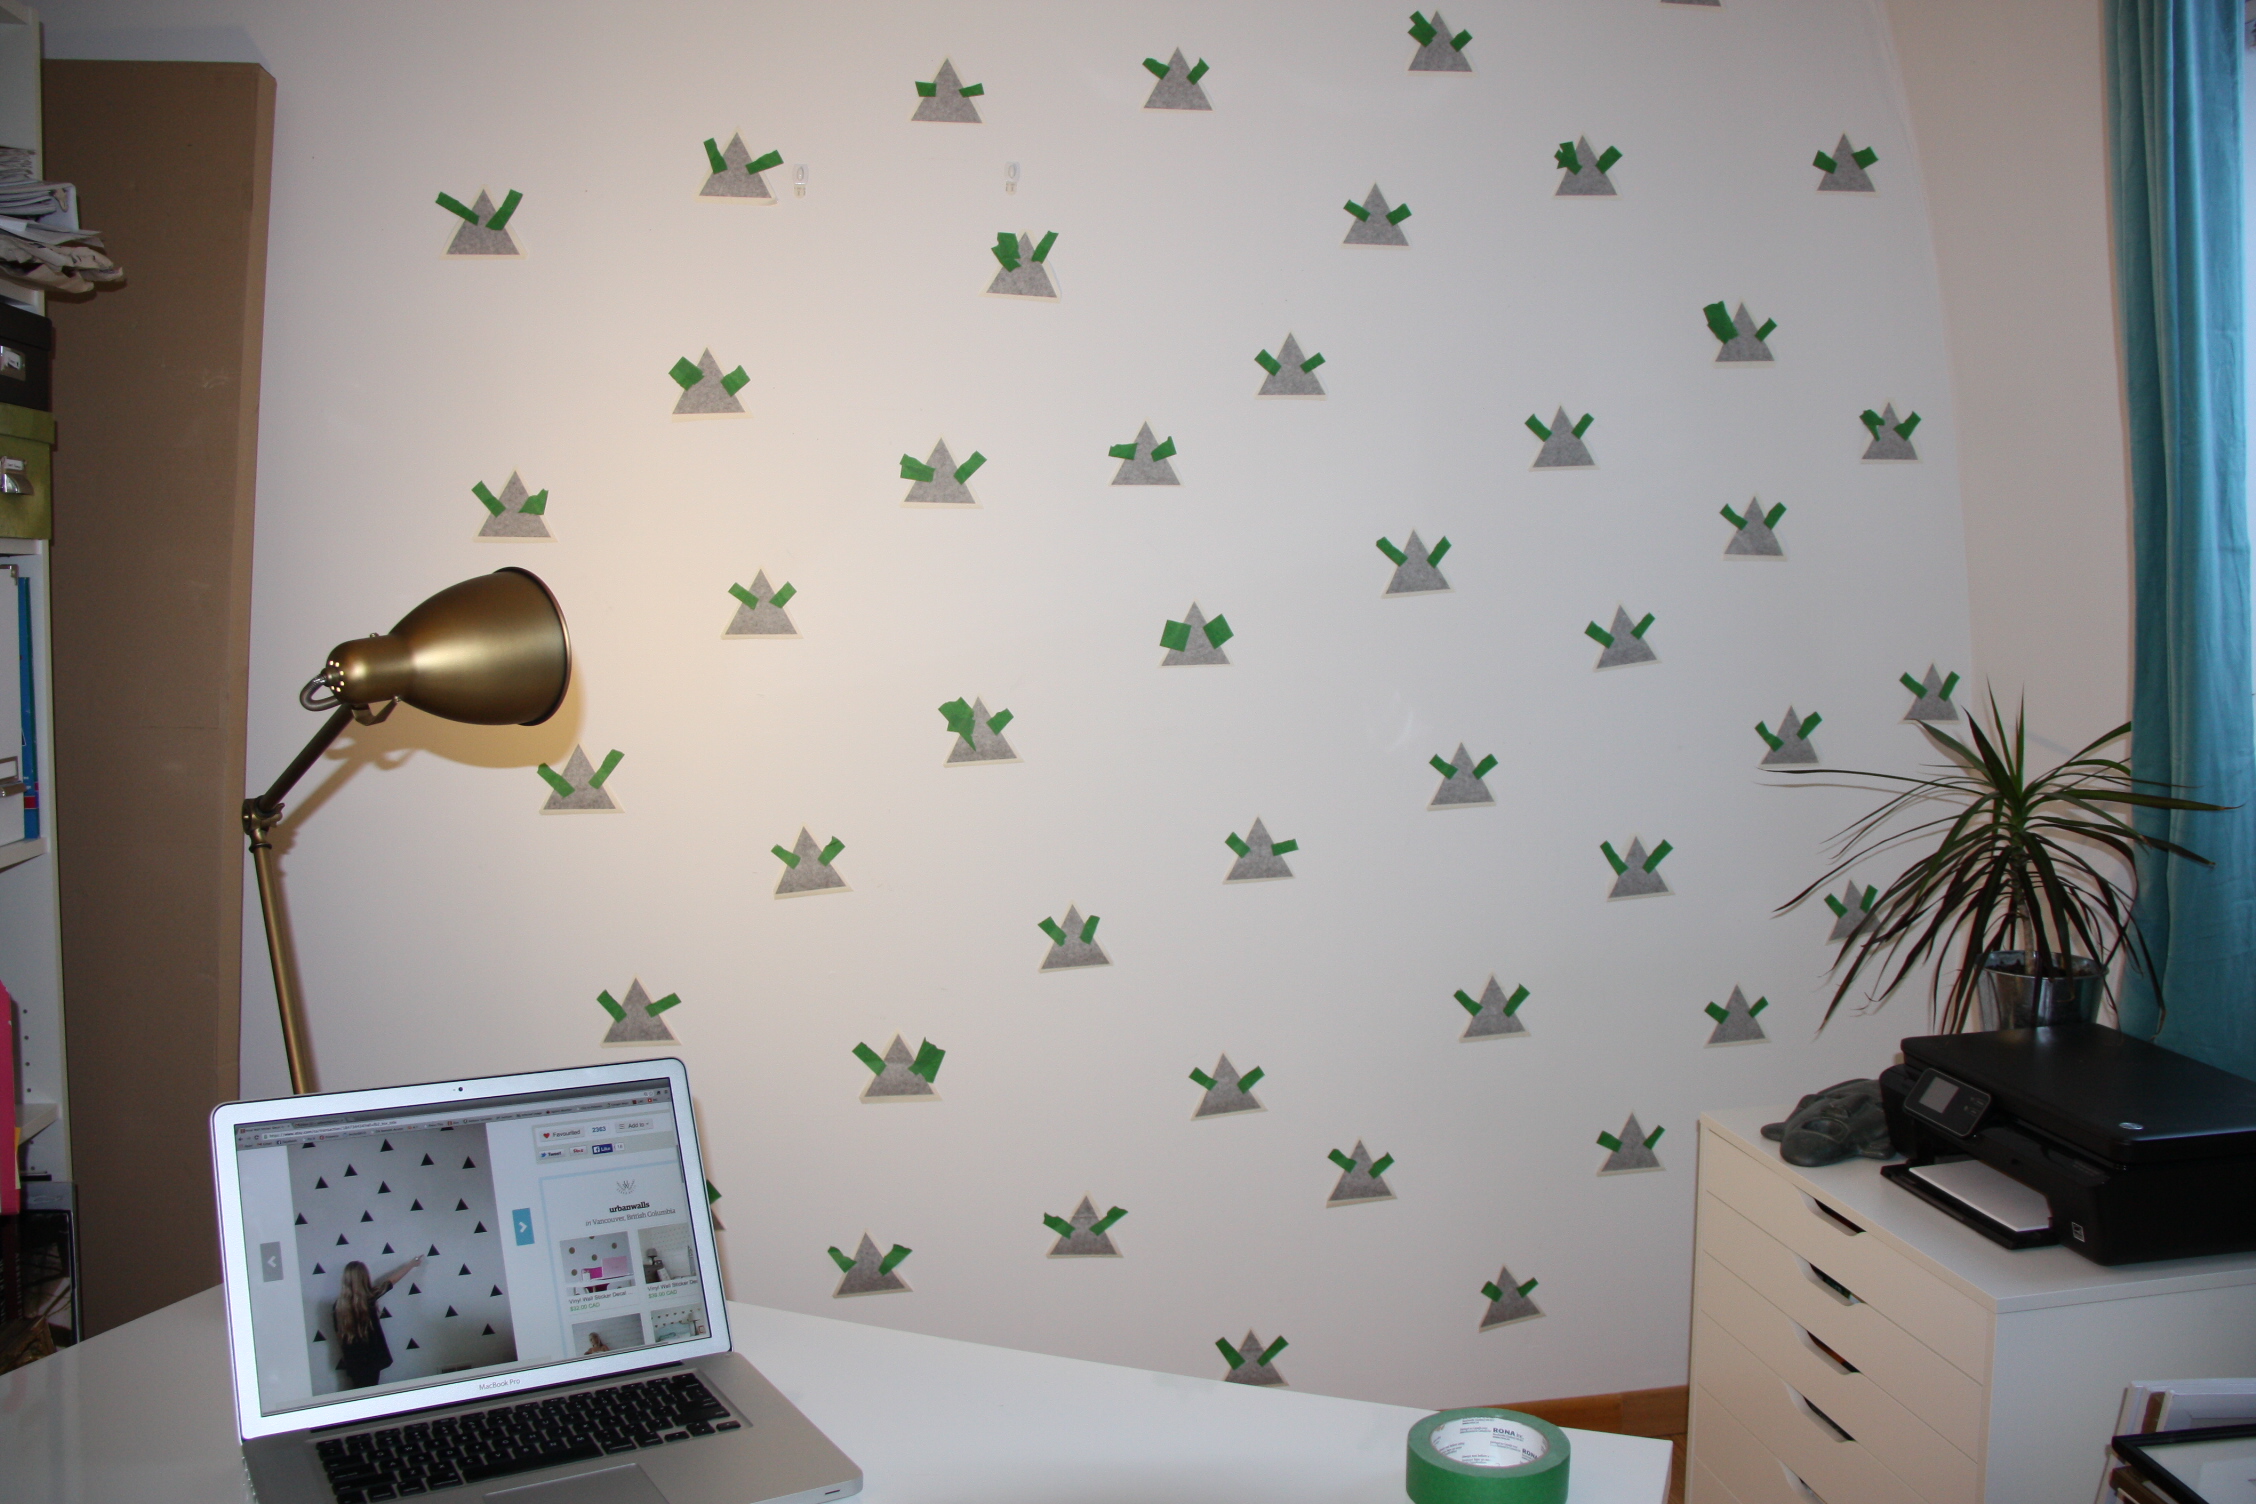
I started by cutting out the triangles and placing them on the walls with green painters tape to position them before sticking them down.
Once I got 3/4 of the way through the wall I ran out of triangles and had to wait another month to get another order in. Luckily it actually made a kind of interesting wallpaper-look which was good because it took me another 4 months to get around to placing the final few triangles and I’ve been living with it like this since the fall.
Application of the triangles was easy enough. I was a ‘little’ anal with this part and used a level to ensure the bottom of each triangle laid straight, but that was about as picky as I got with these. It took me about 10 minutes in total to stick them all down and go over them a few times with a cloth – rubbing them to ensure they all made contact with the wall.
Final after photos to will be posted shortly.


