 So I mentioned in a previous post that I may have gone a little crazy on the powder room renovation over the weekend. Basically I wanted to get rid of all the very, very old hardware and cabinets, and rather than waiting to get the proper tools from the garage, I pretty well ripped everything out that wasn’t welded in place, aside from toilet and sink. It felt good, but I then realized how much more work I may have made for myself in the process.
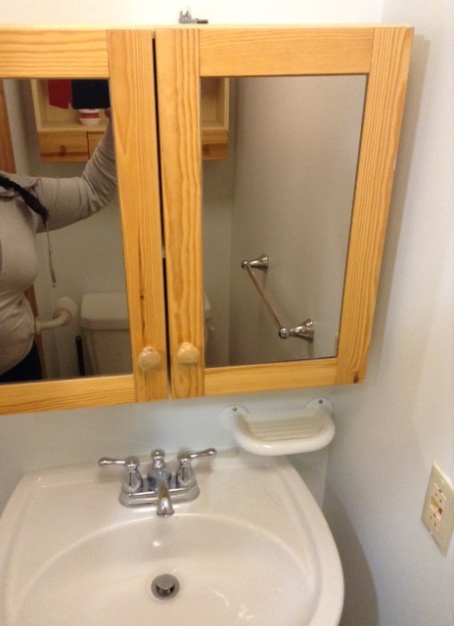
 Here’s what it looked like after my rampant tearing out of old hardware, which I’ve masked slightly by putting up a cute mirror temporarily to hide some of the holes. I also installed some new hardware to update the space for the time being…
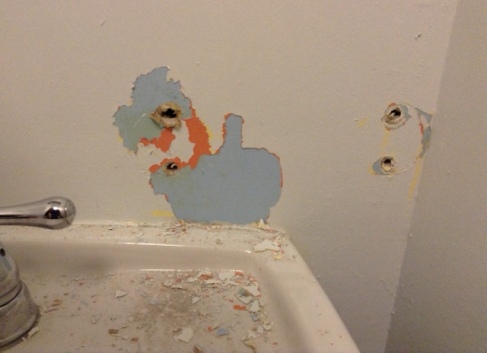
Can you see the lovely historic cross-section of different paint colours that used to be in here? I remember them all fondly. The first colour is the bright baby blue that was original to the house c. 1984. Those were the days. Then came the pinky/coral-ish shade, c. 1991, and finally the creamy-yellow c. 1997 that lasted until it was rented out in 2007 and everything was white washed.
As you can see, the paint layers came off quite easily. This is because the original baby blue paint was oil-based. Oh, how I dislike oil paint. Please make note: if a primer isn’t put over oil before you paint over it with latex then you get the above scenario, where it all starts to peel off of the surface. Now I won’t lie, it is remarkably enjoyable peeling paint off the wall…but once I started I realized I couldn’t stop. I got a few inches up the wall and it kept going and going, until (4 hours later) I managed to strip most of the old paint layers off and scrape into a few area of dry wall too (once the pallet knife came out to assist me). I wouldn’t say it’s looking ‘better’ now, but it’s a work in progress – and hey, it’s gotta get worse before it gets better, right?
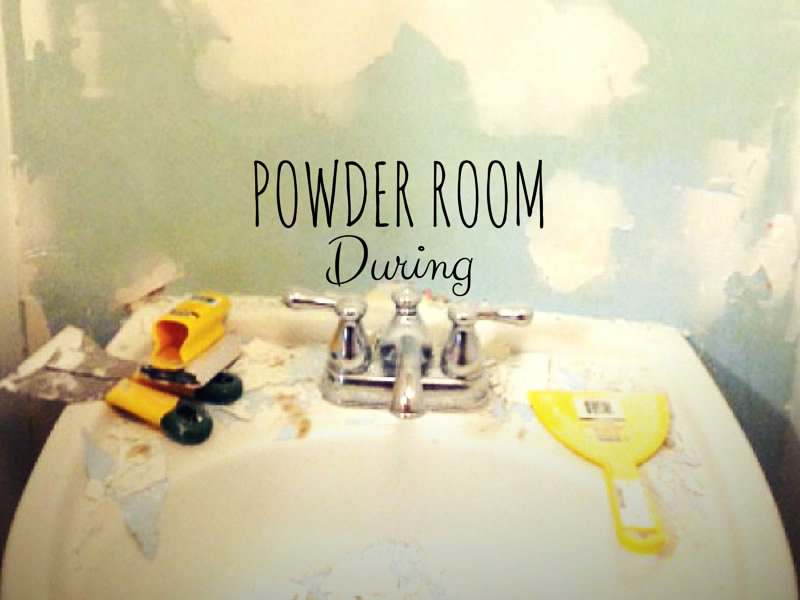
I then spent the remainder of my afternoon/evening filling in the holes with spackle; sanding down the walls; removing the baseboards; stepping on one of the nails sticking out of the baseboards; cursing; cutting out the old silicone caulking around the sink; removing the air-vent that was glued (?!) in place and thereby creating more holes which I then filled with more spackle; creating more mess; and finally resigning to do the rest another day.
Here’s what it looked like this evening…
Not bad, huh? Well, okay, it does look bad, but it’s going somewhere at least. Up next will be some priming, ceiling painting, more wall sanding and wall painting, prep’ing the baseboards, caulking the sink, and hopefully then it will be done! Nothing to it…right? That is, until the ACTUAL powder room reno is underway – but we’ve still got a lot of decisions to make before that starts.


Thank you for the update!! Much appreciated, I especially like the historic tour through the colour palette, part of the joy of knowing the house for its entire history!